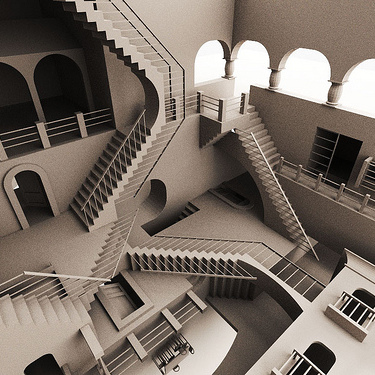
World building
All the world’s a stage set
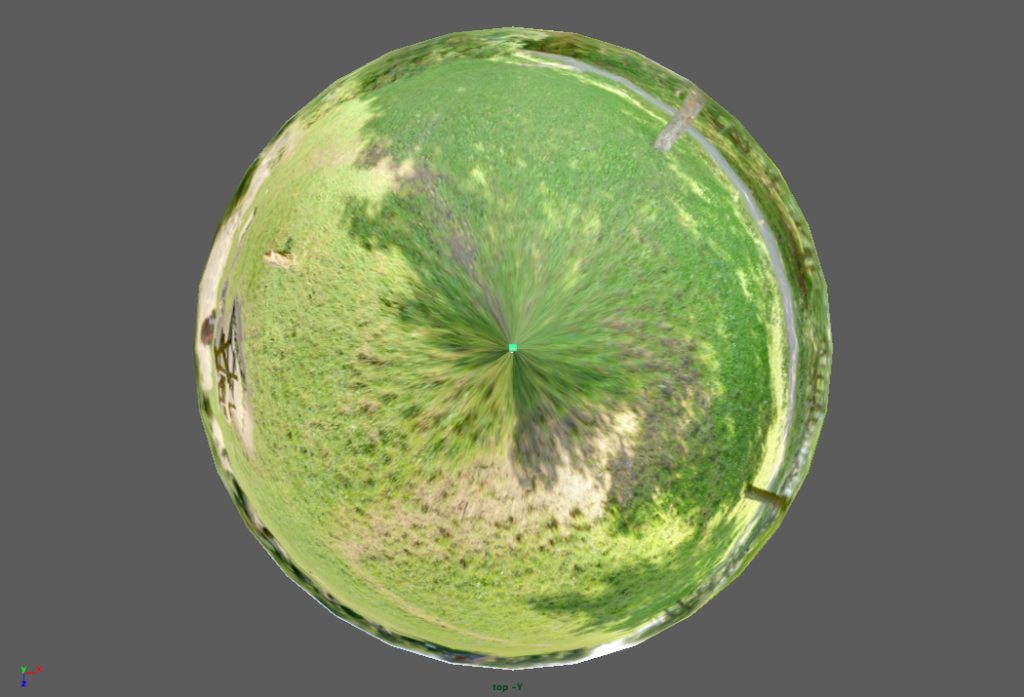
Photographer Alexandre Duret-Lutz specializes in taking pictures of wee planets like the planet Paris seen at right.
Actually, he takes equirectangular panorama shots like the one below and turns them into stereographic projections that distort the world we know into seemingly miniature forms.
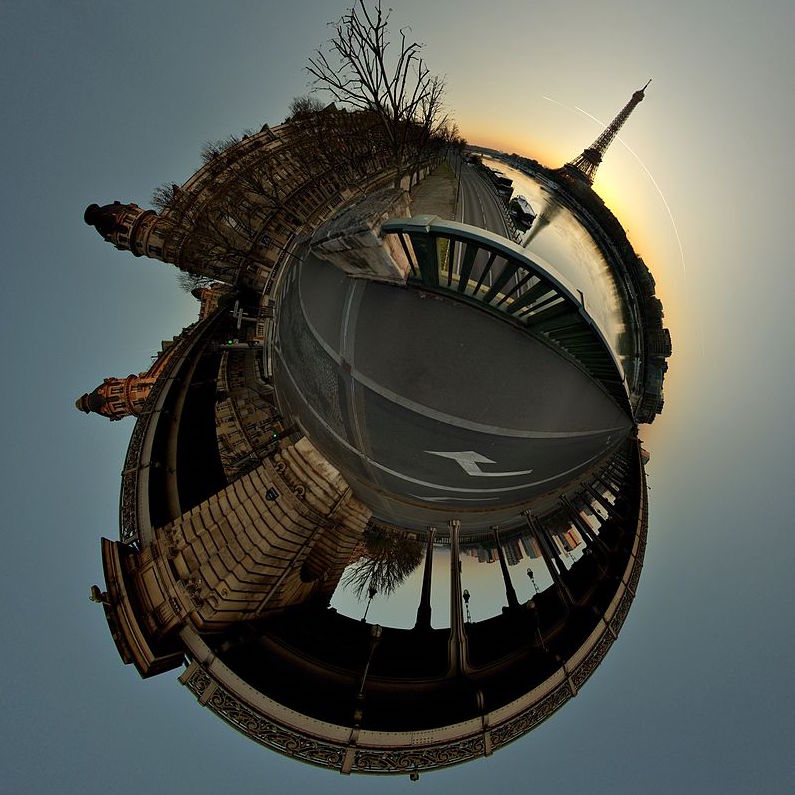
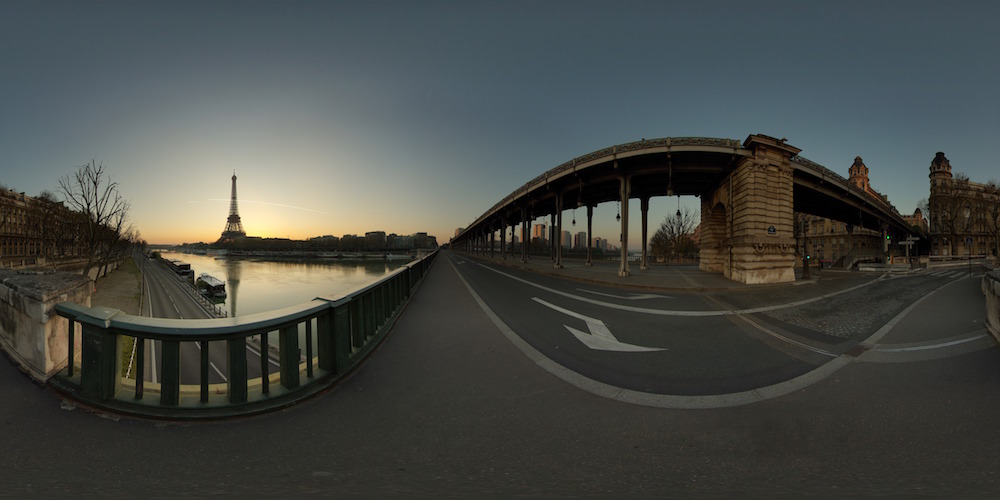
Paris s’éveille, 2007. From Wikimedia Commons.
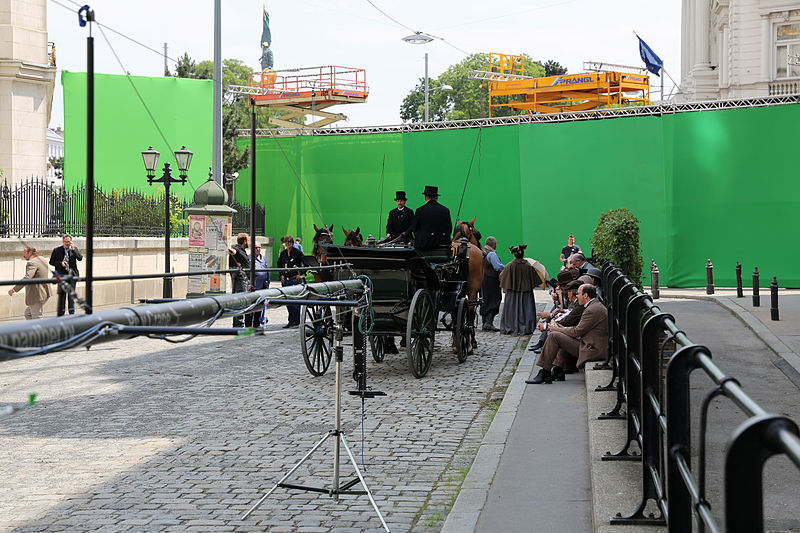
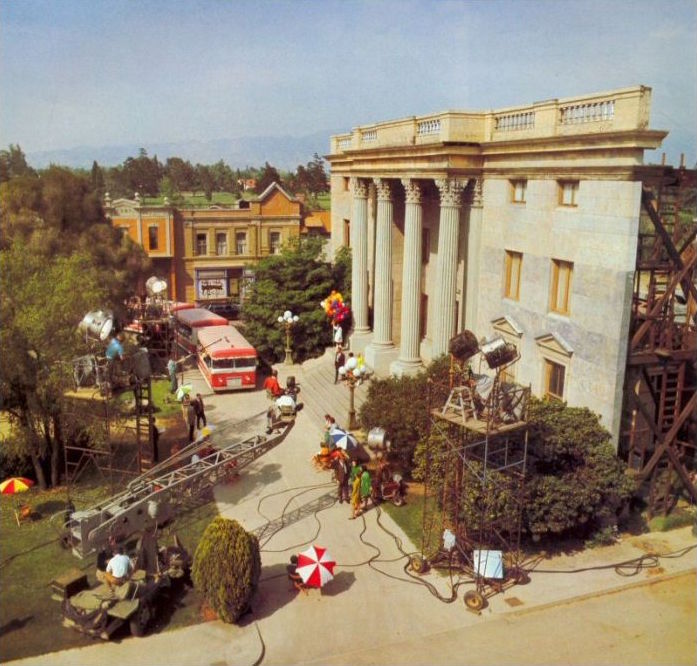
We’re familiar with other exercises in world-building from the tricks used in cinema, whether by green-screening actors into a new environment (below left), or “building” Courthouse Square, Universal Studio’s Small-Town-USA backlot set that hosted dozens of productions from 1948’s film noir An Act of Murder, through the courthouse scenes of To Kill a Mockingbird, to Marty McFly’s misadventures in Back to the Future. Those solid-looking civic structures are ridiculously thin facades (lower right), the backs of which are never meant to be seen by the camera.
Three case studies
After the intense, granular detail of the Elements project, building an entire world seems like a fool’s errand! But combine an understanding of what is being perceived only by the camera with cinema’s strategies of combining worlds and projection methods, and you have the recipe for making a fragment of reality seem like a whole world.
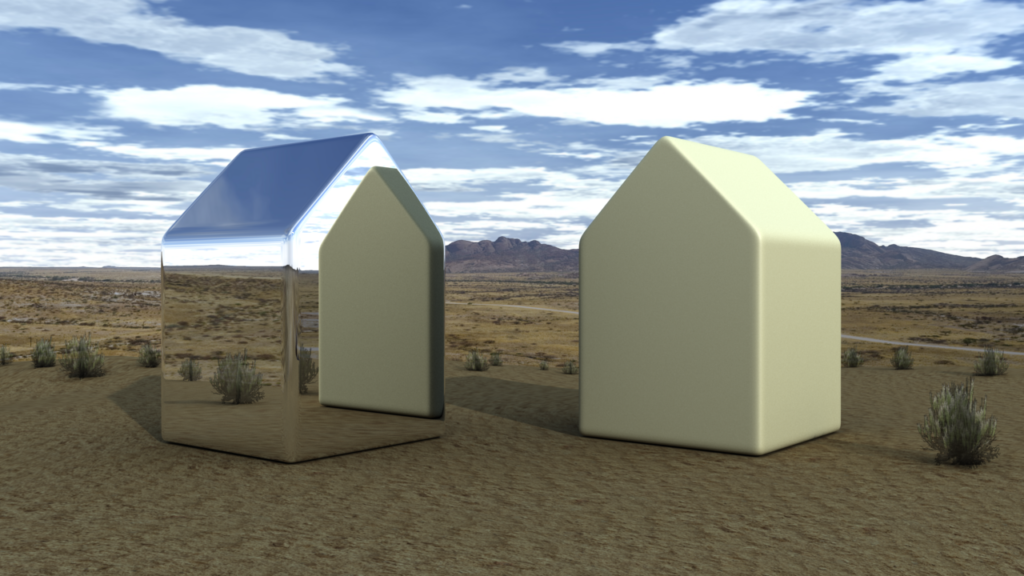
We can’t cover every possibility in a short Wiki title, but we can cover classes of worlds. Here we’ll explore three case studies: one exterior environment, one interior environment, and one HDRI environment which, while outdoors in our sample, can work for both interior and exterior. The emphasis in these case studies will not be on modeling, but rather the basic elements needed to develop a world, thinking more in terms of universal workflows. Each environment will contain the same two elements: abstracted house figures, one in a reflective chrome material, the other in a marble- or wax-like material with sub-surface scattering.
Case study 1: exterior environment
SKY SHADER
GROUND PLANE
AND FOLIAGE
Assets in scene
We created the following environmental items to make our two house elements appear in an outdoor, desert-like scene:
- Lights:
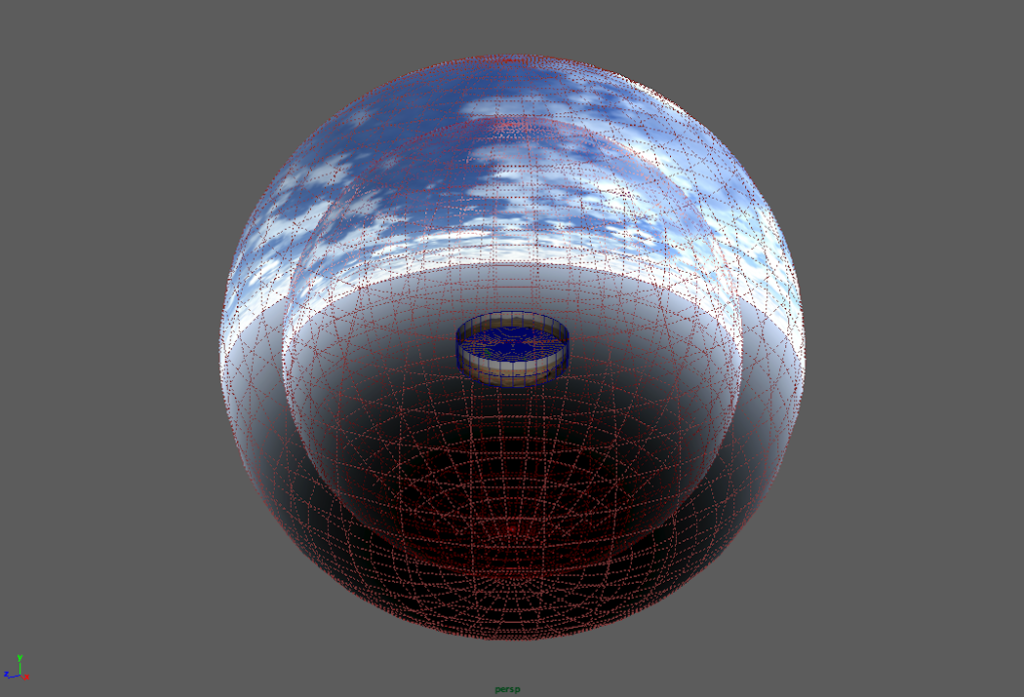
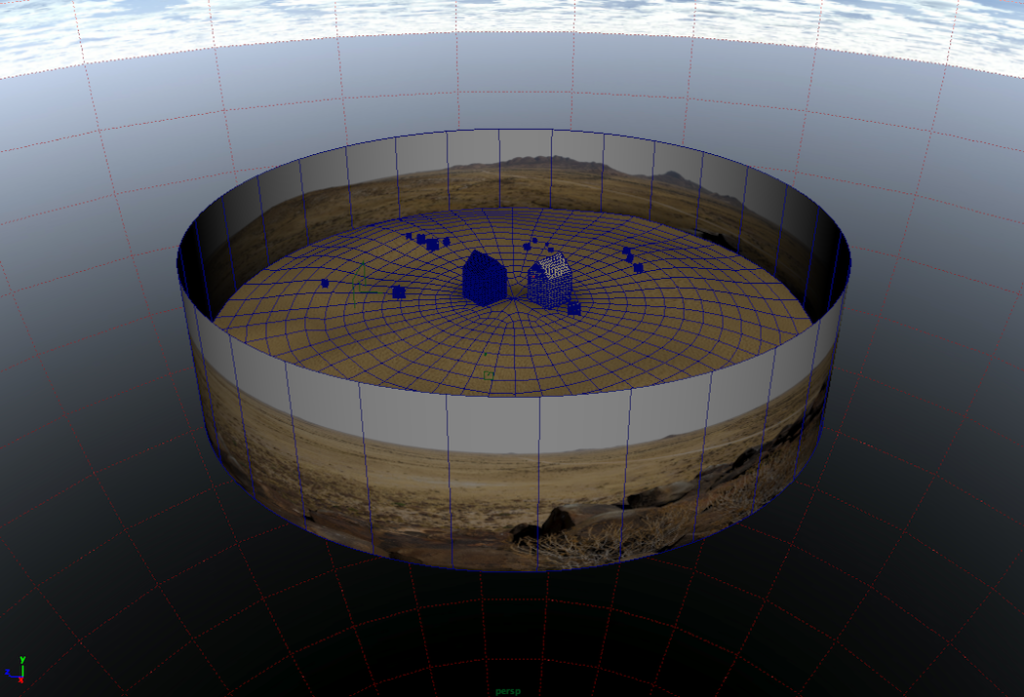
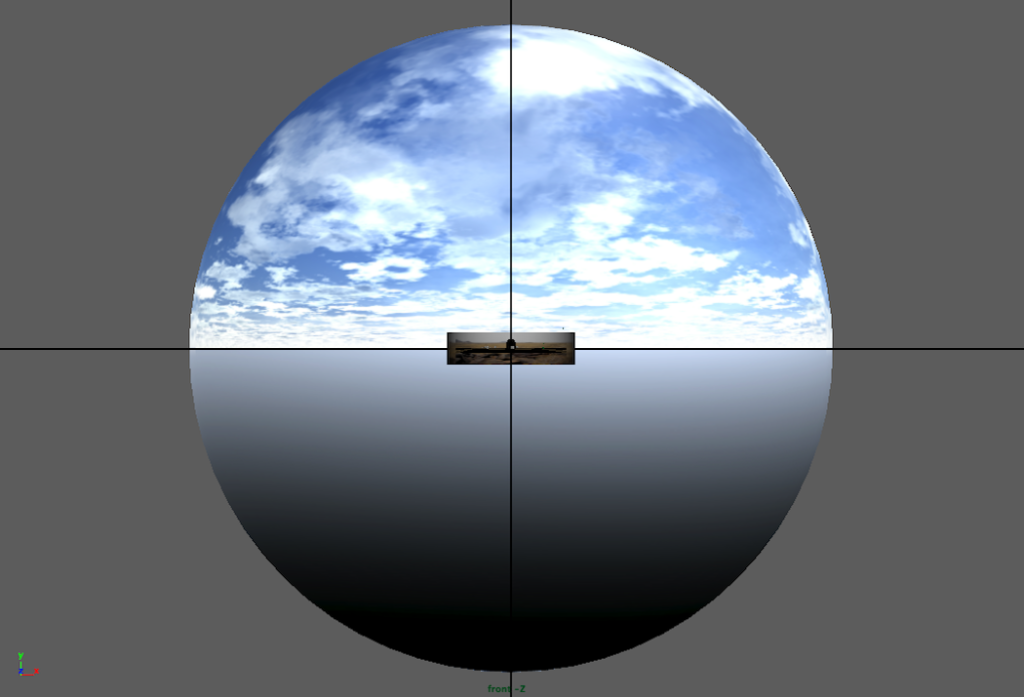
- An Arnold SkyDome Light (the larger sphere) and a related Sky Shader (the smaller).
- A Maya directional light to generate sharper shadows.
- Modeling:
- A panorama constructed using the walls of a poly cylinder, an image map, and an alpha map.
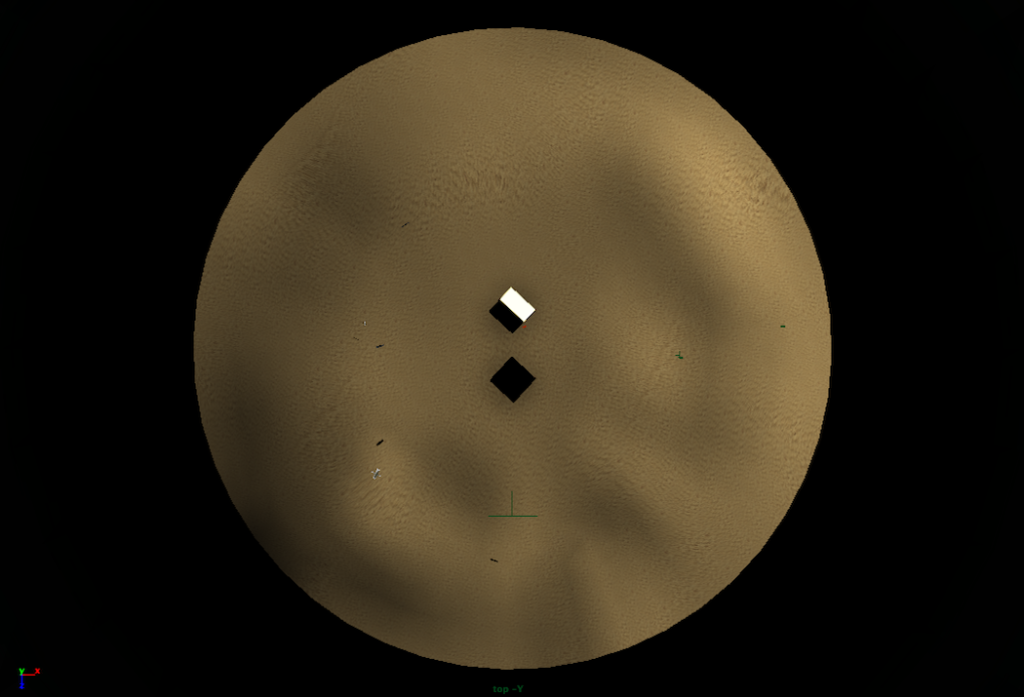
- A warping ground plane using the cap of a poly cylinder and an image map.
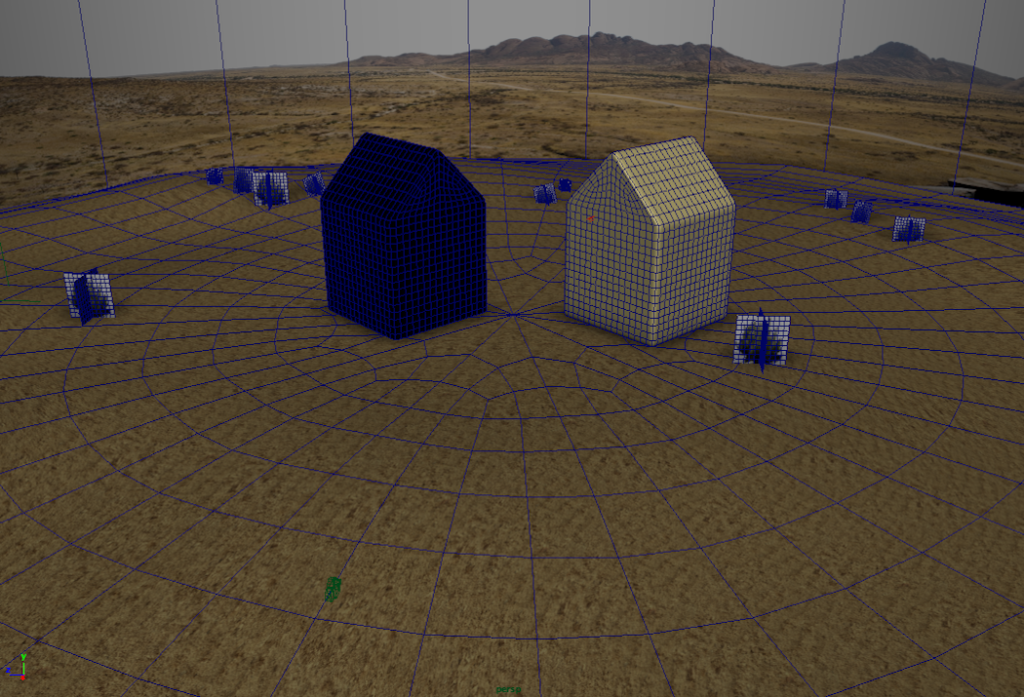
- A small foliage element consisting of 2 intersecting poly planes with image and alpha maps, grouped and instance-copied 14 times.
Workflow
As we develop the world, we find it useful to use the render preview found in the menu under Arnold>Arnold RenderView. It’s a rapid-response, IPR-like preview window that gives almost real-time feedback on scene decisions.
Arnold is a fine renderer, but it tends to be noisy, with “dirt” in shadows and “fireflies” in highlights. We won’t mention below exactly what values represent solutions for noise—otherwise, that’s all we’d talk about!—but generally, anything labeled Samples or Resolution reduces noise as they are ramped up, at the cost of additional render time. We are also generally using values of around 6 or 7 for final renders for the Render Settings: Arnold Renderer: Sampling: Camera (AA) value. Render times varied from a low of about 7 minutes for the HDRI sample to about 90 minutes for the interior.
Arnold also crashes—a lot. Save. After. Every. Single. Move. You. Make.
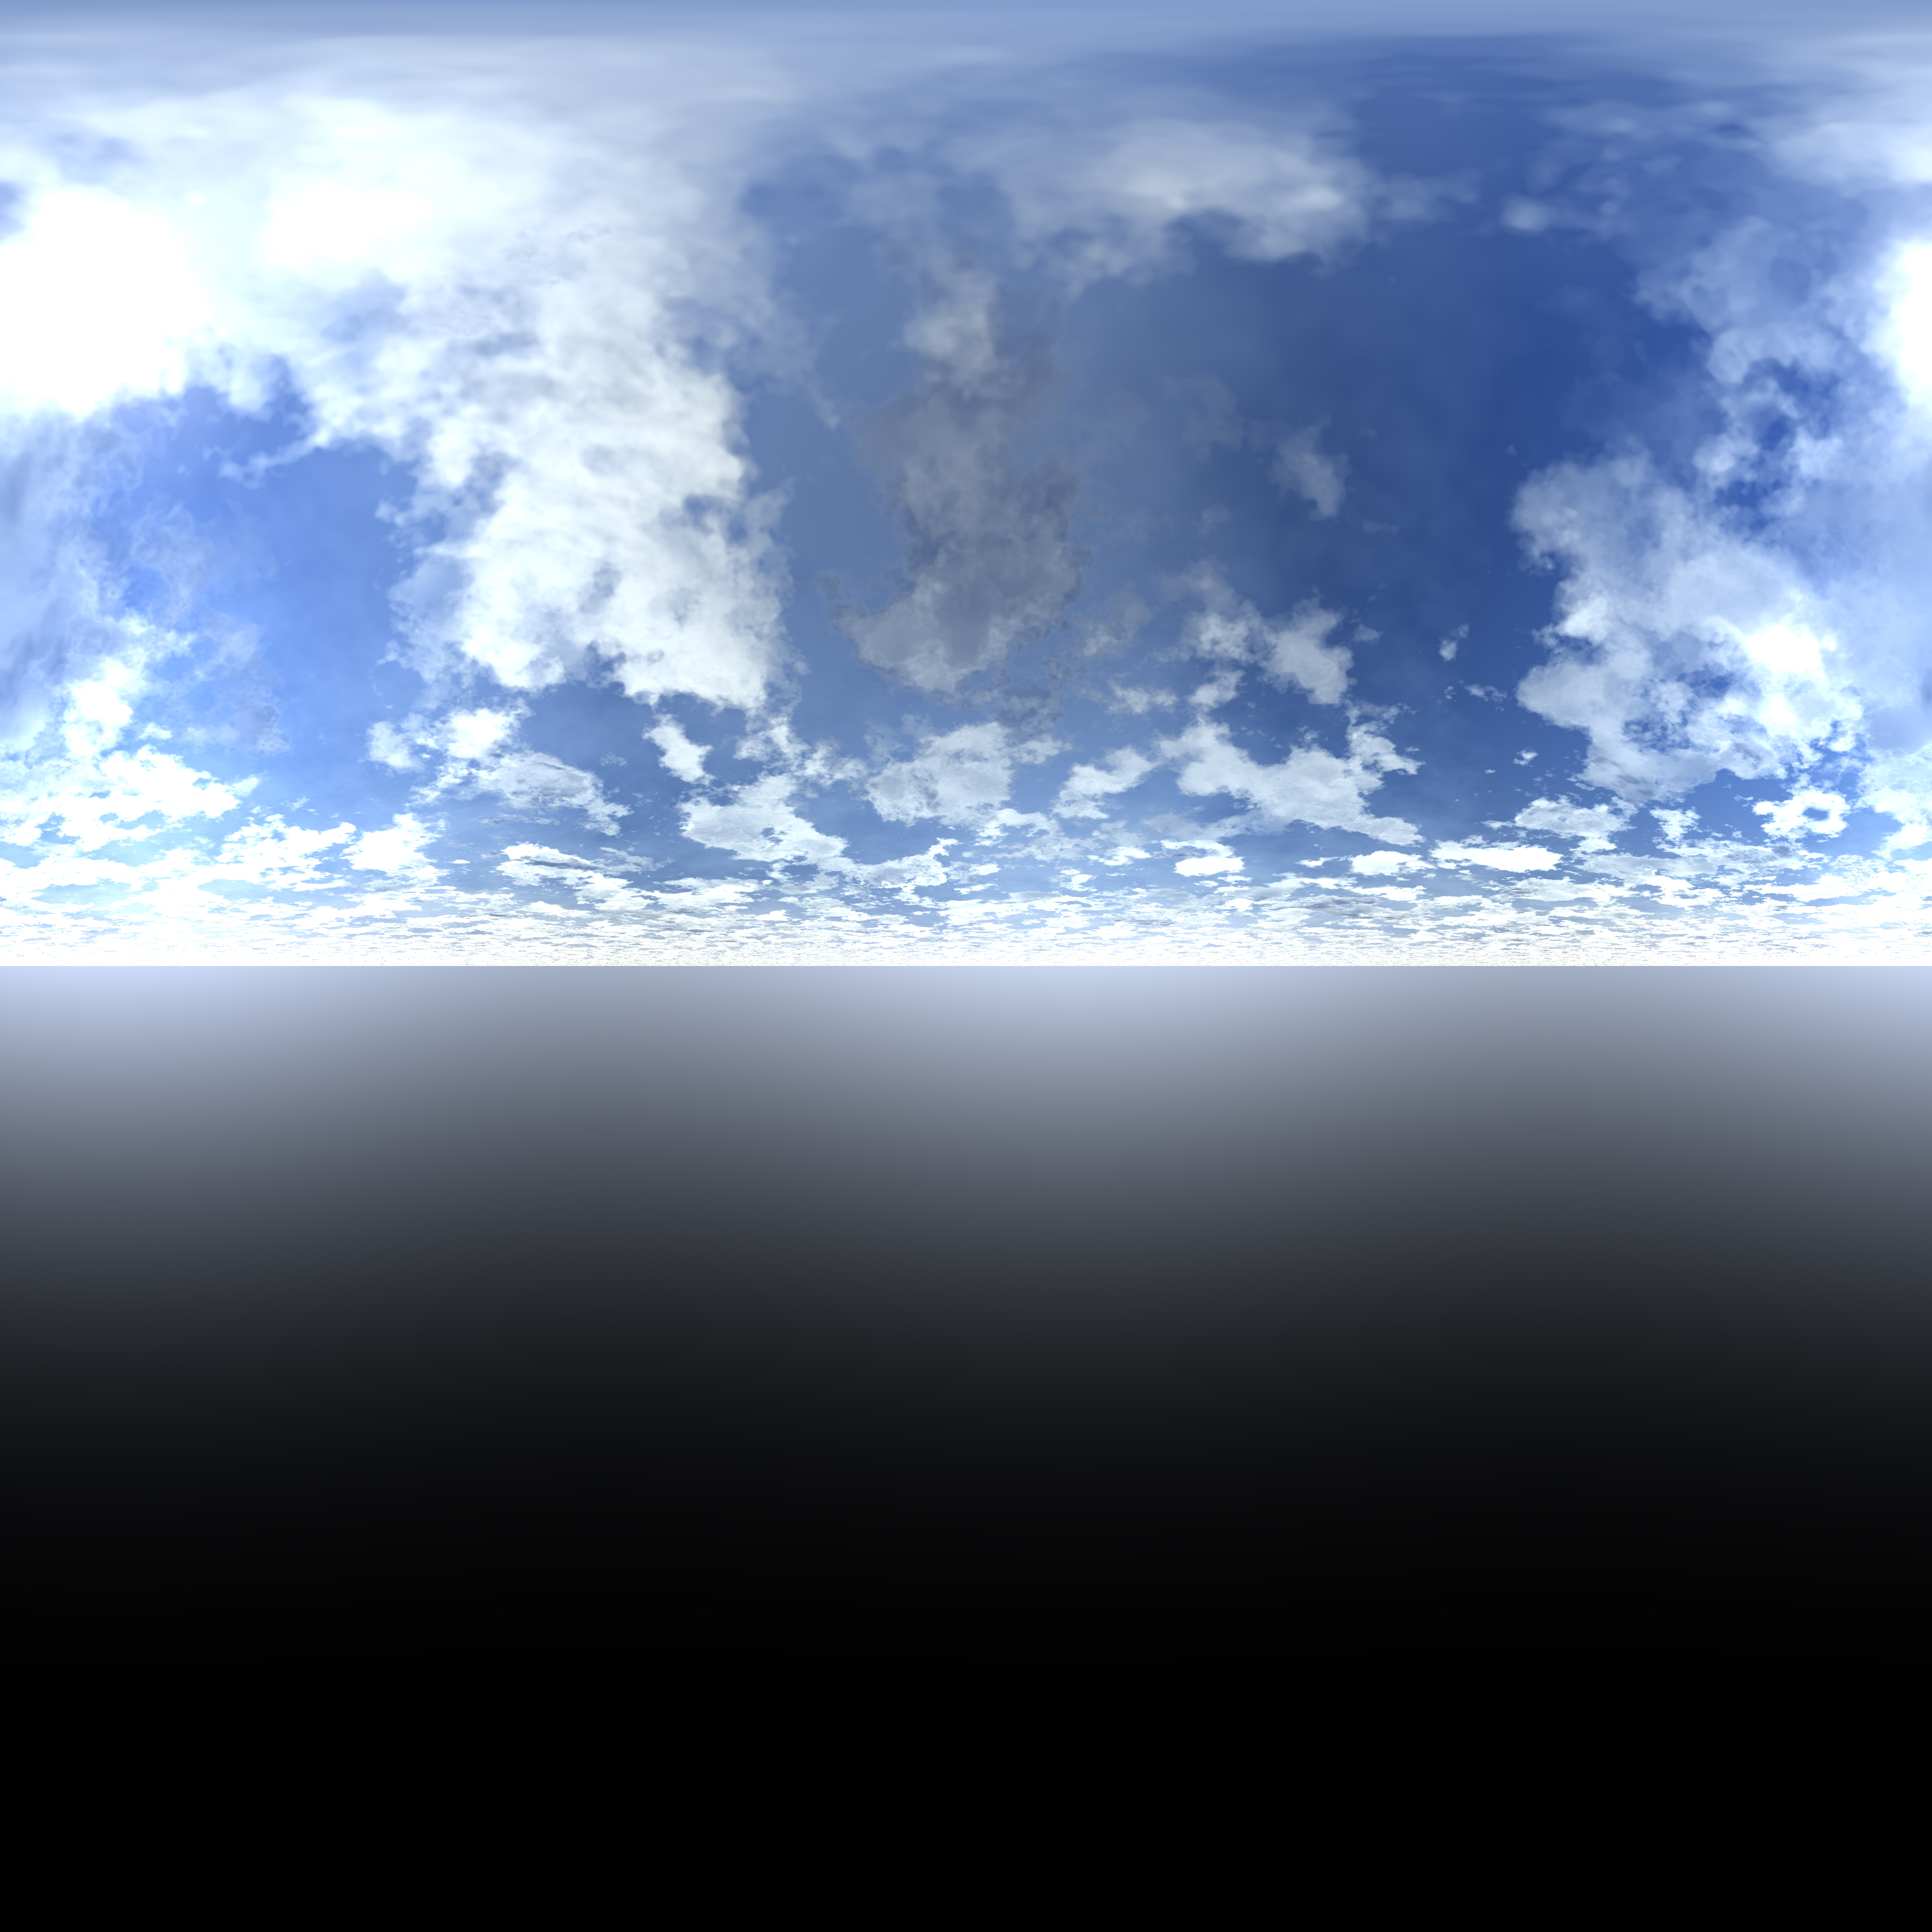
The sky map is an equirectangular projection that will create a convincing sky in the SkyDomeLight. Original at this link.
Lights
- Using Arnold, we start by creating the lights.
- We create a SkyDomeLight by selecting it from the Arnold shelf. We apply the sky map to the Color option, and this creates a light source based on the image. We play around a lot with the values in the Attribute Editor as we go along, but after we experiment we eventually settle on Intensity: 0.3, Resolution: 3000, Format: latlong, Exposure: -4.0, and Samples: 4, with all other values at their defaults. The size of this object is 1000 radius.
- This element is a light: so it does not render. We need to create a renderable sky that matches it. We go to the Render Settings window, Arnold Renderer tab, Environment drop-down, and under Background, click on the map icon and select Create Sky Shader from among the options. Go to the Attribute Editor and, under the Sky Attributes Color option, apply the same map. This object has the same 1000 radius as the SkyDomeLight, so to differentiate it, go to the Channel Box and change Sky Radius: 800.
- The final light source is to create a Maya Directional Light, which Arnold will honor. This will cast sharp, sun-like shadows that the SkyDomeLight does not create. The values for its options also change throughout the setup, but we finally choose Directional Light Attributes: Intensity: 2.0, Arnold: Exposure: -0.5, Angle:1.0, Samples:2. Angle, it should be mentioned, mimics the disk of the sun and softens the shadow edges a bit.
UPDATE: Arnold: NEW Sky and Sun workflow
The updates to Arnold have made it better… but it sure is hard to keep a wiki current with them! Below is a silent screen-capture video illustrating the new workflow to create sky and sunlighting elements.
House elements
- We create the two house elements from poly cubes, adding enough geometry to create a soft, beveled edge that will show off the renderer’s capability.
- One house receives an Ai Standard material that we make into a highly reflective chrome surface. Under Diffuse in the Attribute Editor, we create Weight: 0.0. Under Specular, with a white color, we add Weight: 1.0, Roughness: 0.0, and Anistropy: 0.5.
- The second house receives a sub-surface scatter as seen in marble or wax. Under Diffuse, the color is a light, low saturation yellow-orange with Weight: 0.7. Specular carries Weight: 0.2, Roughness: 0.6, and Anistropy: 0.5. Sub-Surface Scattering has Weight: 0.14 and a Radius: 0.6 (as a 60% gray value).
Environment elements
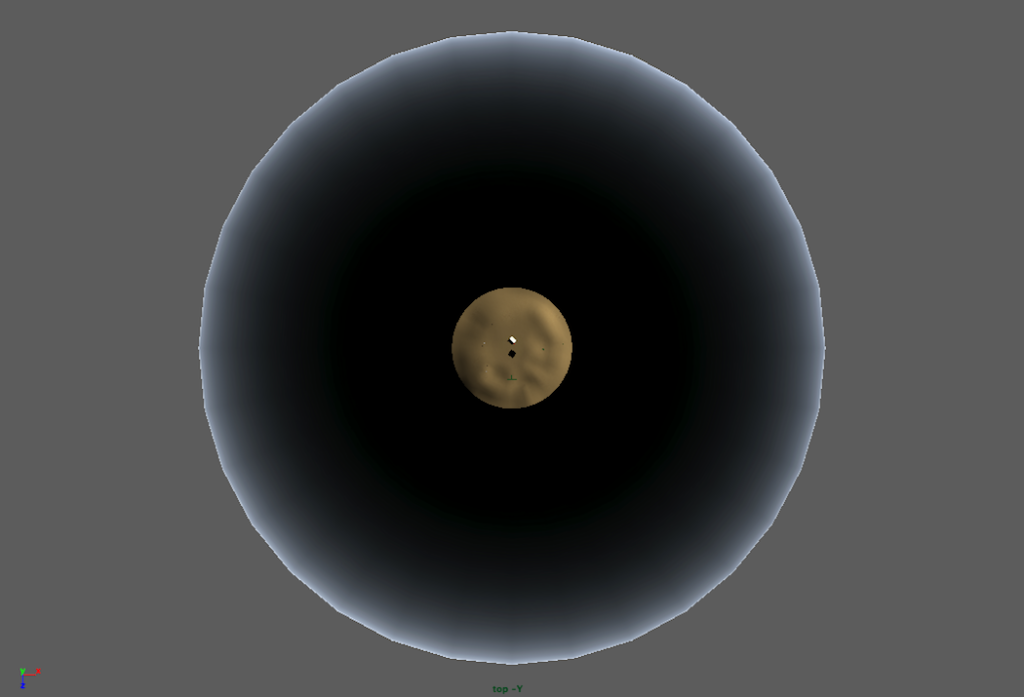
- The ground plane is generated as a poly cylinder with all faces except the top cap deleted. It was divided into 16 x 48 segments: it needs a lot of geometry because we deform it.
- In this sample, vertices were selected and moved vertically to create an undulating terrain, but we could also have created this using a displacement map.
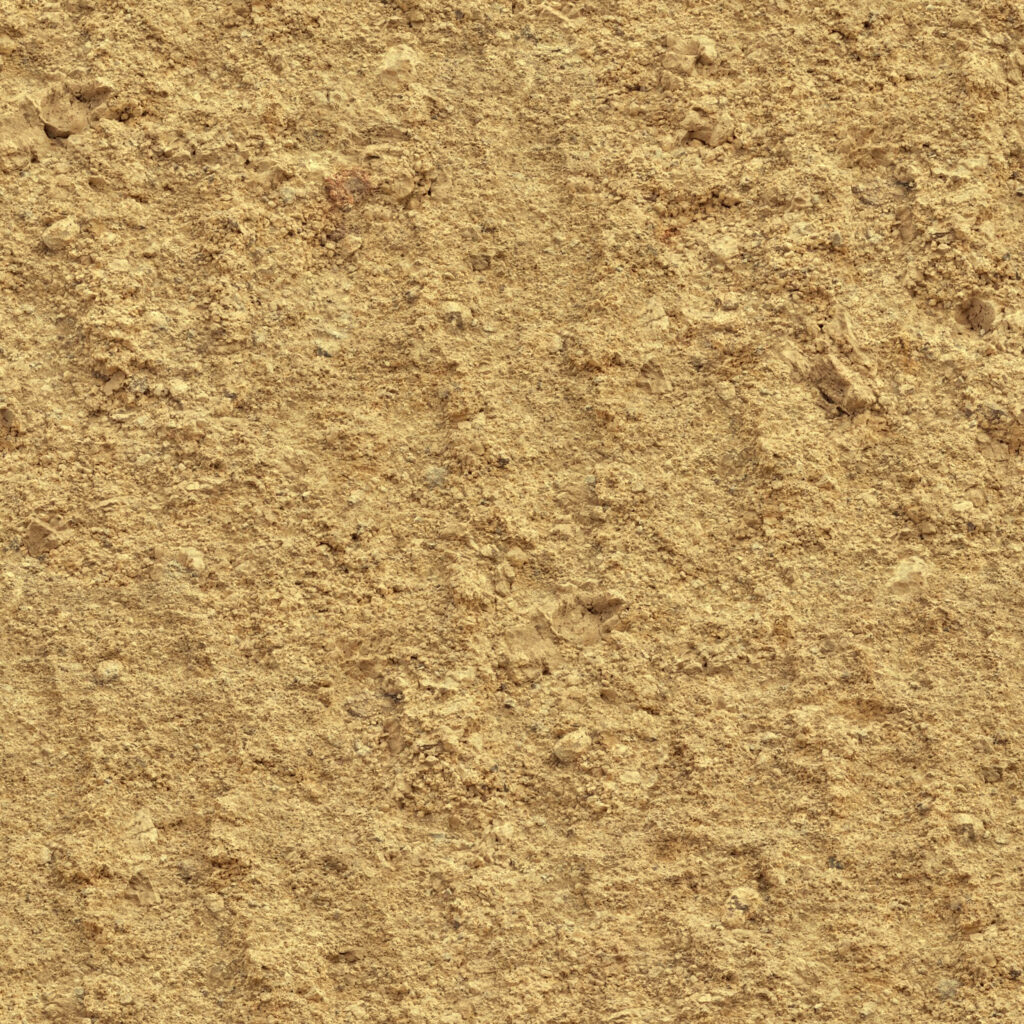
- A sandy texture image map, colored to match our panorama image, is applied. Sand is an Ai Standard material with the image file attached to Diffuse Color. Under the file’s node UV Coordinates, we Rotate Frame: 13, Repeat UV: 64 and 64, and add Noise UV: 0.02. This randomizes the mapping and keeps the tiling from being evident.
Seamless tiling yellow sand, modified to match the color in the panorama. Original at this link.


360° panorama of Spitzkoppe, Namibia, modified to eliminate sky. Below this, an alpha mask for the file to create transparency. Original at this link.
Panorama element
- The panorama element was created by deleting the cap faces from a poly cylinder with about 40 segments, a radius of about 200, and a height of about 100. This last creates a circumference-to-heigh ratio of about 6:1, matching the 6:1 aspect ratio of the panorama image.
- The image was applied to an Ai Standard material named pano1, on the Diffuse Color. The UV>UV Editor was used to align the polygon faces with the image. Upon test render, we see this is where Arnold gets a bit weird: it does not automatically generate transparency from the .png file, even though there are transparent pixels in the file. Eventually, we add Backlighting: 1.0 to this to brighten it up and provide atmospheric perspective.
- To fix, we went not to the material node pano1, but rather to the Shape node (here named panoCylinderShape1), and looked for the Arnold drop-down options. We unchecked the Opaque option here, thinking this would do the trick. The panorama completely disappears!
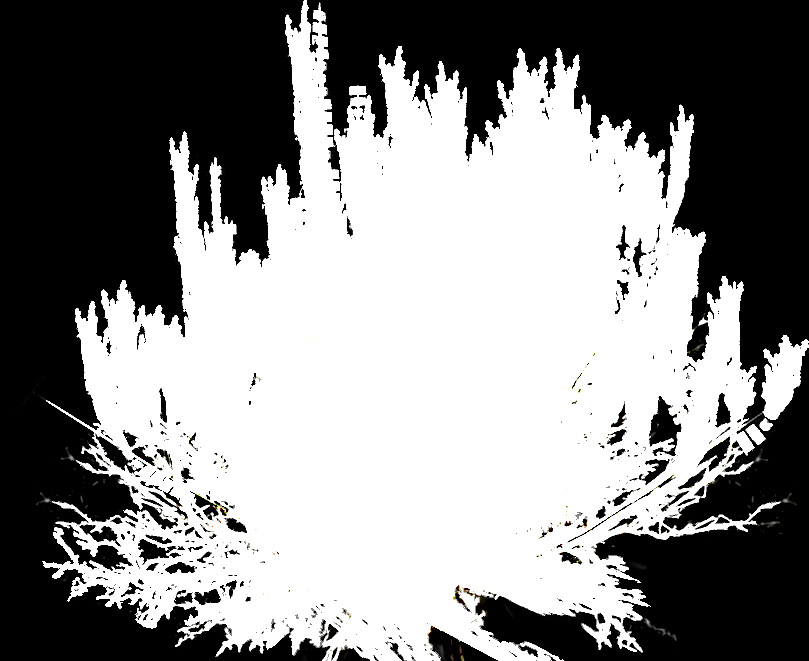
- So, back in the material node, we applied a black-and-white alpha mask generated from the image under the Refraction Opacity option. THIS restores the image but finally keeps the sky area transparent.
Foliage element
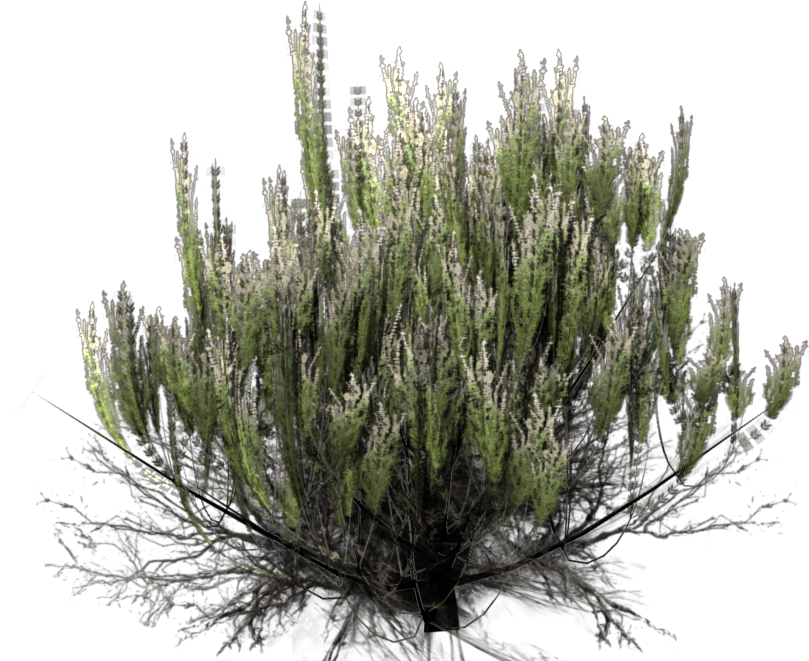
- The final environment move is the sagebrush element. Poly-based foliage models are routinely too heavy, so we cheat with a pair of perpendicular poly planes intersecting at their midpoints. The purpose of the foliage element, frankly, is to camouflage the edge between the ground plane and the panorama. Even though we’ve matched their colors in the sand portion, there are textures in the panorama that look odd if they don’t somehow continue up into the ground plane.
- We create one plane, about 5 x 5, and rotate it vertically. We apply an image map and alpha map in a manner identical to the panorama above. We duplicate this on a second plane and intersect them. These are grouped in the Outliner.
- Next, we position the sagebrush so that it partially obscures the ground plane edge in the background.
- We copy the sagebrush by going to Edit > Duplicate Special and in the dialog box selecting Instance, rather than Copy. We do this over a dozen times, moving, rotating, and scaling each instance so that we don’t see it as an obvious repeat.
The final render is set in the Render Settings at 1280 x 720, with Camera (AA) at 6, and many other values at 4. The render time for this image was approximately 22 minutes.
UPDATE: Arnold: NEW Standard Shader with Alpha mask
The updates to Arnold have made it better… but it sure is hard to keep a wiki current with them! Below is a silent screen-capture video illustrating the new workflow to create a foliage item with alpha. Instead of sagebrush, a tree miraculously grows in the desert!
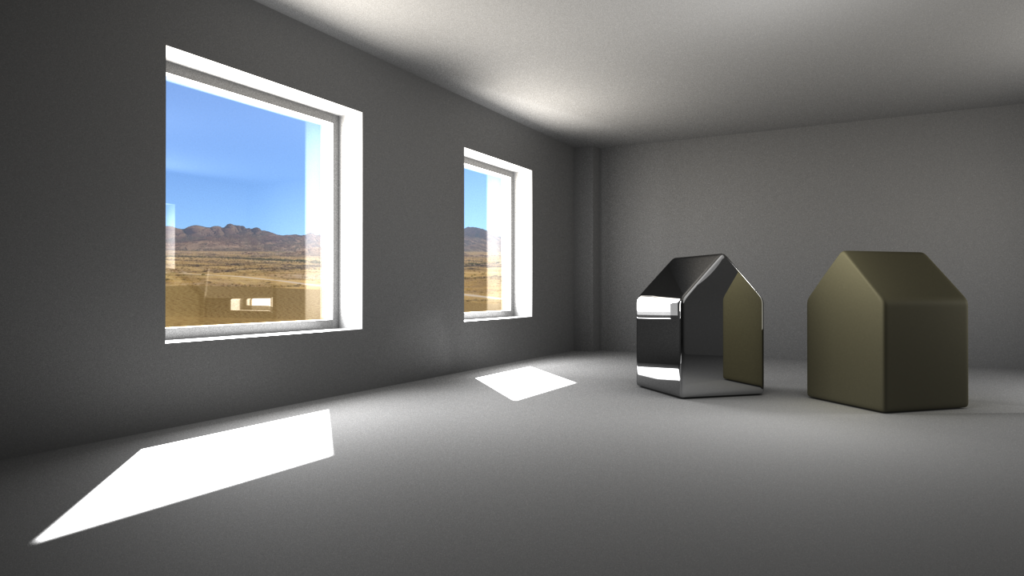
Case study 2: interior environment
GROUND PLANE
AND GROUND PLANE
AND STRUCTURE
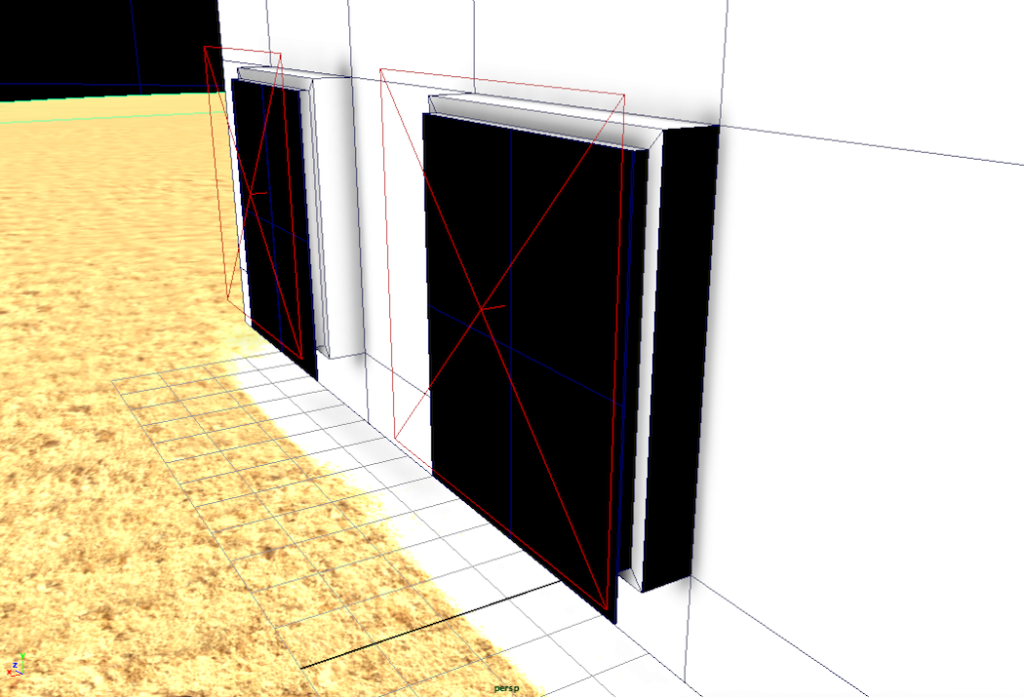
DETAIL AT EXTERIOR
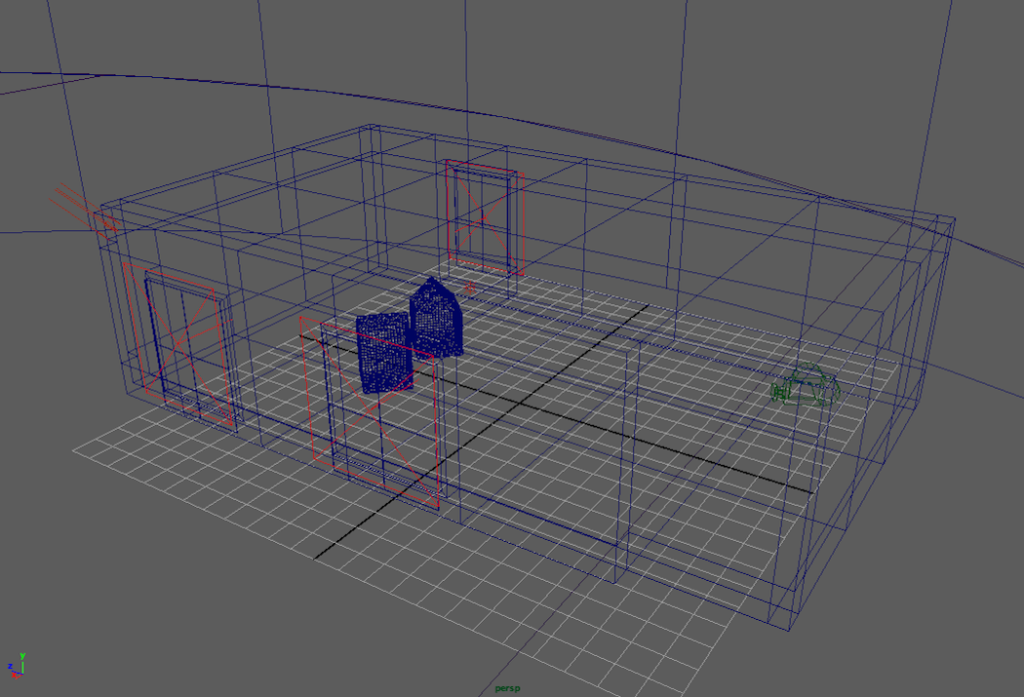
SHOWING INTERIOR
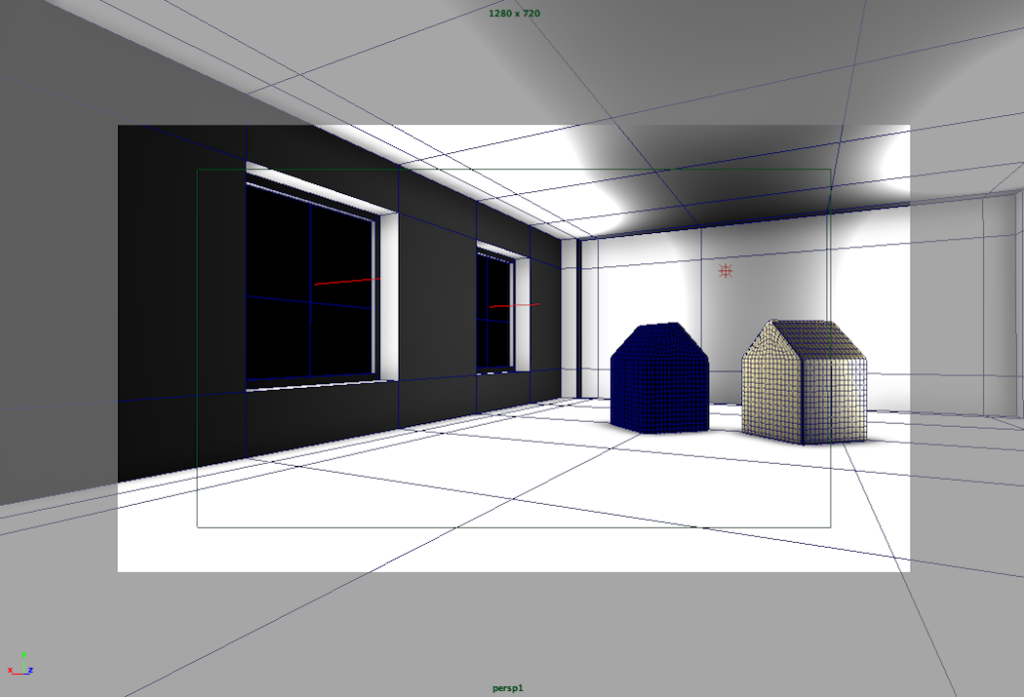
IN VIEWPORT
Assets in scene
We created the following environmental items to make our two house elements appear in an interior space with a view out at the same landscape as used above:
- Lights:
- An Arnold Physical Sky (does not appear as an object in the viewport).
- A Maya directional light to generate sharper shadows.
- Three Arnold Area Lights, one at each window and the door to the outside.
- A Maya point light functioning as an ambient fill.
- Modeling:
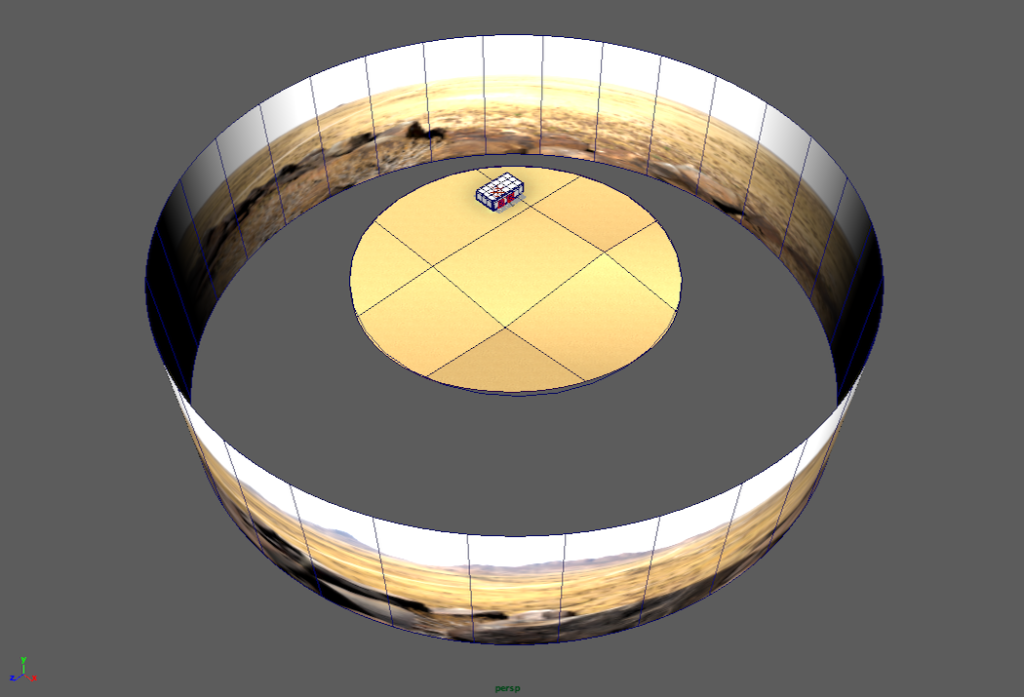
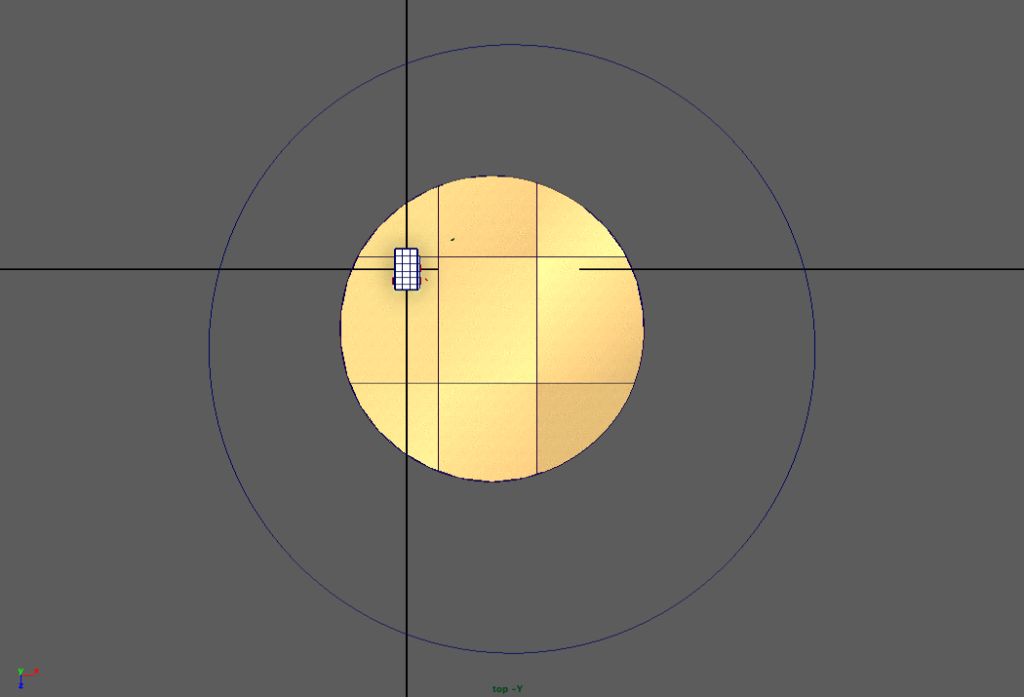
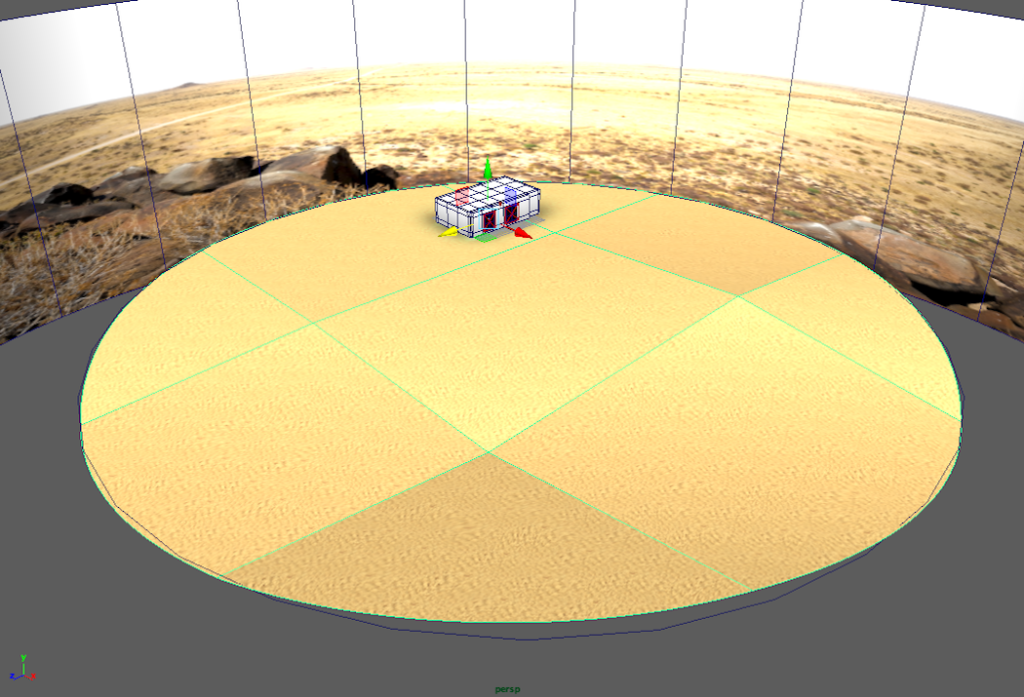
- A panorama constructed using the walls of a poly cylinder, an image map, and an alpha map.
- A warping ground plane using a NURBS plane and an image map.
- A room interior with two glass windows, and one glass door.
Workflow
Interior scenes often have windows and are affected by exterior light sources. The SkyDomeLight we used for the exterior scene above creates excessive noise in the interior, so instead we use the Physical Sky and a series of Ai Area Lights combined with a Maya Directional Light for shadows to develop the complex interplay of bouncing light formerly handled by radiosity light modeling.
Lights
- We create the Ai Physical Sky by selecting it from the Arnold shelf, right next to the sky dome light. It’s rather odd, as it does not show up as an object the way the sky dome light does, nor is it attached to the Environment Background like the Sky Shader. In the Outliner and Hypershade, it appears as an SG (Shading Group) named aiPhysicalSkySG. Attached to it is a node called aiPhysicalSkyMaterial. Under the material, we observe under Common Material Attributes: Color an attached something—a node called aiPhysicalSky. Finally. Here, under Physical Sky Attributes, you can change the Ground Albedo (the angle relative to the Earth’s horizon), the Elevation (vertical angle), and so forth. There is no image map to attach to this.
- Here, we change Intensity: 5.0.
- We also create a Maya Directional Light, as we did with the scene above.
- We will need to create several Ai Area Lights for the glass windows and door, but these are designed to match the openings specifically, and since the structure doesn’t yet exist, we need to wait.
- As we do test renders, we find that we need some kind of ambient or fill light. Arnold doesn’t play nice with Maya’s Ambient, so we’ll generate a Maya Point Light, but like the Area Lights, this comes later in response the the environment model development.
House elements
- We create the two house elements exactly as we did above. They can be done fresh, copied in, or externally referenced.
Environment elements
- We create a ground plane just as we did above. Because we know the light and modeling will be more complex (and therefore more time-consuming to render), we opt here for a lighter-weight NURBS solution. Create a large NURBS circle and perform a Planar. On the new plane, enter Surface Point mode and drag a surface point out on the plane, then select Insert Knot. Do this just a couple of times to create control vertices. Enter Control Vertex mode, select a few of the vertices and move them up and down for an undulating surface. Add the same sand image map as for the scene above.
- We create an identical panorama to the scene above.
- No foliage this time.
Room shell element
- We create a shell of a room interior using a polygon Cube, manipulating with subdivisions, scaling, deleting faces, extruding edges, and other manipulations to generate two windows with sills, jambs, and frames, and one door with sill and jamb. To this room, we add an Ai Standard material with we’ll call houseWhite. Under Diffuse, Color: white, Weight: 1.0. Under Specular, change Weight: 1.0, Roughness 0.8, Anistropy: 0.5. This will help brighten the interior.
- Against the windows and doors, we’ll create glass elements. Use an actual volume here, not just a poly plane. We want the glass to have a thickness, here about 0.02. Apply an Ai Standard material called glass, with Diffuse, Color: white, Weight: 0.95 (we want some sense it’s there), Roughness: 0.02. Under Reflection, Weight: 0.9. Under Refraction, Weight: 0.99 but don’t apply IOR (it’s too thin to matter). These values will give a good reflection in the glass. Don’t forget to uncheck Opaque under the glass element’s Shape node Arnold options!
Window lights
- NOW we can create the Ai Area Lights since we can size them according to openings that exist. For each light, in the Attribute Editor, under Arnold Area Light Attributes, make Intensity: 50, Exposure: 1.0, Decay Type: quadratic, Spread:1.0, Resolution: 1000, Samples: 4, Shadow Density: 0.9. These bad boys get placed parallel with, right outside of, and completely covering each opening.
- With some test renderings, the need for a fill light is evident, so now the Point Light is created, with a Point Light Attribute: Intensity: 4.0, Decay Rate: Quadratic. Under Arnold options here: Decay Type: quadratic, Exposure: 1.0, Samples: 4, Radius: 2.0.
For the final render, we use the same 1280 x 720 resolution but change the Camera (AA): 7 and many others to 3. With this many lights, reflective/refractive surfaces, and lots of light bounces, this rendering clocks in at 90 minutes.
Case study 3: HDRI image-based lighting environment
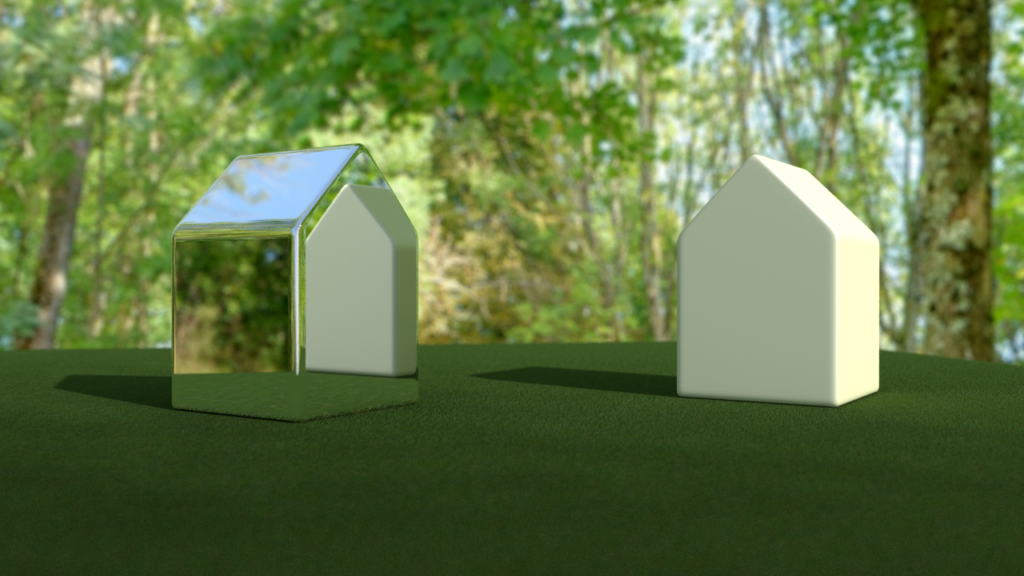
*very tiny elements*
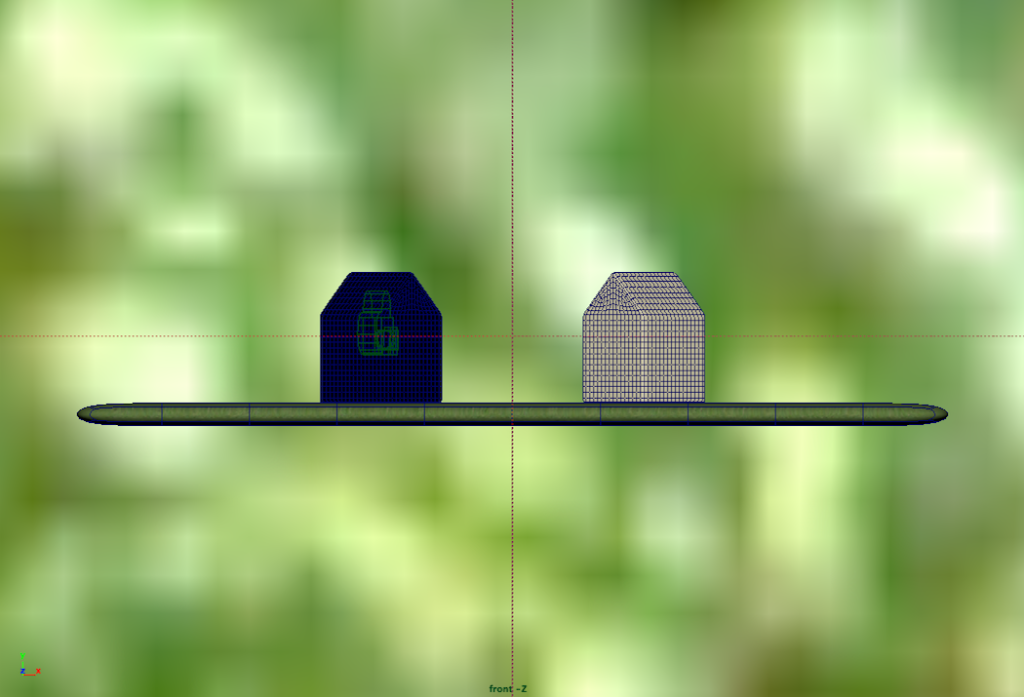
AND CAMERA
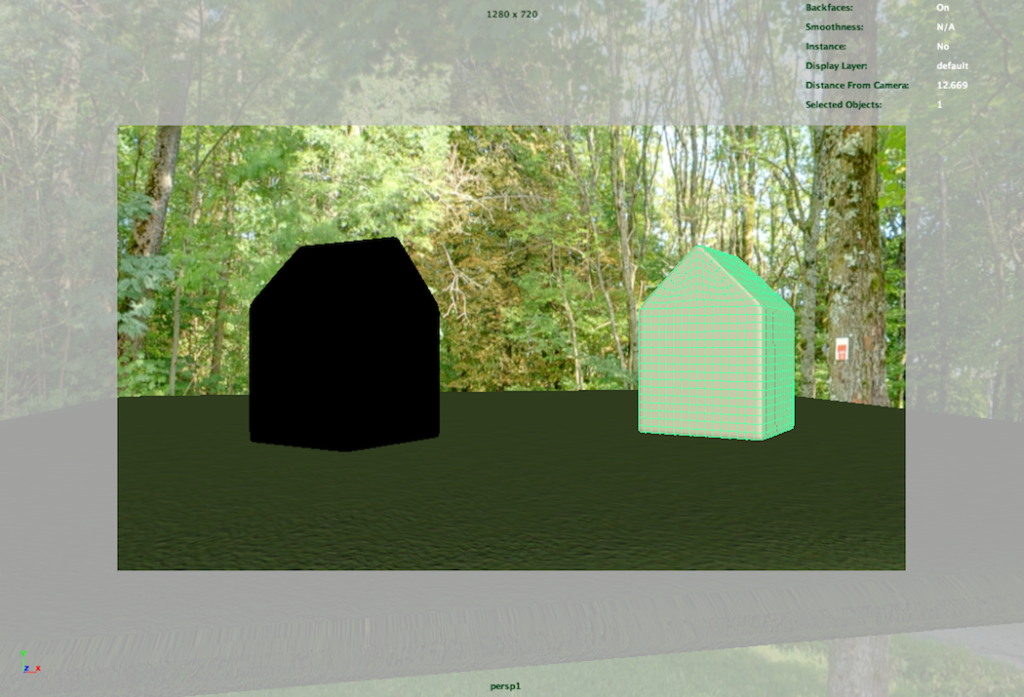
OBJECT DETAILS
Assets in scene
HDRI-based scenes are shockingly simple:
- Lights:
- An Arnold SkyDome Light.
- A Maya directional light to generate sharper shadows.
- Modeling:
- A smooth-mesh preview table-like object.
Workflow
There’s little more to do here than bring in our two house forms again, create a flat, smoothed table object, and make an environment using an HDR image map. This strategy favors an atmospheric approach to world-building; there’s not much granular control. But it’s awesome for shiny things!
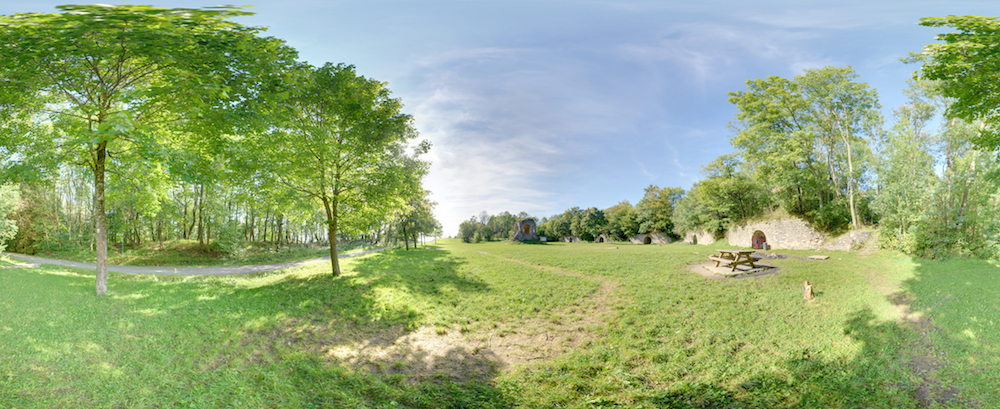
The panorama used to texture the SkyDomeLight, taken by Thomas Bresson, Fort du Salbert, 2011. Original at this link.
Lights
- We create a SkyDomeLight and apply the texture map the same way we did for the first scene above.
- We create a Maya Directional Light for shadows, again in the same manner as the other samples.
House elements
- We create the two house elements exactly as we did above. They can be done fresh, copied in, or externally referenced.
Environment elements
- We create a table plane with some thickness so we can soften the geometry in a smooth-mesh preview. On this table plane, we’ll attach a grass image map and a bump map generated from it.
- Create an Ai Standard material called grass and attach the grass image as above, except under the UV Coordinates set Repeat UV: 20 and 20 and Noise UV: 0.01 and 0.01.
- We scroll down in the Attribute Editor to the Bump Mapping option and click on the map icon to attach the bump image file. We apply the same value to its UV Coordinates as we do to the image map.
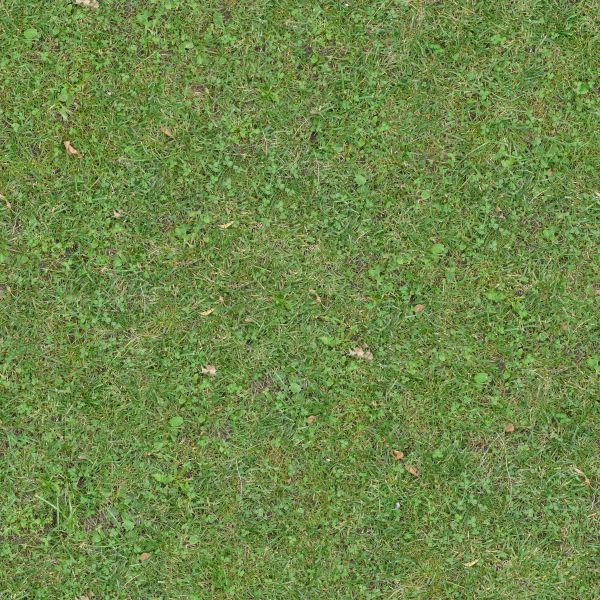
Original at this link.
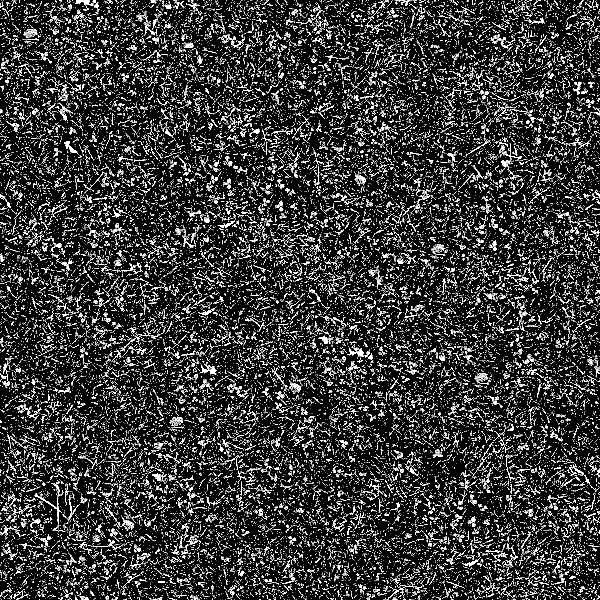
in Photoshop
Depth of field
The model is so simple that we can afford to play around with the camera Depth of Field (DOF) for an additional sense of atmosphere. This is a pretty simple thing to do and you can see the results fast in Arnold RenderView:
- With the renderable camera active in the viewport, go to the viewport menu View>Camera Attribute Editor… and open it.
- While fussing with menus, go to the main menu and find Display>Heads Up Display>Object Details. When we select objects, this can tell us how far away the object is from the camera.
- Select the house objects and note their distances; they average around 12.
- In the Camera’s Attribute Editor, scroll down to the Arnold options and open. Check on Enable DOF, and in the Focus Distance, enter the value you determined from Object Details—here, we enter 12.
- Finally, play with the Aperture Size values. This will create deeper or narrower DOF depending on the value. In our sample, we chose a value of 0.05 as deep enough to capture the house elements, but narrow enough to blur the front and back of the table edge, and certainly enough to blur the image on the sky dome.
Final render: 1280 x 720 again, with Camera (AA) back at 6 and many others at 4. It renders in a blisteringly fast 7 minutes.
Your turn
Of these three case studies, select which you think is closest to the concept you want to develop in your project. Using the downloadable files as a guide, emulate that SINGLE ONE. You may approach the exercise one of three ways:
- Recreate the file as you see it here.
- Modify the existing file by switching out image maps and/or selecting model elements.
- Build a new world from scratch with your choice as a guide.
Other resources
- The indispensable arnold for maya user guide
- Free HDRI sets at sIBL Archive


