

CHAPTER 19 — Managing a Project
9-minute read

Before diving into a project, it’s good to ascertain the general startup workflow that will manage any modeling effort. Limiting yourself to working “in the box” or without identifying objects you make beforehand will cause you to quickly lose control of your project. I find the following preparatory steps are quite helpful in maintaining order in a project. This makes the work go faster and more smoothly while allowing you to concentrate on your work, rather than wasting time fishing in the software or fixing unnecessary bugs.
Concept before modeling
Drawing by hand
The magic mystery of drawing ability seems to be, in part at least, an ability to make a shift in brain state to a different mode of seeing/perceiving. When you see in the special way in which experienced artists see, then you can draw… Drawing is not very difficult. Seeing is the problem, or, to be more specific, shifting to a particular way of seeing.
— Betty Edwards
Draw sketches. Digital modeling is hard. But no amount of virtuoso modeling can make up for a lack of a good concept. Even if it’s very crude, having some visual idea of what you want to create is not just useful, it’s essential. You can always tell a project that was conceived “in the box,” and trust me: that is not a good thing. Use a pen or pencil, sketchbook, journal, or a tablet app like Penultimate. The important thing is to get the hand involved.
This is not mere romanticism of the “hand of the artist” or an argument for its authenticity. There is no undo command, re-sizing, or flipping on paper, so the artist must pay more attention to the task, which helps with the seeing part Betty Edwards emphasizes. It eventually leads to fewer mistakes and working more efficiently.
I am struck by students who think digital work ought to be easier than traditional media — as if the computer will see for them! I emphasize that drawing is a difficult skill to acquire, but it can be learned. Computers are also hard to handle, but can also be learned. What sometimes makes a digital media class so difficult is that an artist is trying to do both at once. Software almost always overwhelms the task of learning to see through drawing. I find my best students are the ones who take the time to learn to see through drawing before they wrestle with balky software. If your foundation is laid with paper and clay, then transitioning to digital modeling means just understanding the software.
Notes to yourself
But really, the trouble is most people get hung up on an “I-can’t-draw” jag while sketching when the quality of craft in that arena isn’t even the point! Remember the goal: your sketches are personal notes to yourself. They do not have the same agenda as a finished piece of work. They can be random, even ugly. The simple point is to make notes for yourself!
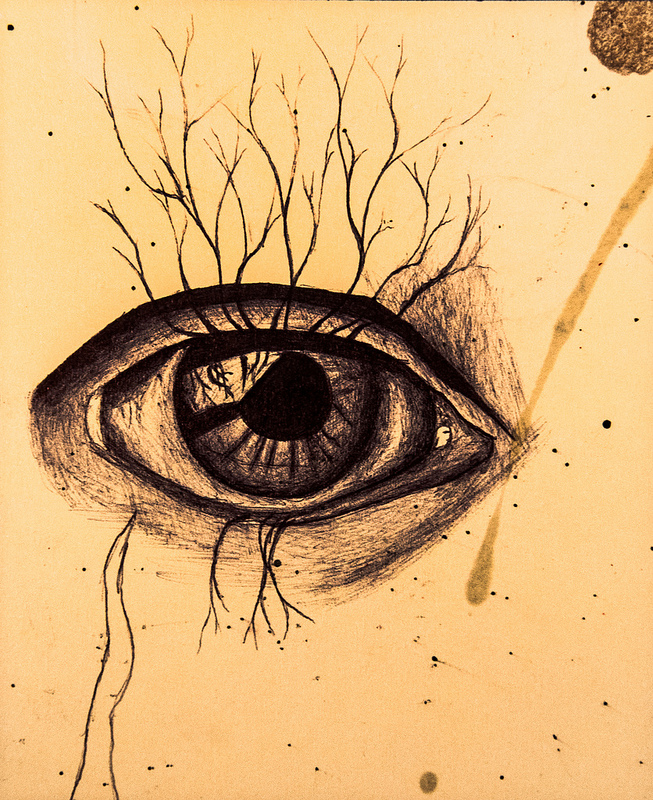
Observe how the sketch translates into a final video, the first animation project for this student. From a studio by the author.
Prototype modeling
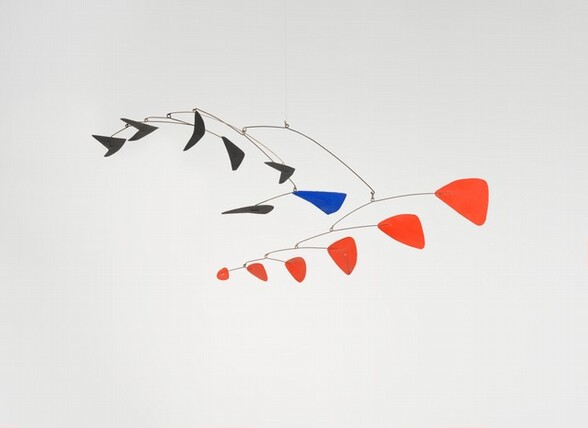
The sculptor Alexander Calder, famous for inventing kinetic mobile sculptures, was also famous for his chaotic studio. Here, he would fashion models out of bits of wire, sheets of recycled soft metal cut with tin snips, or cotton balls. He’d quickly reach for a vast range of improvised scraps, paint, glue, or whatever he had on hand to try something out.
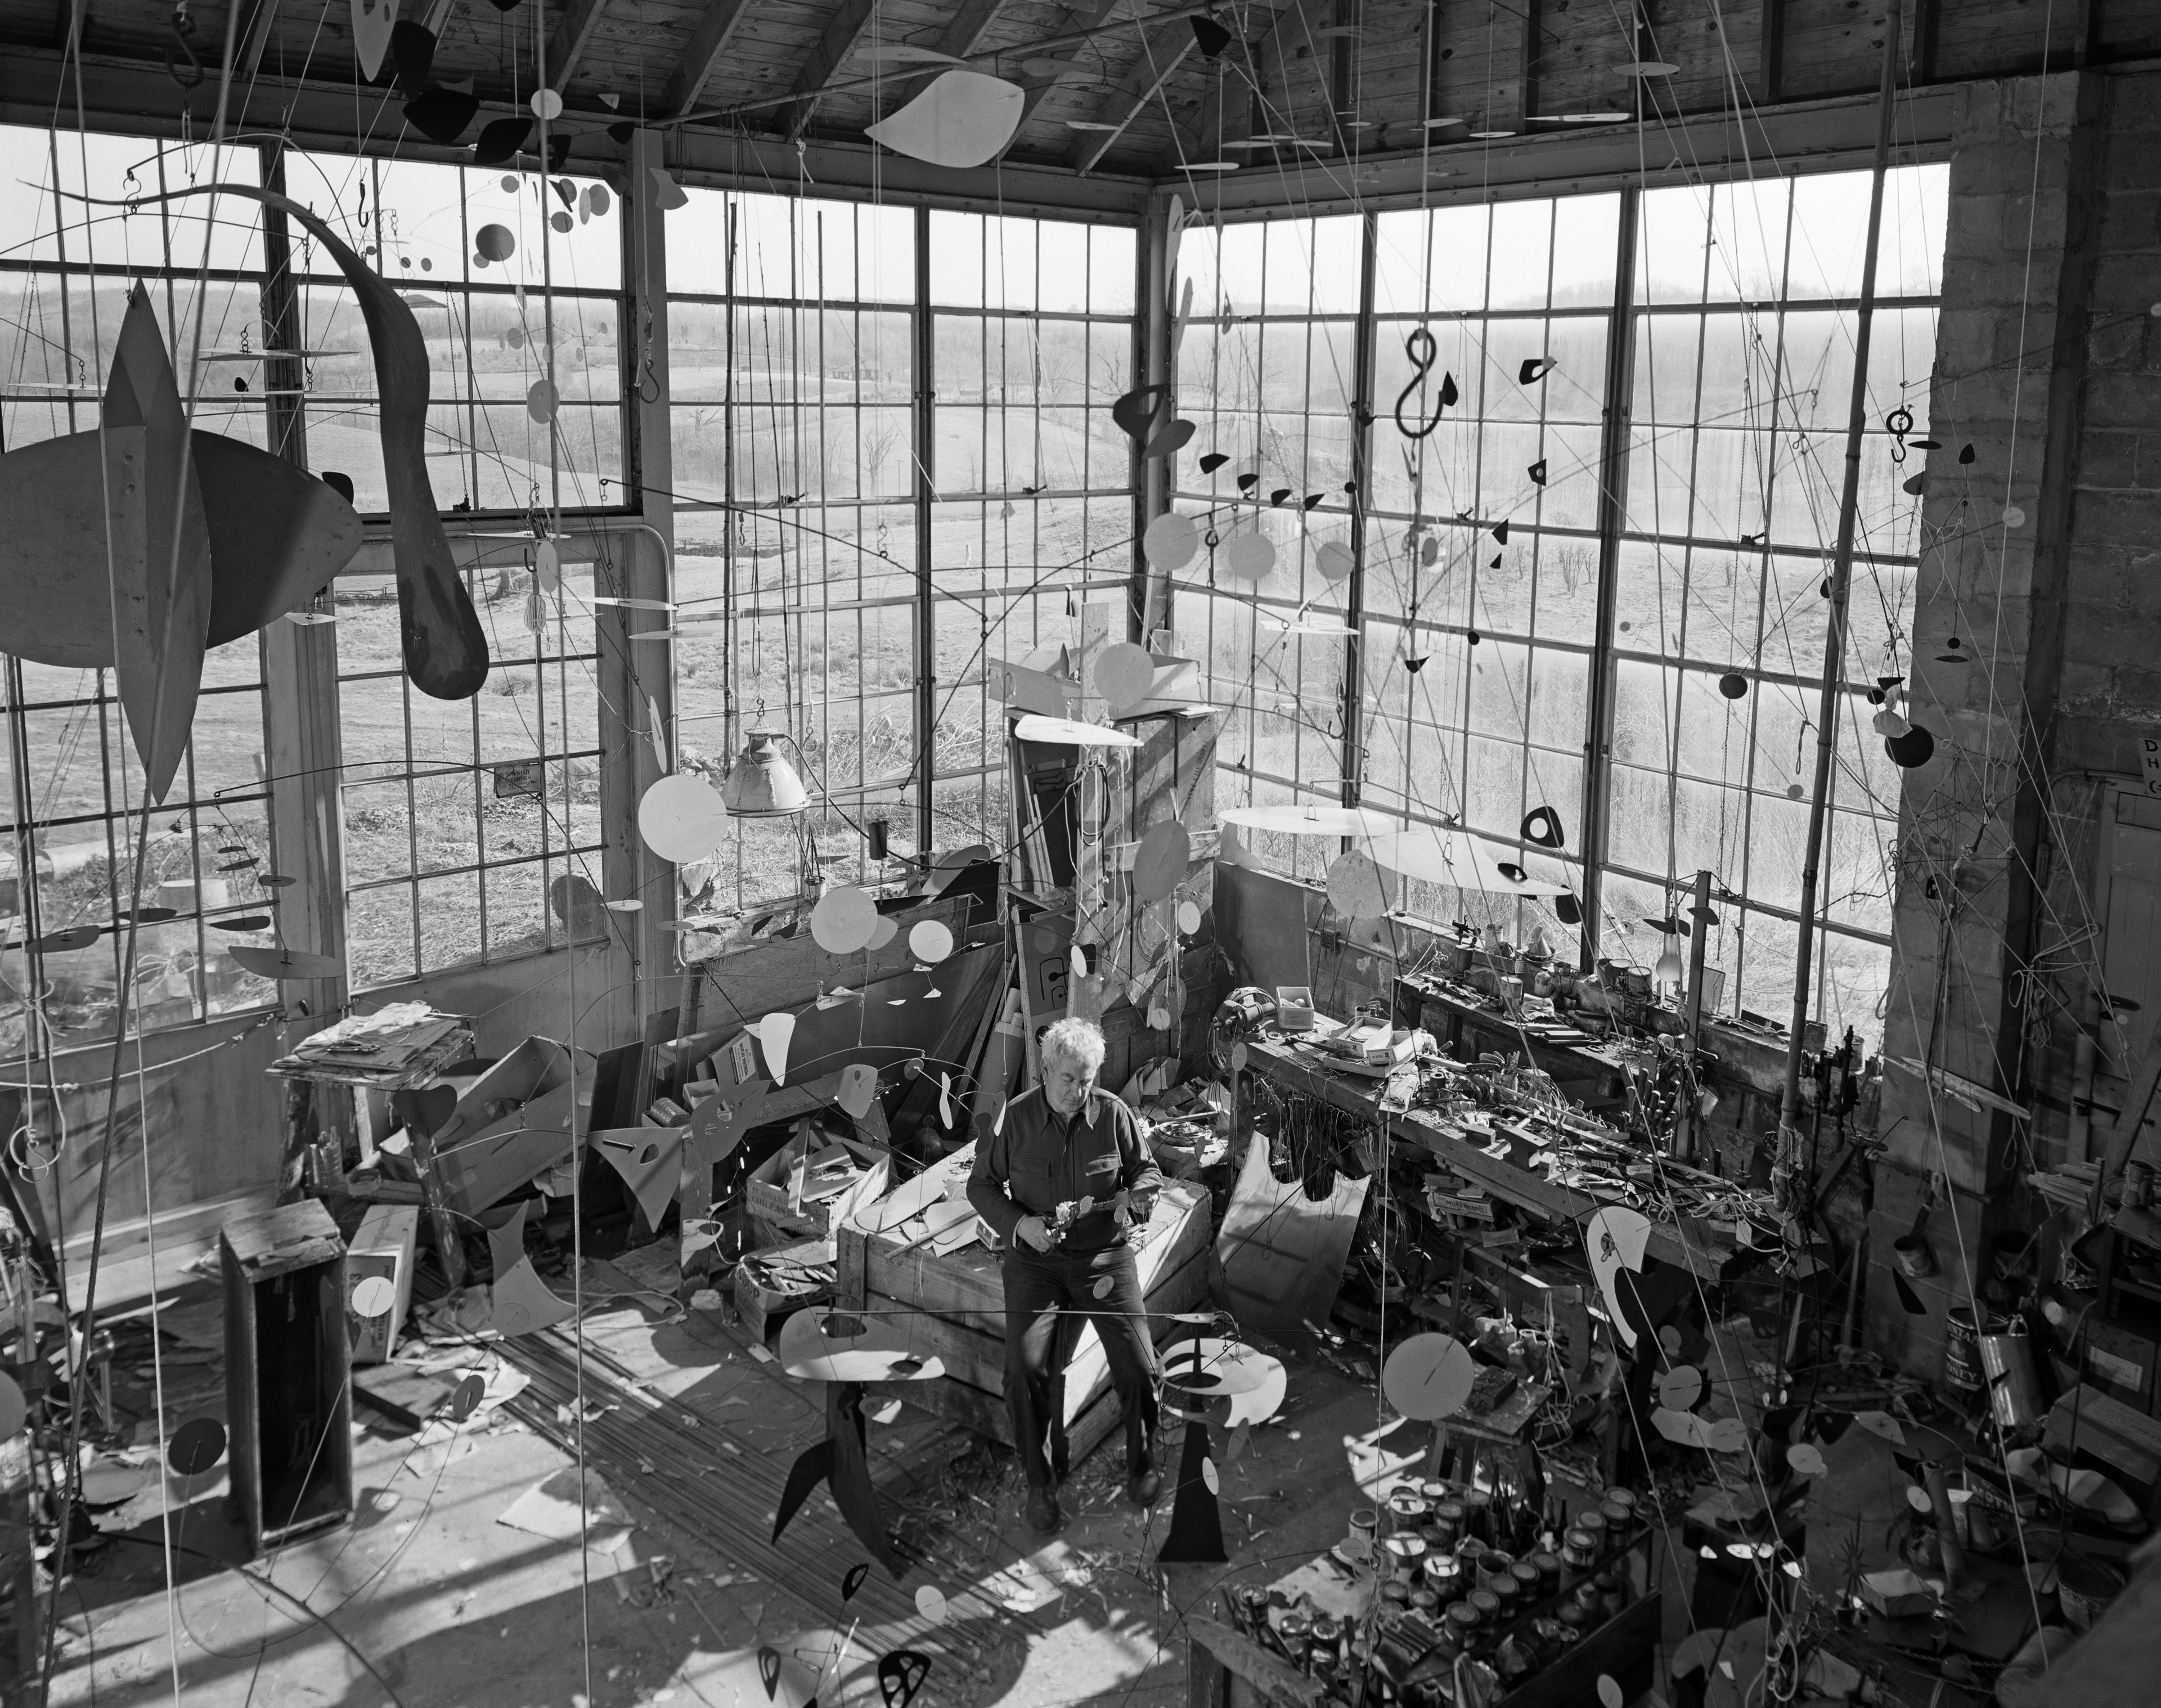
Out of this glorious chaos would emerge ideas that would later be fabricated at a larger scale, often with a team. Calder asked Paul Matisse, grandson of the painter Henri Matisse and an artist who fabricated large-scale installations of his own, to assist with the final version of a mobile installed in the East Wing of the National Gallery of Art in Washington, D.C. The original prototype was a little over two feet long and constructed of wire, aluminum sheets, and paint. Paul’s final fabrication is 76 feet long, scaled by a factor of 3400%!

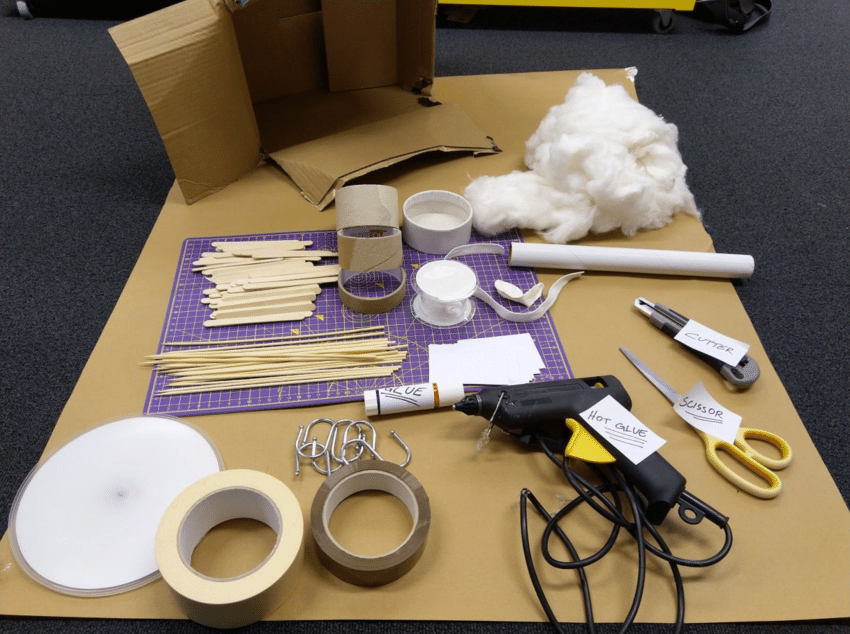
When we are making a model, it really facilitates the process to create low-fidelity physical prototypes out of inexpensive, quick-to-assemble materials. You may feel tempted to skip this when a model has a deadline, but experience teaches otherwise. The prototyping process can inform the modeling process in unexpected and useful ways. In the campus maker space I run, we keep several simple materials on hand for student modelers to prototype with. Keep a kit of paper, pens, cardboard, wire, sticks, and other recycled materials on hand to test an idea before modeling. Taking the time will save time later!
Orthographic drawing
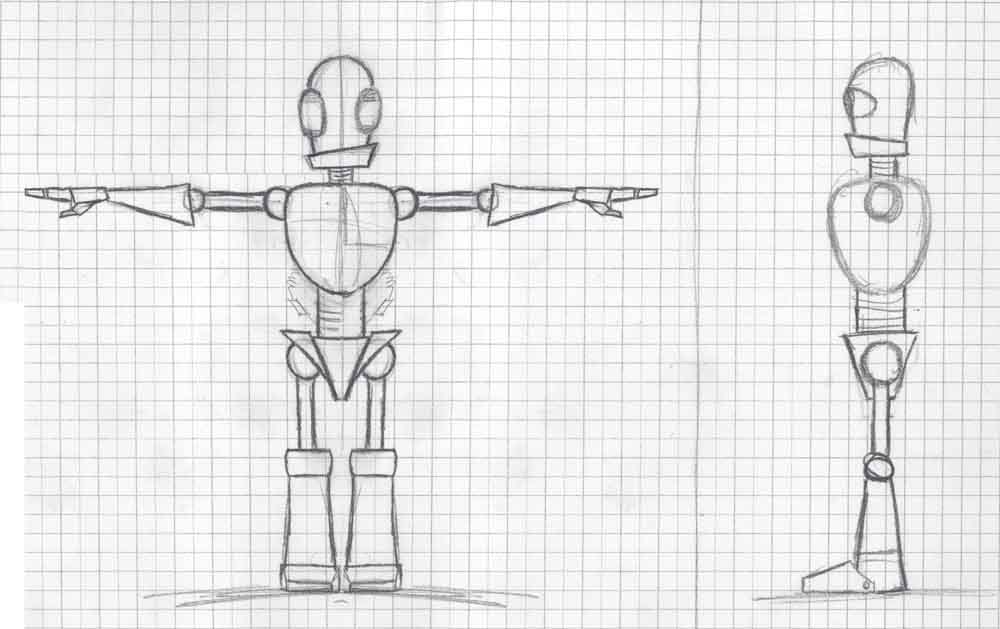
Always draw, create, or find reference images. Recall orthographic drawings are parallel projection drawings. They function as working drawings akin to façade or elevation drawings in architecture. Typically, only two views — a front and side, top and side, or top and front — are necessary for most objects. However, multiple views may become necessary in more complex objects. Be careful and precise with these drawings — these are higher resolution prototypes! Make sure that proportions and dimensions are correct and that features of the model will coordinate with each other spatially — that is, a nose or eye should be the same size and located at the same height in a front and side view.
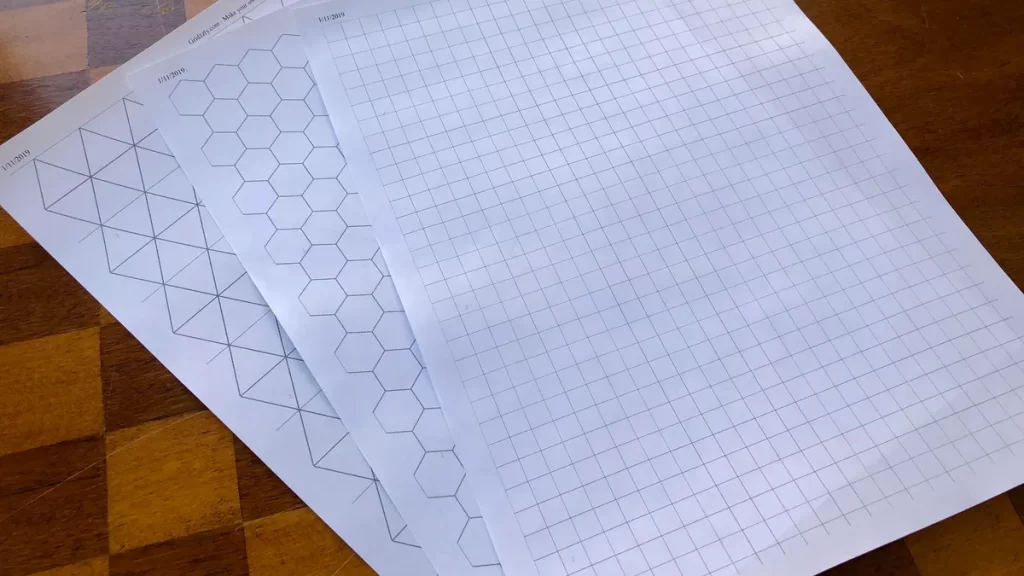
Graph tracing paper is particularly helpful with such spatial coordination if you are drawing on paper. Save a trip to the store: go to Print Free Graph Paper and create your own. The drawings can be scanned and imported as image planes in the model.
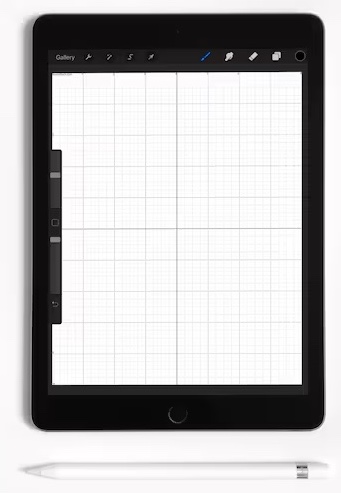
You can use a vector program like Illustrator, exporting the image as a bitmap file. Or you can use a tablet app with a graph paper background and export the page as an image. Or you could try an online editor like Google Drawing. But sometimes the electronics are more of a bother.
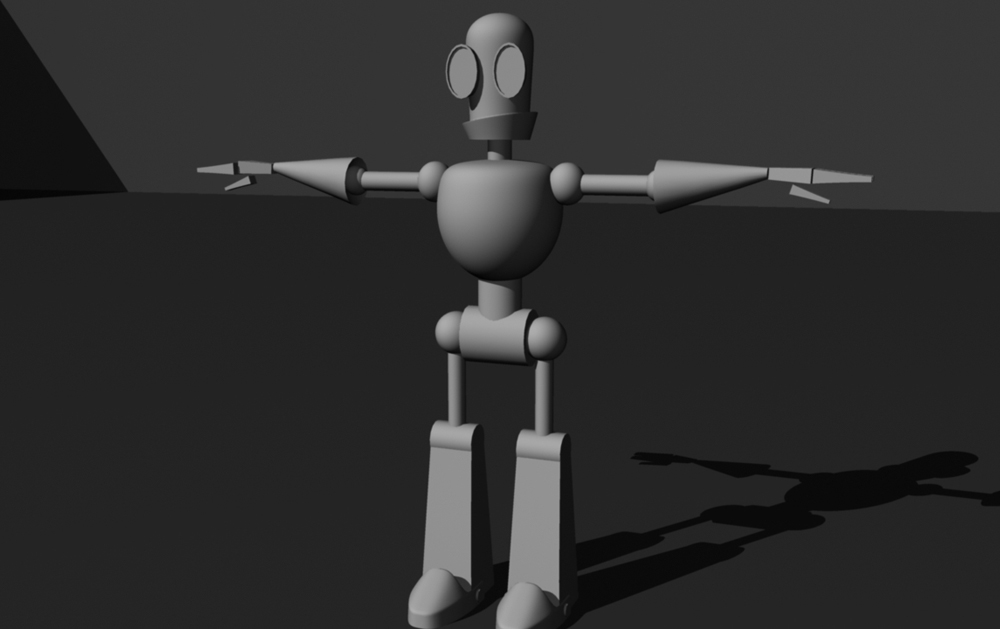
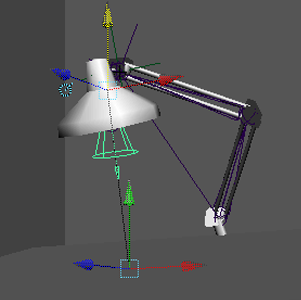
Import reference drawings to image planes. Most modeling software will allow the user to set up camera-based image planes. These are helpful because they don’t select and move like objects, and can be turned on or off as needed.
What about photographs?
It is difficult to use photographs or existing visualizations as reference images. However, from time to time you can find sources that provide images that are essentially orthographic. Sites like 3D.sk provide high-resolution reference images created from photographs. And some objects, in particular architecture and industrial objects, can be found orthographically illustrated.
Organizing the model
Assign names to everything
List every individual object in your modeling scene, giving each thing or character a specific, unique, memorable, and succinct name. On sketches and reference drawings, write down the names of your objects beside their images. Do this on prototype objects as well. For complex objects like vehicles or human figures, we want to name the object (auto, james) and elements or sub-assemblies of the object (autoLeftFrontTire, jamesRightArm). In a team-oriented project, everyone needs to agree on a naming convention.
| Object | Bad Name | Good | Better | Best |
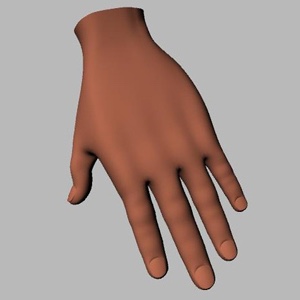 | Hand! | hand | leftHand | johnLeftHand |
 | Leg | leg | tableLeg | kitTableLeg01 |
 | Light @ office | spotlight | officeSpot | officeSpot024 |
 | WOOD | oak | redOak | redOak02 |
Model with assigned names
When you model, always name your scene objects, using the same names that you have on your rough sketches and reference images described above. Names can usually be created in the software. For example, in Maya, at the top of the Channel Box, as you create objects or primitives, there is a field where you can name them. Avoid spaces and starting names with capital letters. For example, you might name something Living Room Sofa on your sketch. Instead, this should be livingRoomSofa. Note the convention known as camelBacking or camel case.
Digital Discipline
No app is an island. Most digital artworks are created using a principle authoring software backed up by several others. An animation might need Maya or 3DMax as a modeler, but more than likely requires Photoshop for bitmaps, Illustrator for vector art, Premier for video compilation, Audacity for audio, AfterEffects for special video effects and titles — and this doesn’t even cover web design applications for portfolios or cloud apps for blogging presentations.
Inserting an orthographic image into a model as a reference does not mean the data from the image is included in the model file. The image instead gets linked to the image file through a process called external referencing. Seeing the image in the model file is a bit like seeing a show on your TV: the television does not display the show unless tuned to the proper channel.
When we work with externally referenced files, we save the files in the same location as the model file — the project folder — to keep them properly linked. When we move the project, we move it as a folder, not as individual files. This way, files will not lose their references when transferring files between computers, collaborators, or clients. When we work with referenced files, we can edit them and they automatically update in the master file or scene. This is a huge advantage.
Project folder
Create a New Project. Open the softwareimmediately create a New Project, not just a new file. Give the project folder a rich, descriptive name (not a number), using good file naming conventions. Good file naming includes:
- avoiding capitals
- using an underscore in place of a blank space
- avoiding special characters like % or #
- avoiding generic, forgettable filenames.
A bad name: My Project #6!.obj will not be readable on some platforms, is hard to reference if you don’t remember the capitals when typing, and in six months you won’t remember which of a dozen “My Projects” number 6 actually is! Better name: 2023_cromar_stonehenge.obj tells a little story: it lets me know when the file was made, that I made the file, and what it’s all about.
Grouping and referencing
Consider sorting your objects in groups (by naming or grouping functions) or layers in complex scenes. For scenes that are fully fleshed out, create an individual scene for each object and reference them to a master scene, all contained in one project folder. This will speed up your workflow, and if you are working on a team project it’s a hyper-essential step.
Historical state saving
Save your work at clear stages of completion, as historical states. Save early and often. Some modeling software has preferences for setting up autosave and auto-backup, and these should be used wherever possible. When doing something radically new to a file, duplicate the file and open the copy to continue working. Keep this historical state of the project in case you don’t like the direction a project is going. This will save you the heartache of starting over from zero!
3-2-1 backup rule
When you back up work, save it to three places:
- your hard drive (or a networked drive in a network computing environment like most schools or offices provide) …
- an external hard drive, and …
- a cloud computing service.
Even if you lose two drives, you still have the third as a fail-safe.