webGraphics
Creating web-ready graphics
Now that we know about graphic file types, how do we get a graphic image out of, say, TIFF, PSD, or AI and into a web-appropriate file type? How do we make decisions about resizing files, and most importantly, proper choices for file compression? How do we know when it’s best to select JPEG, GIF, PNG, WEBP, or AVIF?
This exercise will explore these questions for files without transparency.
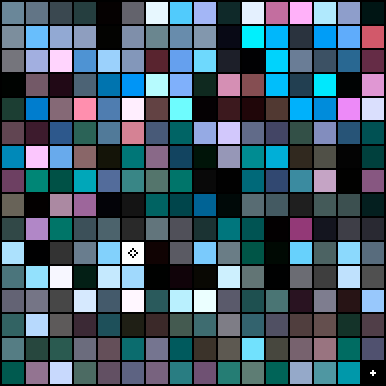
The GIF 256 index color palette
The evolving role of graphic content on the web
The Wayback Machine is an archive of web pages dating back to the early 1990s. We used the Wayback Machine to view web sites from the 1990s to compare them with the same sites today (2023). Notice how the aesthetics of web graphics has changed over two decades. These new aesthetics are possible due to increased network speed, changes in programming techniques, and the evolution of information design. Greater connection speeds result in the ability to upload and download larger files. Graphics are larger, more frequent, and more colorful on current web sites than the graphics made for the web in the 1990s. The presence of motion graphics, once the exception even a decade ago, is now the rule.
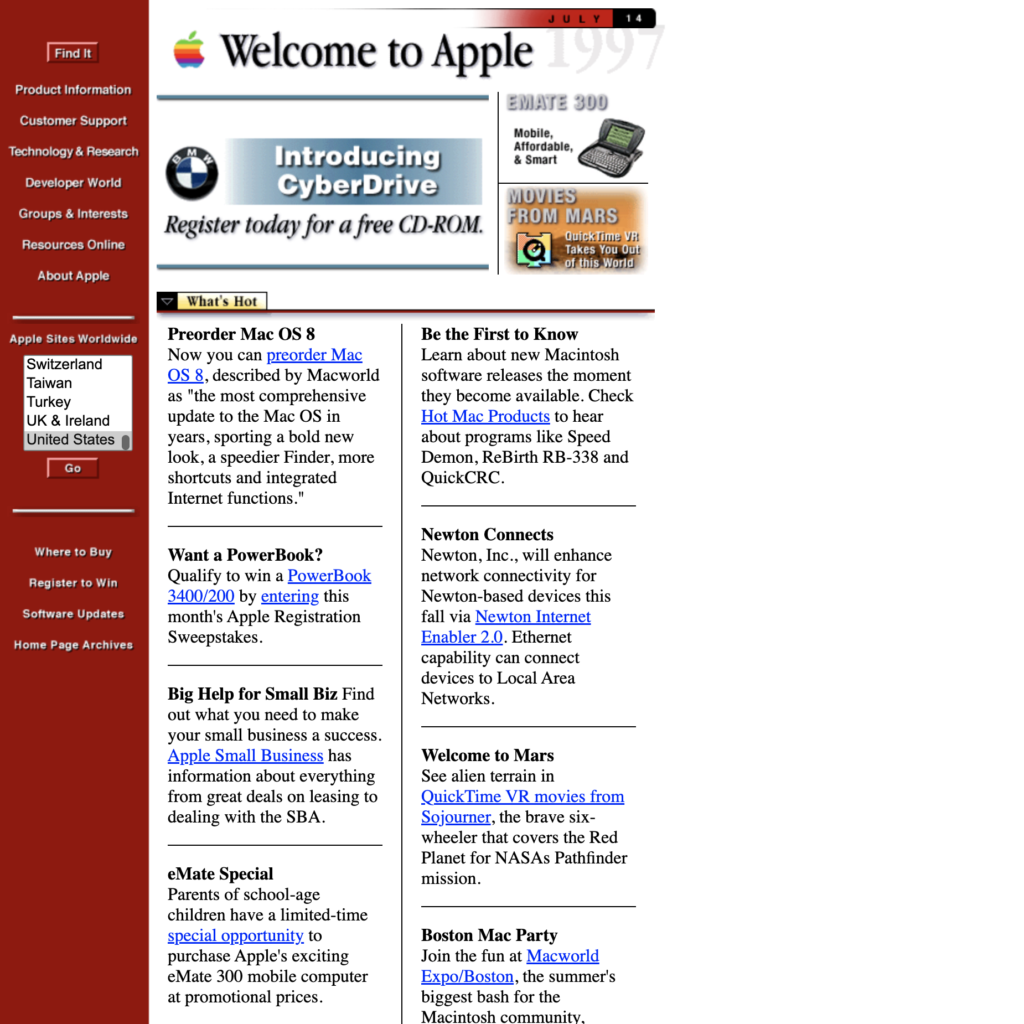
Apple.com in 1997

Apple.com in 2023

Philamuseum.org in 1999

Philamuseum.org in 2023
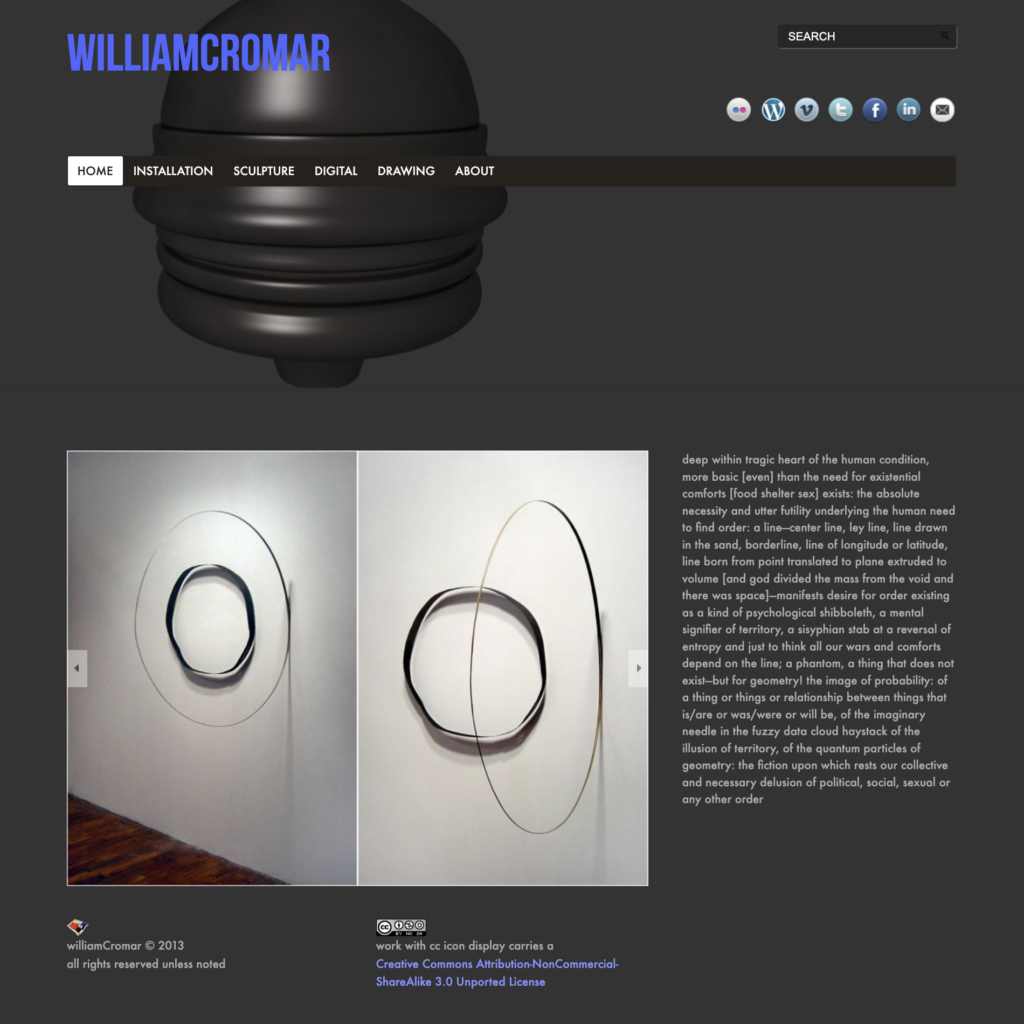
williamcromar.com in 2013
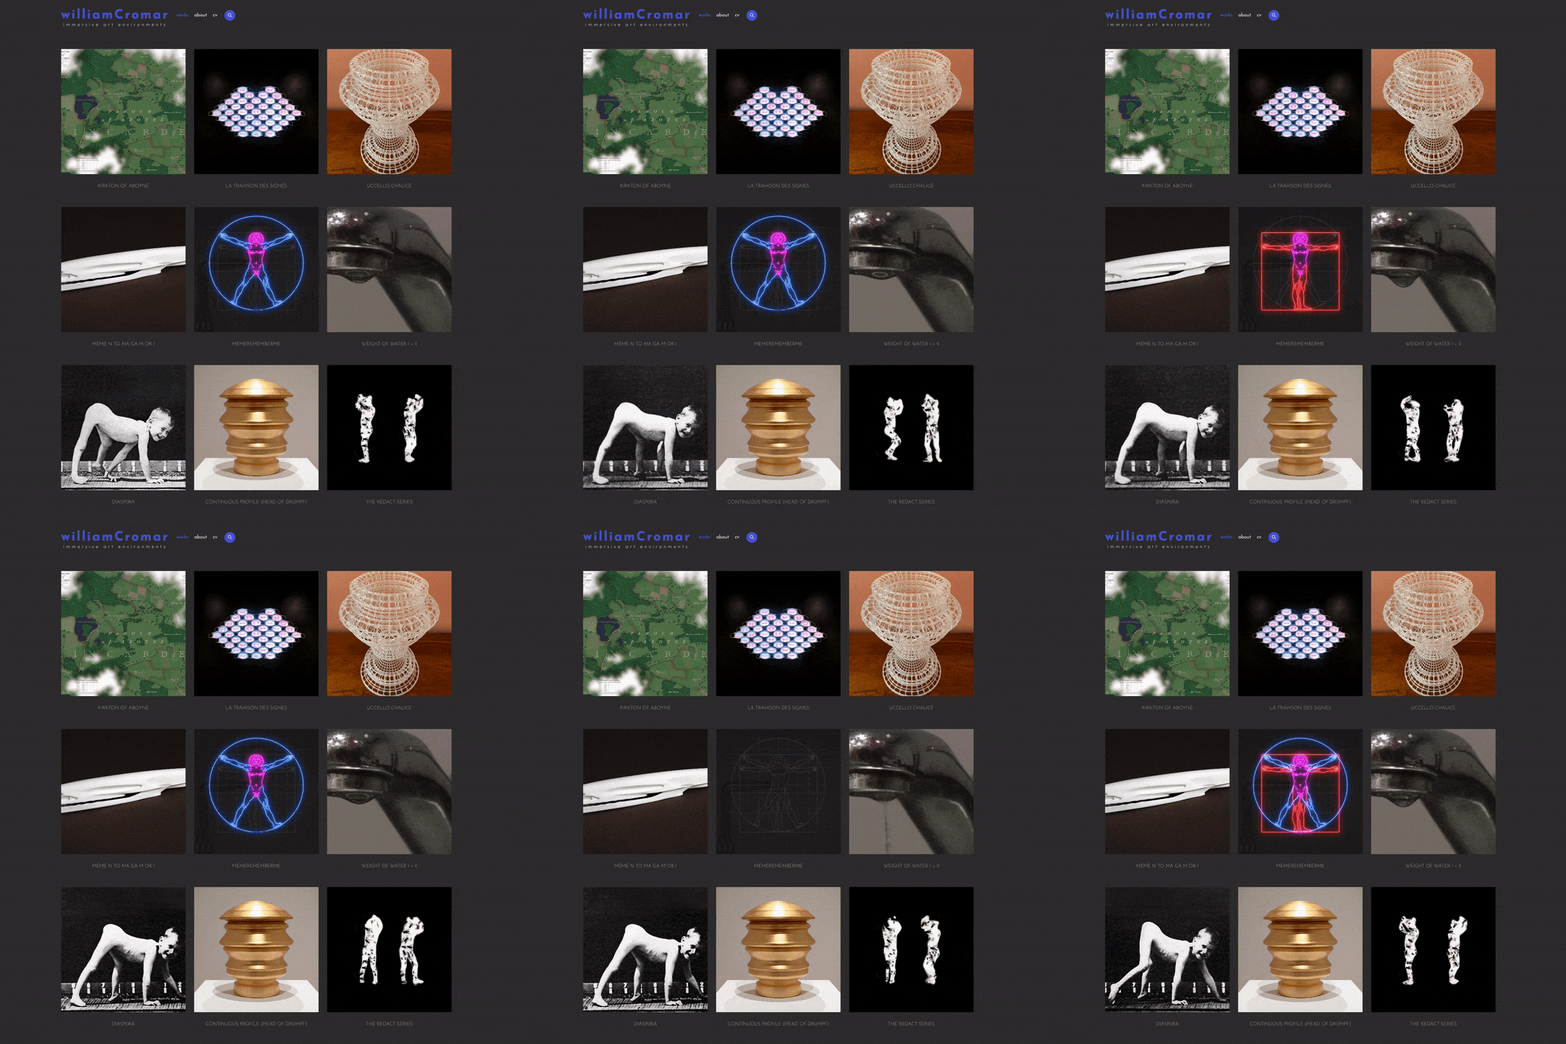
williamcromar.com in 2023
From digital input to web ready
The .zip file at the sample file link above contains a photograph and a flat graphic to explore the creation of web-ready graphics below. Download and, in Photoshop, open seagram_building.jpg from the wiki, or get any image with a good histogram from your digital camera or scanner.
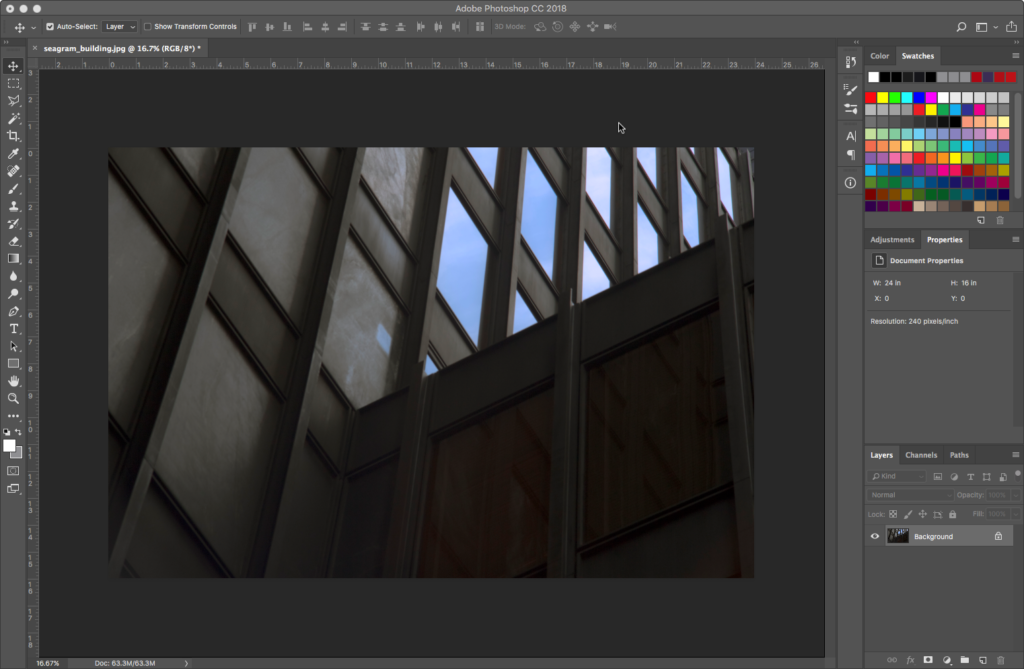
Your experience with Photoshop in 2D Digital Art prepared you to be comfortable changing the tonal range and color of this image. Adjust the tonal range and color to your liking by creating adjustment layers. In our sample, we created two adjustment layers by tweaking Levels and adjusting Curves to pull RGB values down from 255 into the 245-250 range.
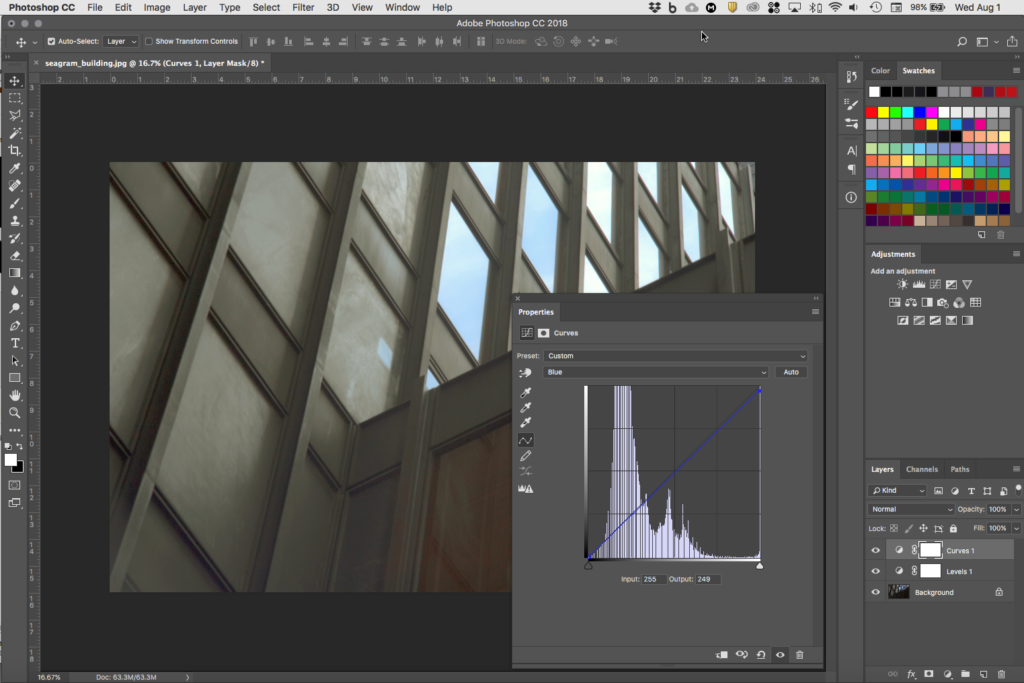
Save this file as a master copy by choosing Save As from the file menu, adding _master to the file name and then choosing TIFF as the file format. We saved ours as seagram_building_master.tif.
Resample the image
The image was taken by a 21-megapixel digital camera, and is much larger than can be displayed on a web site. Choose Image > Image Size and notice the size of your image in pixels. Check the box next to Resample: and constrain proportions by enabling the chain icon between Width and Height, then change the Resolution to 72 and the pixel dimensions so the Width is no larger than 1600 pixels. The only measurement unit relevant to us in this exercise is pixels, as the image will be shown on a platform that also uses pixels.
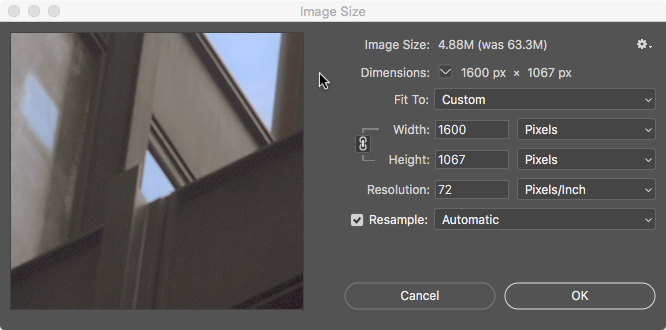
Unsharp Mask
Apply an unsharp mask (Filter > Sharpen > Unsharp Mask). Make sure you have the image layer selected, and not one of the adjustment layers. We used the following settings: Amount: 25%; Radius: 0.6px; Threshold 0 levels. Use these values if you’re using the seagrams file, otherwise you may need to change these values for the image you are using.
Save for Web
Choose File > Export > Save for Web (Legacy)… . This interface allows you to compress images, flatten layers, and otherwise prepare an image for the web. The Save for Web dialog has several important parameters to set. A particularly important parameter is the Optimized file format under the JPEG option. As a general rule, photographic images and images with more than 256 colors are saved as JPEGs. Flat graphic images—images with few colors such as logos and line art—are saved as GIFs or PNGs. Since this image is a photograph, select JPEG from the Format pull-down menu. Select the Very High option for a Quality setting of 80. Saving a file for the web compresses the saved image into a smaller file size by removing color information and pixel detail. This is called lossy compression.
Compare optimization
Click on the 2-Up tab to show the original image in its native format next to the compressed image. Notice that the original image has a file size of 4.88MB, and the file size of the optimized image is 358.5KB. This is important because the smaller the file size is, the faster the image will download as part of a web page.

Reduce the Quality to Low, or 10. Notice how much detail is lost. Visible compression artifacts are introduced into the image. Our file size is much smaller at 44.2KB, but we have compromised too much image quality for the sake of the smaller file size.

Return the Quality setting to High, and click the Save button. If your settings disappear, click on the lower preview window.
Name your file with an underscore and the word “web.” In our sample we named the file seagram_building_web.jpg, and save it to the Desktop. Remember web standards when naming files: only use lowercase alphanumerics, underscores, and dashes.
Close and do not save the seagram_building_master.tif that is currently open. Recall we saved the master file before scaling the image and we don’t want to save this smaller version over it. Watch Out: When you open the file and resize it, it is no longer the master file. This may seem confusing, but it is a situation you will commonly experience when maintaining master files and resized web ready files. There’s nothing stopping you from using Save As to save your scaled-down master file as well, but it’s probably overkill and could mislead you later into believing it’s the largest version you have.
Open the JPEG you just created in Photoshop, and notice that there are no adjustment layers. By saving for the web, we flattened the image.
JPEG versus GIF versus PNG
We mentioned earlier that a photographic image with many colors is saved as a JPEG file, and a graphic image with few colors and gradients are saved as GIF or PNG. This is generally true for any image that does not contain transparency or an alpha channel for transparency, a case we will study in the Word Images exercise immediately following this title. Following these rules for full opacity will generally produce better images and smaller file sizes.
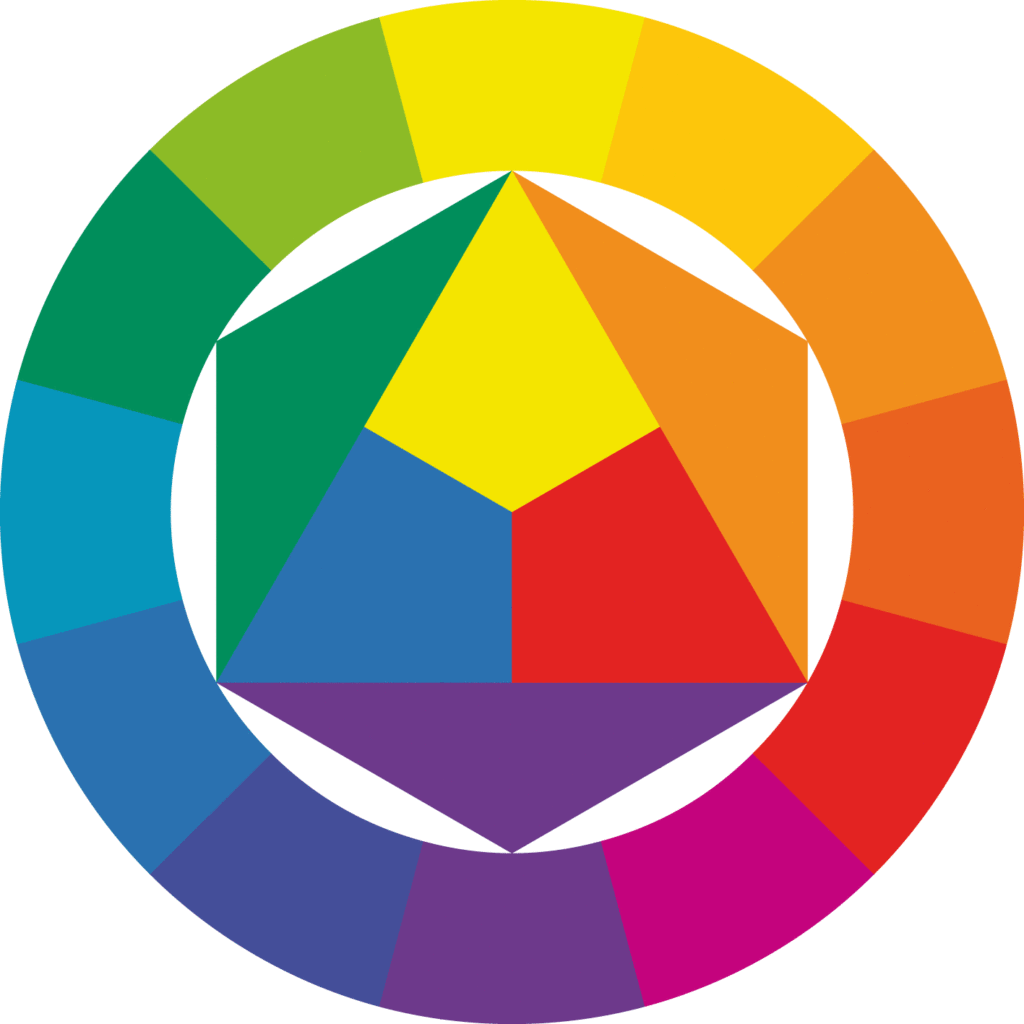
In this section we will compare a variety of file types for our photo, and also for a flat graphic derived from an SVG. Both images are of late work done by two former Bauhaus masters: the Seagram Building in New York by Ludwig Mies van der Rohe in 1958, and the Farbkreis (Color circle) by Johannes Itten, produced in 1961 — here interpreted in vector graphic form, from Wikimedia Commons.
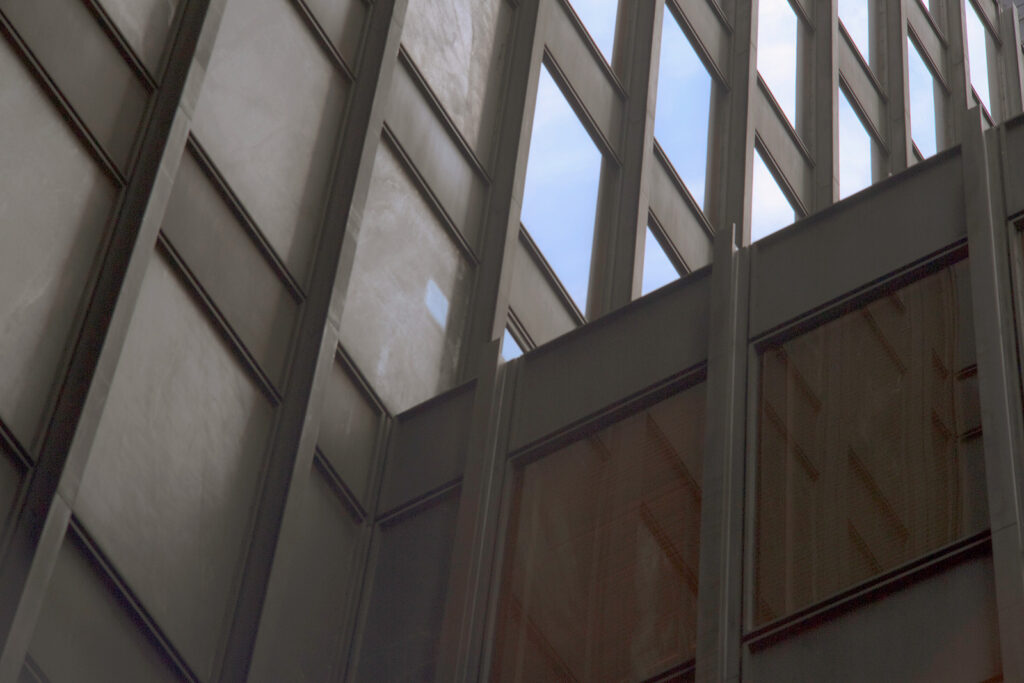
Our Seagrams Building photo
Johannes Itten, Farbkreis, 1961
We’ll reprise the JPEG analysis from the previous section, adding GIF and PNG trials to complete a full comparison. We will compare two compression levels for both images. In order to see the effects of compression for each case, click or tap on each image to open a full size version in a new tab. Finally, we’ll tabulate data to compare image quality with file size.
Photo compression comparison
In the photo, which starts as an uncompressed TIFF file at 4.88MB, we’ll use Save for Web (Legacy)… to demonstrate that JPEG produces a better image compression at a reasonably smaller file size. To achieve a GIF or PNG of similar file size to our JPEG compressed at 80 for a file size around 360K, we have to compromise quality too much.
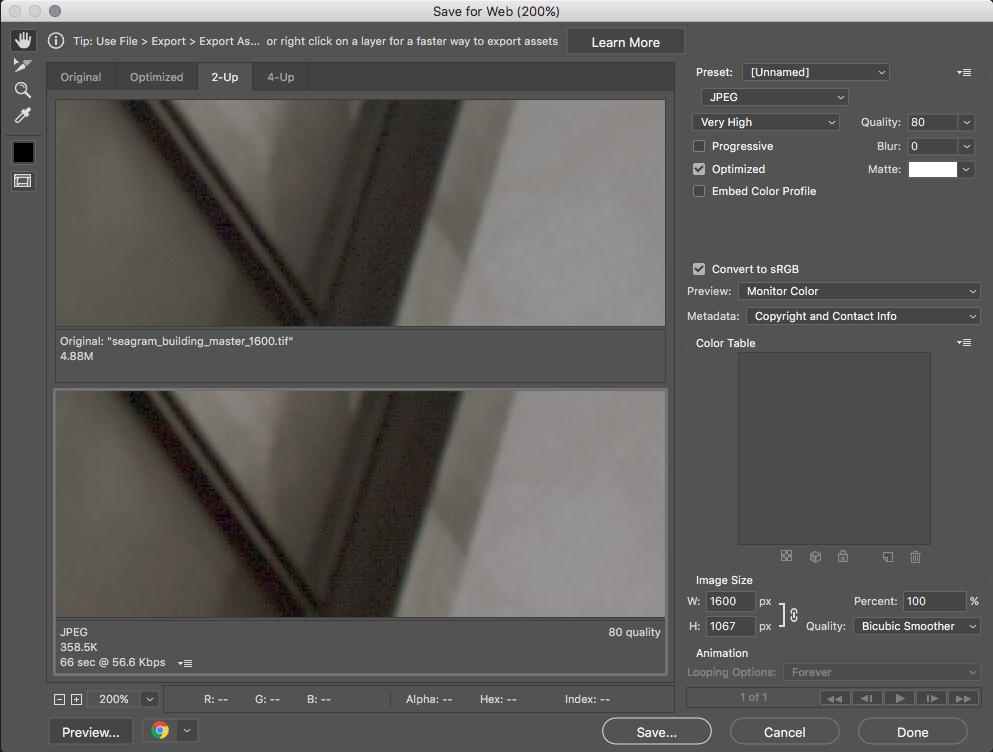
JPEG: Compression Very High (80), 358.5K
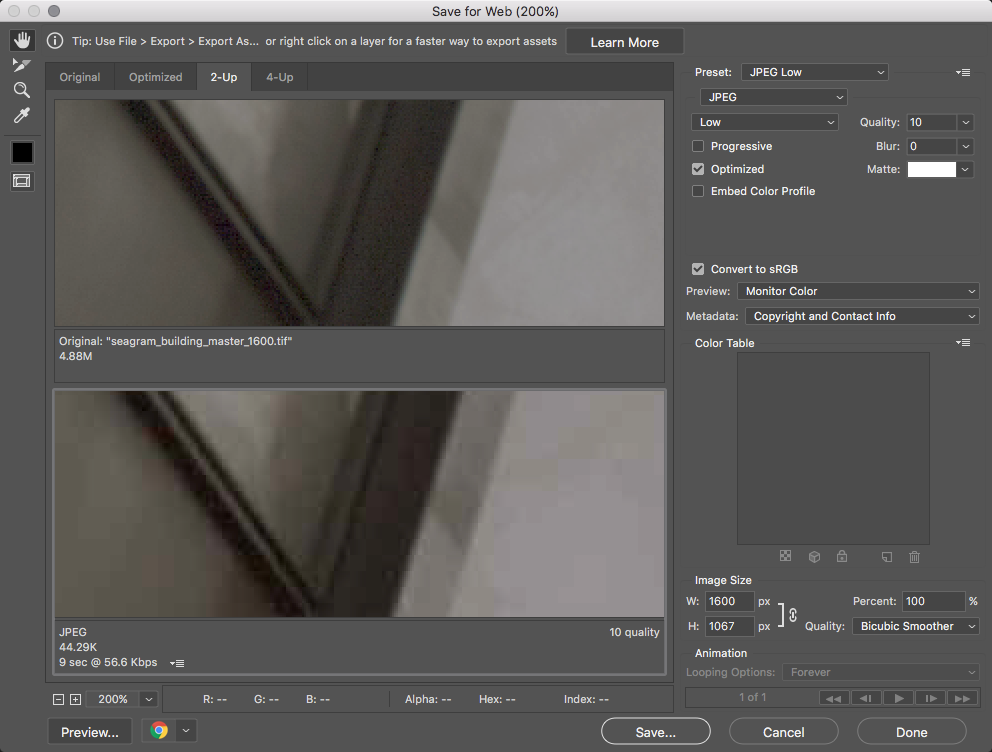
JPEG: Compression Low (10), 44.3K
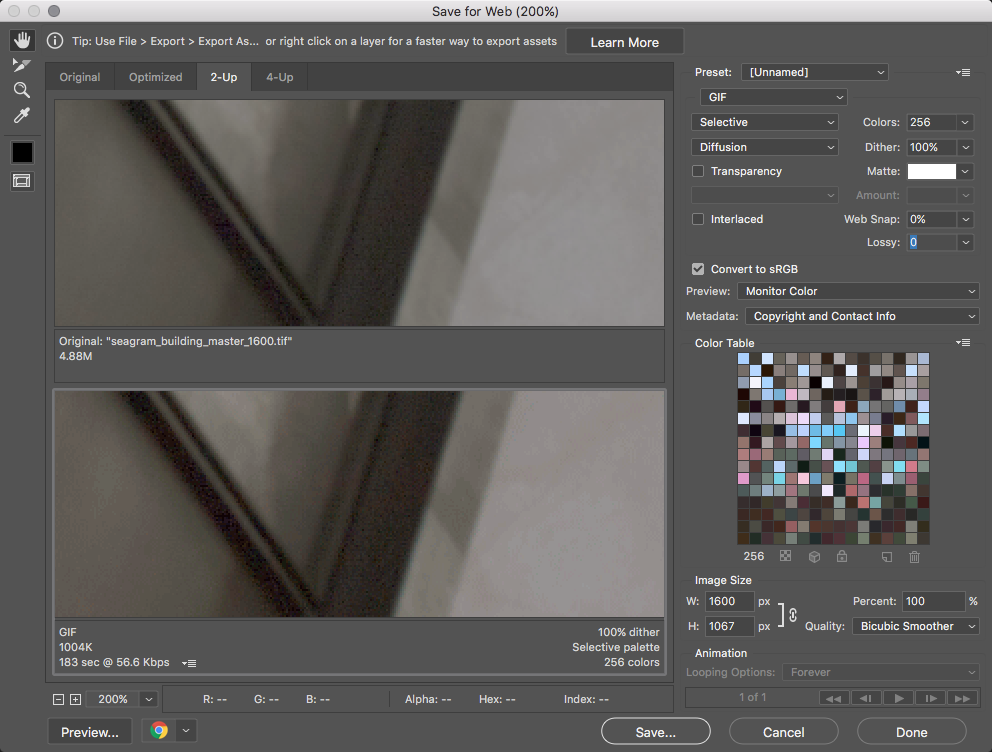
GIF: Colors 256, Lossy 0, 1004K
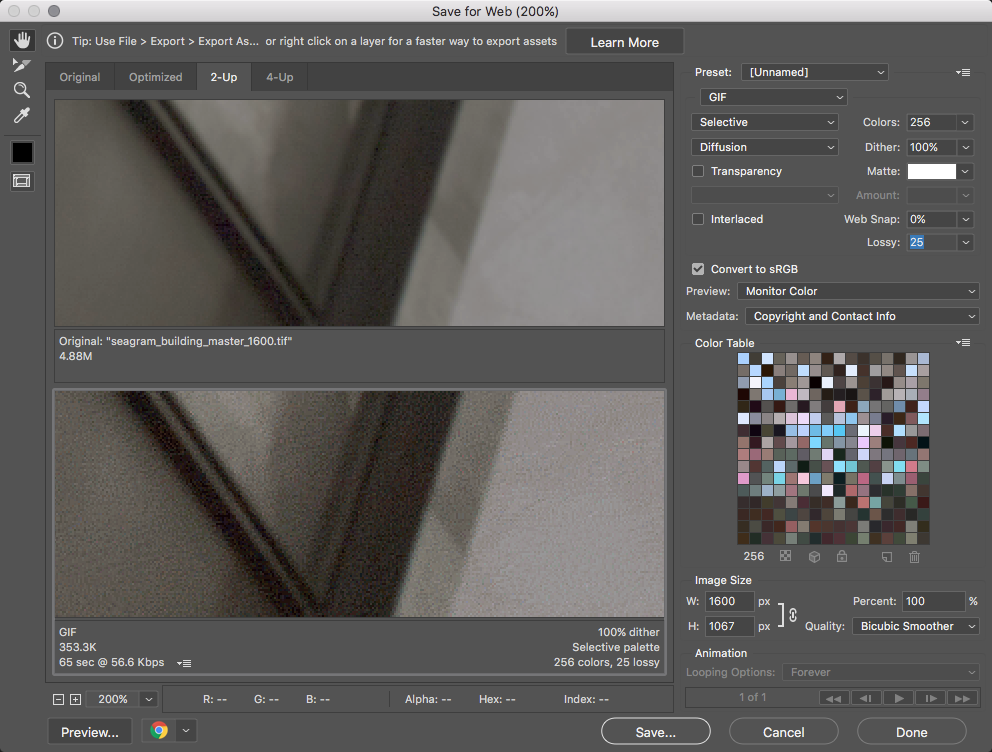
GIF: Colors 256, Lossy 25, 353.3K

PNG: PNG 24, 2.036MB
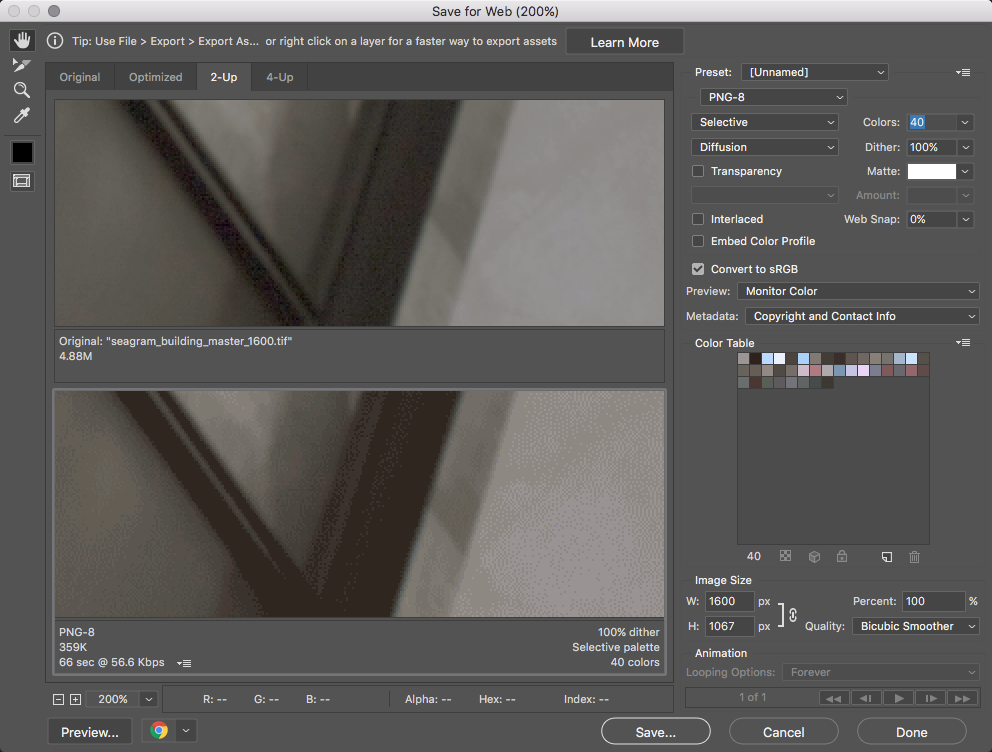
PNG: PNG 8, Colors 40, 359K
Graphic compression comparison
The flat graphic begins as an SVG file at a hard-to-beat 8K. Nevertheless, you need to substitute a raster file for the vector — some content management systems may not support SVG, for example.
To create a raster from SVG, go to the menu and select File > Open… to find the SVG. Select it in the dialog and press Open. This opens the Rasterize SVG Format dialog. The values we selected were Width and Height of 1417 pixels and Resolution: 300, a file which is roughly equivalent in pixel area to the photo above.
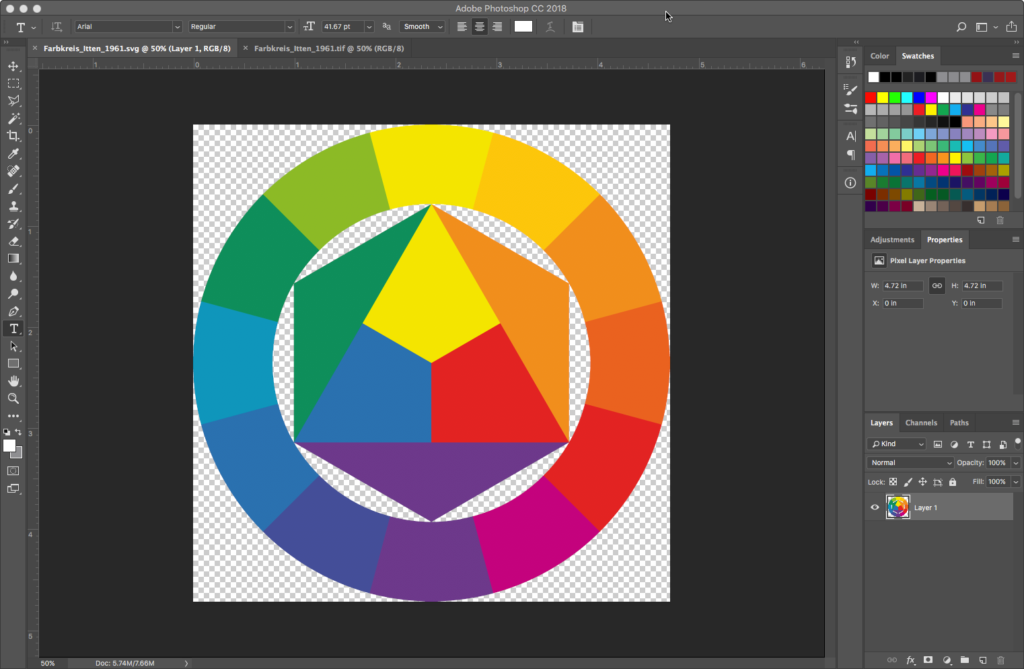
This opens to a non-flattened image with transparency, so go to menu Layer > Flatten Image and you’ll see an opaque white fill the transparent areas.

Save the file as a TIFF. While the TIFF is open in Photoshop, observe that the application expresses the uncompressed file size as 5.74MB. We’ll use Save for Web (Legacy)… again to analyze the effects of JPEG, GIF, and PNG compression.
JPEG produces awful results, with compression artifacts even at Very High (80). We won’t even discuss Low! In the battle between GIF and PNG, it’s something of a tossup. Reducing the number of colors in the index for both GIF and the PNG 8 compression method creates very small file sizes of 36.4K and 25.8K respectively.

JPEG: Compression Very High (80), 149.8K
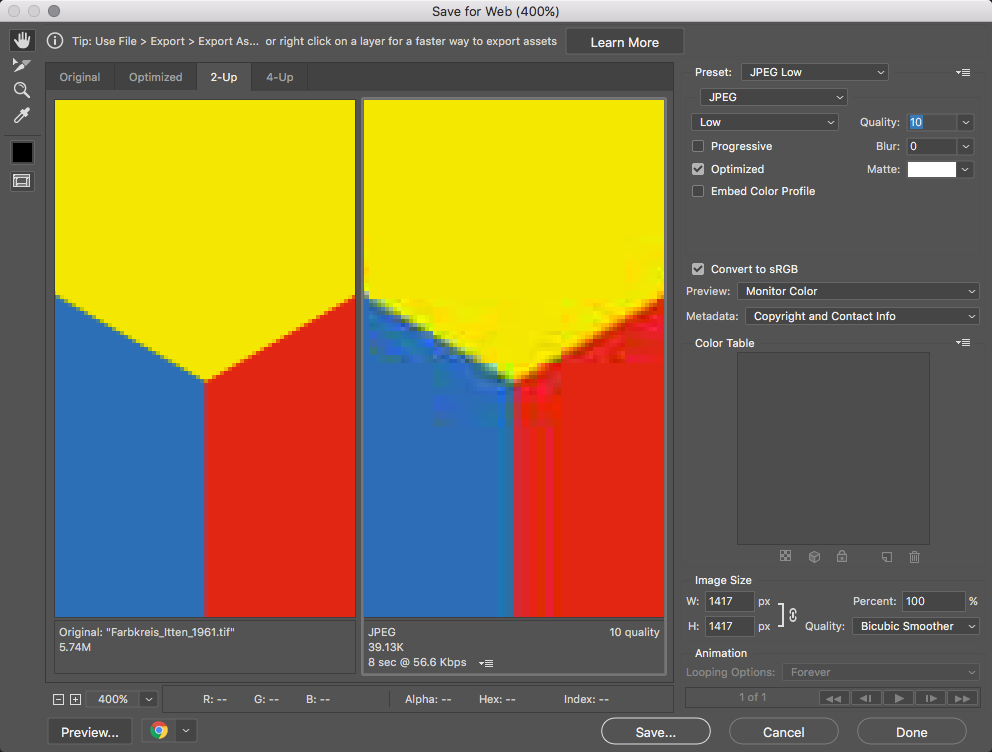
JPEG: Compression Low (10), 44.3K
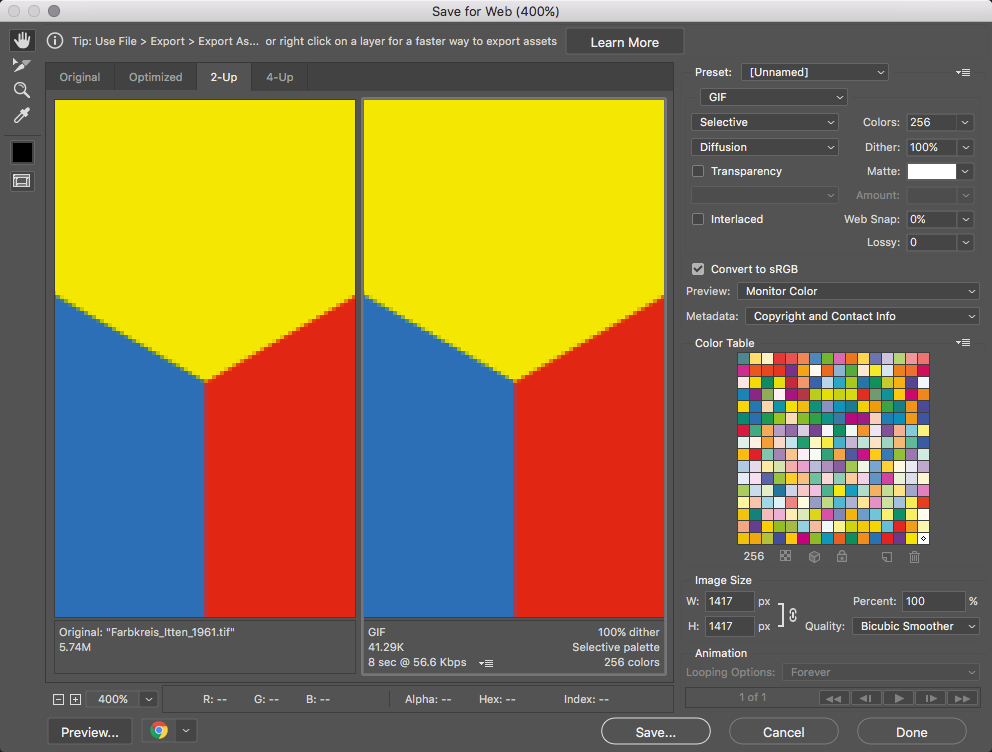
GIF: Colors 256, Lossy 0, 41.29K
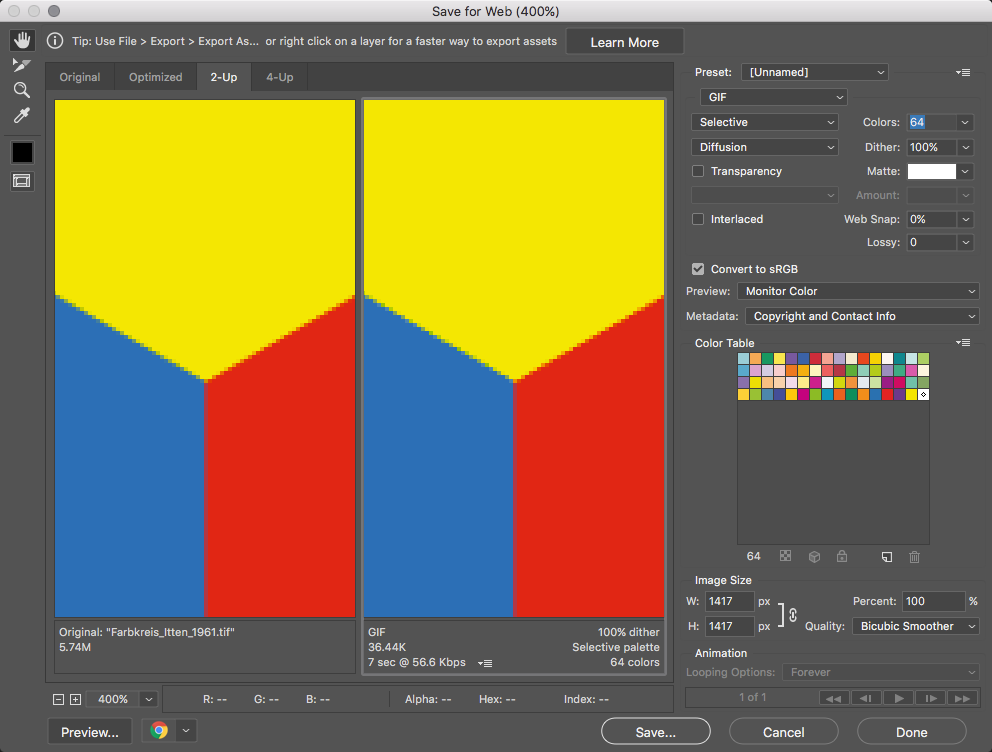
GIF: Colors 60, Lossy 0, 36.4K

PNG: PNG 24, 74.9K
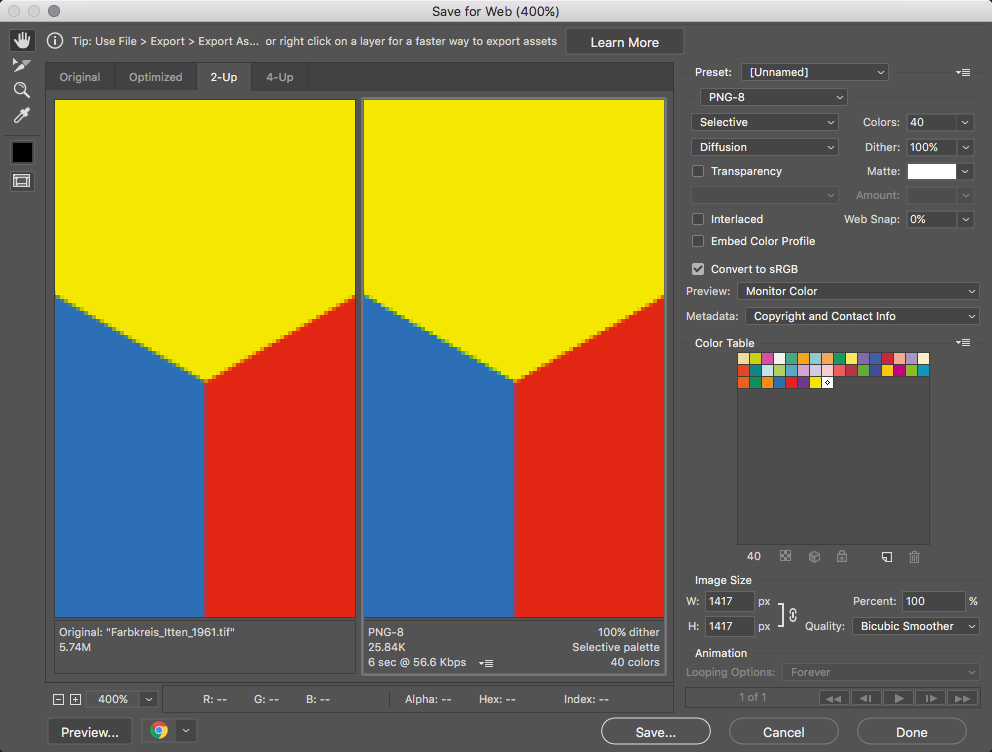
PNG: PNG 8, Colors 40, 25.8K
To allow a full comparison, here are the resulting smallest GIF and PNG files from above. If you say you can tell the difference, even when you scale them up, congratulations! You have superhero vision.
GIF: Colors 60, Lossy 0, 36.4K

PNG: PNG 8, Colors 40, 25.8K
Recap
To quickly recap the data and express our final choices, see the table below.
RED = A definite NO. AMBER = Probably not. GREEN = Yes.
|
PHOTO
4.88MB |
GRAPHIC
5.74MB |
|||
|
JPEG
|
Quality 80 |
Quality 80 149.8K |
||
|
Quality 10 |
Quality 10 39.1K |
|||
|
GIF
|
Color 256 |
Color 256 |
||
|
Color 256 |
Color 64 |
|||
|
PNG
|
PNG 24 |
PNG 24 74.9K |
||
|
PNG 8 |
PNG 8 |
|||

For portions of these sections:
- Wayback machine
- From digital input to web ready
Contents adapted from materials created for Digital Foundations by xtine burrough and Michael Mandiberg, modified by williamCromar to update to current Adobe Creative Cloud. Please see the newMediaWiki Licensing & Citation Notes regarding Digital Foundations derivatives, which are governed by a Creative Commons Attribution-NonCommercial-ShareAlike 3.0 Unported license.
