Sculpt and slice
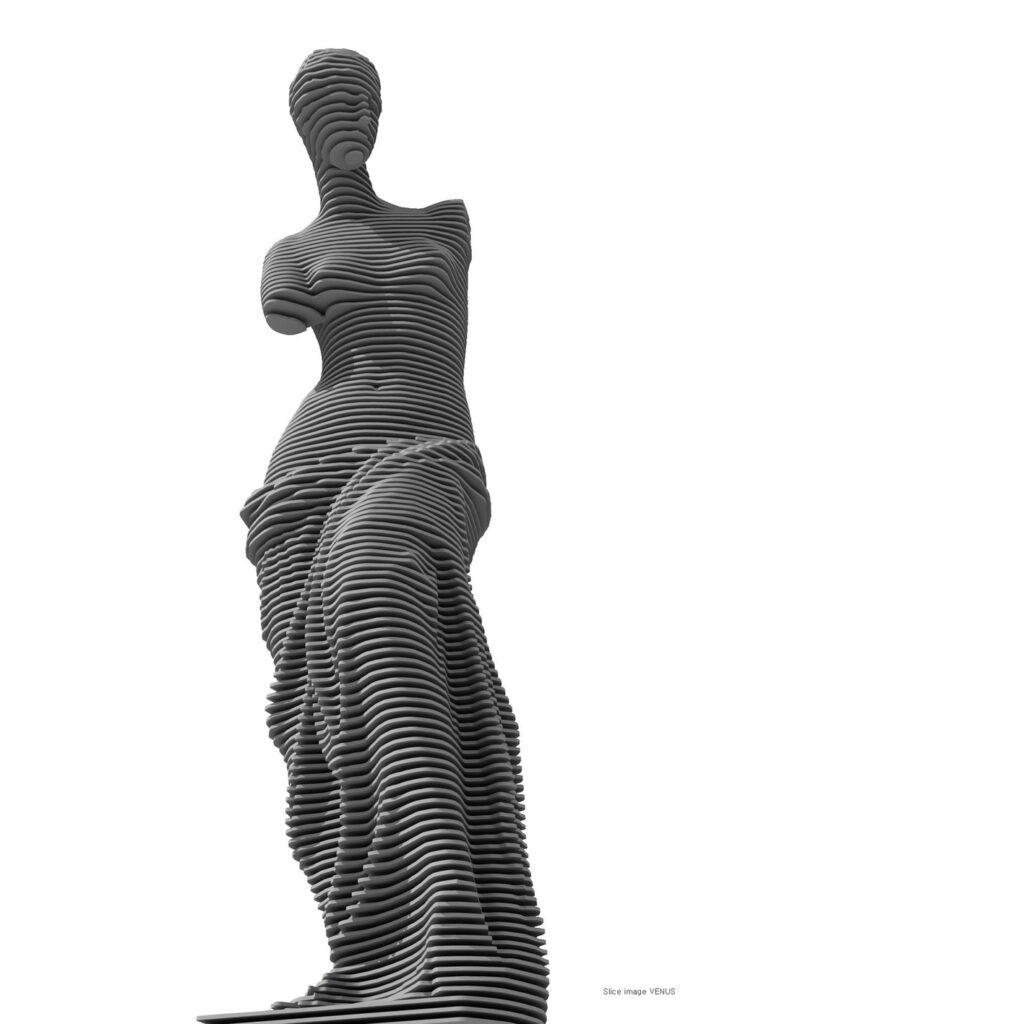
Hello Slicer
Slicer is an indispensable Fusion 360 add-on tool that slices and converts 3D models into 2D patterns that the laser can cut. Slicer also creates 3D instructions you can interact with to help construct your object. We have it on our networked machines at school — you can use it on a personal machine if you have Fusion installed. Just find and download the version for your operating system here:
Autodesk Arrogance Alert:
Slicer is no longer supported by Autodesk, which claims Slicer functionality will be integrated with Fusion 360. Keep your eye on updates here and in the Autodesk chatrooms.
As one community member put it: “Slicer is a very unique tool that doesn’t have any real competition anywhere in the software world.” But we continue to investigate replacements for Slicer. As a publicly traded company, Autodesk answers to shareholders, and the abandonment of Slicer demonstrates how rarely they have the interests of their user community in mind.
Some that are similar to Slicer that we’ve been playing with are:
- FlatFab: requires that you design right in the software.
- LuBan: a free trial followed by a rather pricey licensing scheme.
- Snapmaker Luban: an open-source slicer tailored for Snapmaker machines.
As of this writing, Slicer is still working with modern operating systems.
Interface
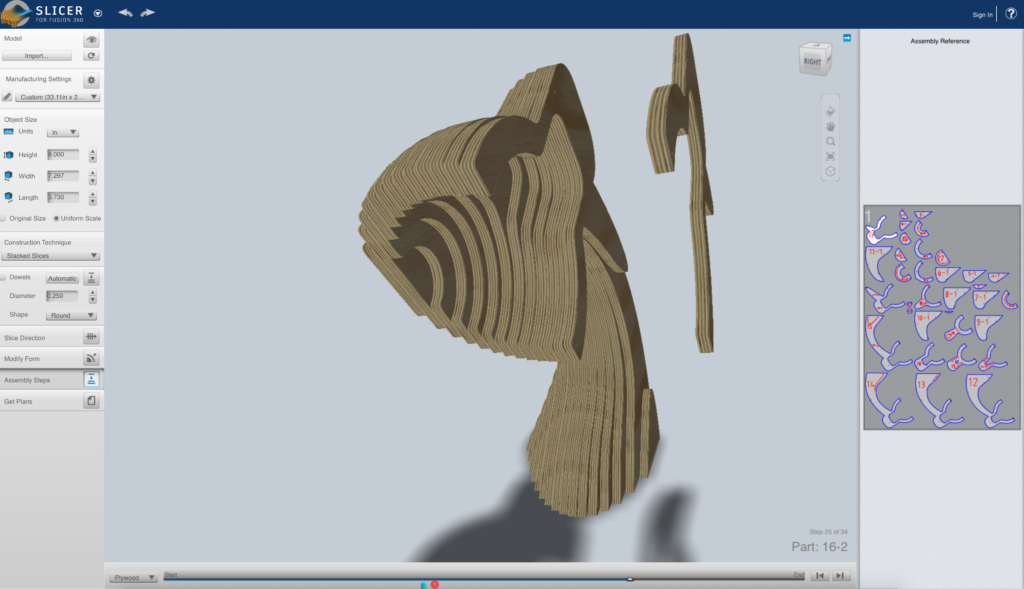
Though it sometimes is described as a “plug-in”, in reality, it functions as a stand-alone interface that you export to through your Fusion UI, once it is installed on your machine.
Exporting a Nine Square element to Slicer
For an initial exercise using Slicer, we’ll slice an object from your Nine Square exercise. As always with Fusion 360, it’s simple enough but not intuitive:
THIS WORKFLOW MAY REPLACE THE STANDARD EXPORT:
- Select ONE body you wish to export from the Browser in your Fusion model.
- Under the Files icon, select Export, and in the dialog box, choose to export to your computer, and save as an .stl file.
- Find and open Slicer for Fusion.
- In the menu at left, find and select the Import button,
- In the dialog box that opens, select your file, and select Open.
- The model will display in the content area.
- Open your Nine Square file, and in the Browser select a body you’d like to slice by name.
- In Design, select the Tools option in the toolbar above the icons
- In the Tools toolbar, select Make>3D Print (told you, it’s not intuitive!)
- In the 3D Print dialog, under Print Utility, select Custom, and use the folder icon to open a finder window. Browse for and select the SlicerForFusion app.
- Slicer pops open, with an intimidating little TOS dialog—just select OK here. Your object appears in the Slicer window!
Manufacturing Settings and Object Size
A few preliminaries must be set before we explore our slicing options:
- Manufacturing Settings | This sets the format for the area you’ll be cutting. Skip the dropout menu with presets and click on the gear icon.
- This opens an options bar at the bottom of the window. Here, select a width of 11 inches and a length of 19, to conform to the limits of our laser’s cutting bed.
- For thickness, accept the default value of 0.1772, though be aware this will be a very important variable to tend to when we create your actual laser file in the project. You may also accept the other defaults here.
- Object Size | With the Uniform Scale button on by default, change the height to about 3 inches. You’ll be able to change this later if needed.
Construction Technique: Creating planes
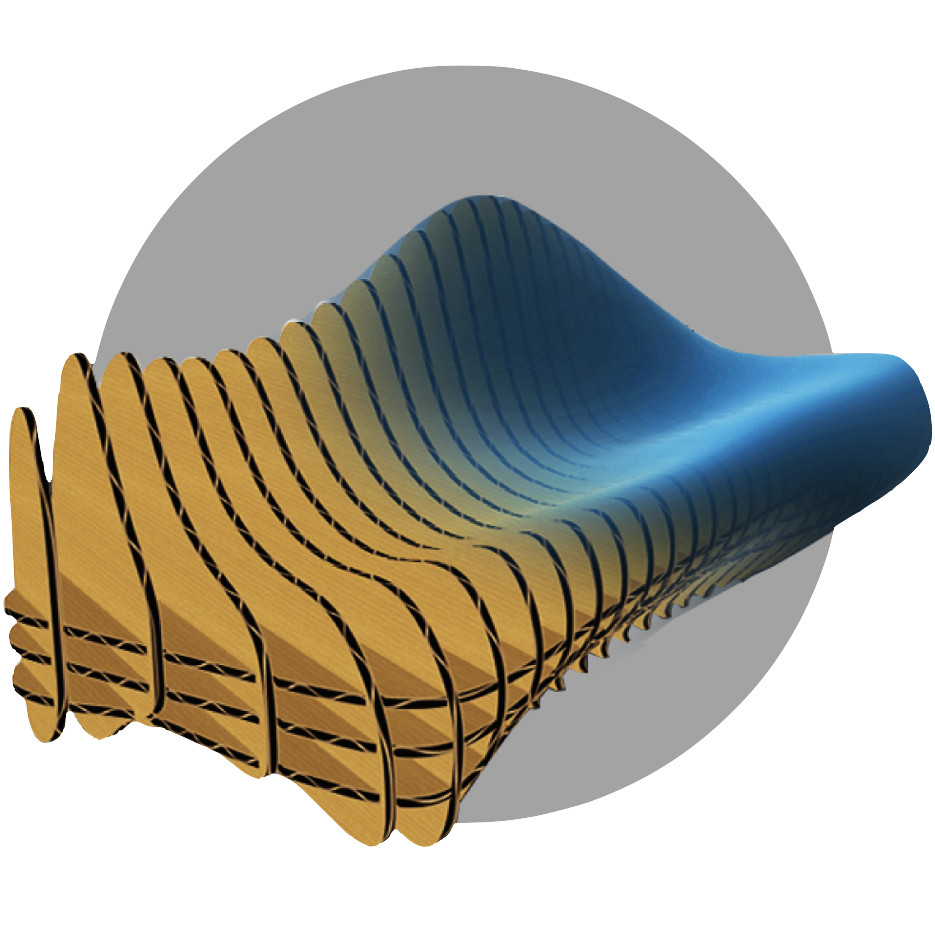
There are many options in the dropout menu under Construction Technique, but we’ll explore two in this exercise: Stacked Slices, which creates parallel layers, and Interlocking Slices, which creates an egg-crate effect. If generating an egg-crate, Slicer will auto-generate slots for you, saving hours of work.
Choose whichever you wish, but be aware of the number of sheets it generates. When we do the final design, we will determine the number of sheets allowed per class based on enrollment, but this will always be a variable to limiting tooling time. It typically will be a limit of 2 sheets. If there are too many sheets, change the model style or scale the object.
Stacked Slices
Layer planes give you parallel planes that stack together. Be aware of the thickness of your chosen material. This can be trickier than you think: the wrong thickness will accidentally rescale your model along the axis perpendicular to the stack! We have a digital caliper in the maker space to make sure this is accurate for the actual fabrication project.
Select Stacked Slices under Construction Technique and you’ll see your model automatically develop into a series of pancaked layers in the XY orientation. Notice also, a new Cut Layout tab opens at right. This shows a preview of the number of sheets and parts created.
Dowels: a method of registration
If working with a layered style model, it is recommended that some kind of registration device be factored into the model. For example, a ⅛ to ¼ inch diameter dowel running the length of your project and perpendicular to the layers can be modeled in Slicer. When you get your pieces off the laser bed, a nice round hole is there to receive a dowel, and it will automatically register your pieces together by sliding them onto a wooden or plastic dowel of the same diameter.
Some configurations may require two or more dowels. You can add or move dowels by clicking on the blue plane that appears when click the Dowel button.
View this kind of dowel device, and the potential for visual expression, at sculptor Park Chan-geul’s blog.
Slice Direction
Though it can be a bit wonky, this interface allows you to change the angle of the slice. If you select an axis of rotation and then drag the blue arrow, you can constrain the angle so you can create an XZ or YZ orientation to the slice. You can also go freeform with this—play around by dragging the arrow! If you hate the results, you can hit the Reset button.
As you drag the angle, you might notice some of the pieces turn blue or red. Blue is a warning that you have a piece that is not connected—move or add dowels to solve this, and change the dowel diameter if you wish. Red is a warning that you have an “impossible” assembly situation—this more often happens with interlocking slices and we’ll discuss it more in that heading.
Modify Form
If you want to hollow out a form or thicken it up, use this step, though I find it better to do this kind of thing in the modeling space of Fusion 360. Limited usefulness for our purposes!
Assembly Steps
This is a bit fun — it provides a step-by-step interactive that you can try out with a limited palette of materials. For some models, though, it’s more than fun. It can show you potentially tricky spots in the assembly of your final work.
Get Plans
We’ll cover this step under Create PDF below.
Interlocking Slices
Egg-crates are intersecting planes perpendicular to one another in two planar orientations (XY and YZ, XY and XZ, or XZ and YZ). Slots are generated according to the material thickness you set, so be aware of the proper setting here. Wrong thickness means your slots will either be too tight or loose and the model either won’t go together or stay together. With certain materials, you want to be aware of the kerf, the material burned away in processing, and plan accordingly. The variable Slot Offset under Manufacturing Settings will account for kerf.
Slice Distribution
A tricky thing about interlocking elements: space parallel planes too close and your material begins to lose integrity. My rule of thumb is to make the material between slots a minimum of 3 times the width of the slot, for both visual and structural reasons. In the default slot scenario of 0.1772 inches, I want the material between slots to be 0.53 inches or larger. The spacing from slot to slot will be around 0.7 inches or larger.
So, under Method, we’ll select By Distance, and then under the 1st and 2nd axes, we’ll enter 0.7 and tweak if needed. I find it easier to type in values, rather than using the arrows. We can ignore the other parameters here for now.
You might notice now that egg-crate objects are more efficient with the material. Where your stack slice may have taken up 2 sheets even at this small 3-inch object size, it’s likely you only see one sheet here. If size is not mechanically critical, you can scale it up under Object Size to create more pieces—just don’t exceed the 2-sheet limit. Note how the sheet configuration changes under the Cut Layout tab as you change the size of the object.
Next, you can reduce or increase the Slice Distribution. Play these two variables against each other and observe the results in Cut Layout.
No registration dowels needed
The slots themselves function as the registration device in this method.
Slice Direction
This is essentially identical to the stacked slice method. As you play with moving the slice direction in an egg-crate, you may likely see the dreaded red highlighted pieces.
The red highlight indicates an “impossible” assembly situation or an area in the material whose cut will essentially fail. By impossible we mean an inherent contradiction in the slot configuration whereby one piece blocks another piece from sliding into its slot.
To eliminate the error, rotate the slice direction and/or change the slice distribution distance until the red clears.
Modify, Assembly, Get Plans
These are identical in function to the same options under the stacked slice method. See Create PDF below for Get Plans.
Create PDF
All Construction Techniques offer a Get Plans option at the bottom of the UI:
- Click on the Get Plans icon, and a preview opens in the window.
- In the options bar at the bottom, under File Type, select PDF.
- Select Export to My Computer and use the dialog box to name and set a location for the file.
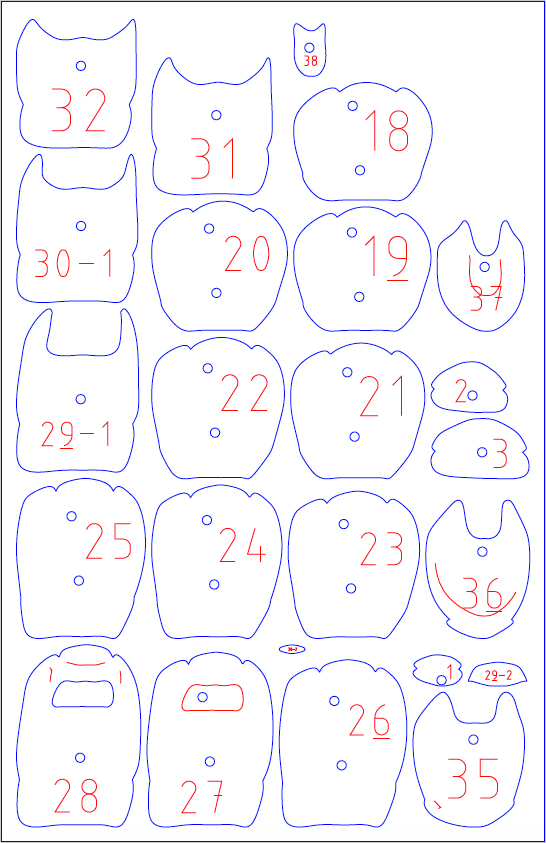
Open your PDF in Adobe Acrobat or Illustrator and you’ll see a series of blue and red vectors. The blue vectors are the cutout lines, while the red vectors are labels indicating some order. Be aware: those red letters and numbers are not text—they are vector geometry in the shape of text!
This means that, on a laser cutter, the laser will cut them—so when we get to actual fabrication, we’ll explore a method of separating these red objects onto another layer so they can be turned off. For now, we’ll let it go.
While you have your PDF file open in Acrobat or Illustrator, export a medium-size JPG file to post to your process journal or blog.
