Mondrianimation
Animate a Mondrian
The goal of this project is to synthesize your knowledge of visual principles and elements, animation principles, the formal vocabulary and aesthetic motivations of De Stijl, and software.
The objective is to create mass and void relationships inspired by your interpretation of a Mondrian painting, animating separate elements coming together to create the whole. A Camera with Aim will be used to create secondary motion. Animation and images will be posted to a blog and website for publication.
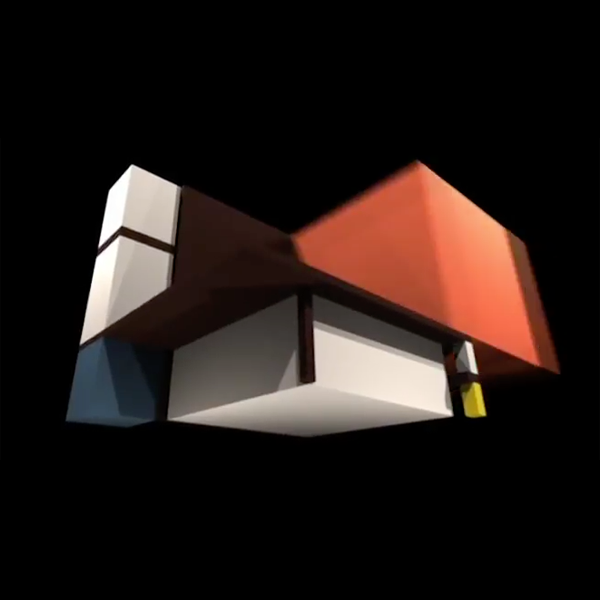
Demo preview
Your finished product will be a video similar to this sample:
Technical specifications
The project must meet the following technical requirements:
- Duration: minimum 20 seconds, maximum 30 seconds
- Frame Rate: 30 frames per second
- Video Resolution: 1920 X 1080
Select a reference image
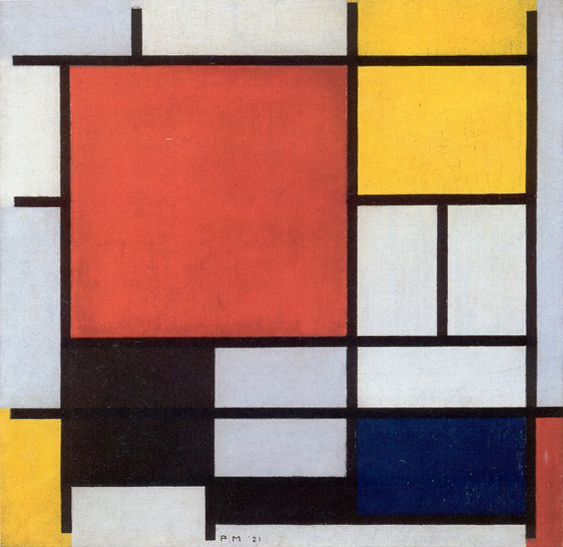
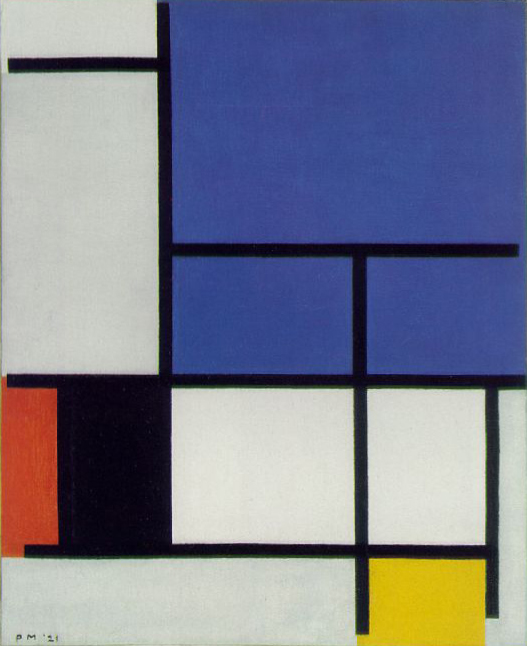
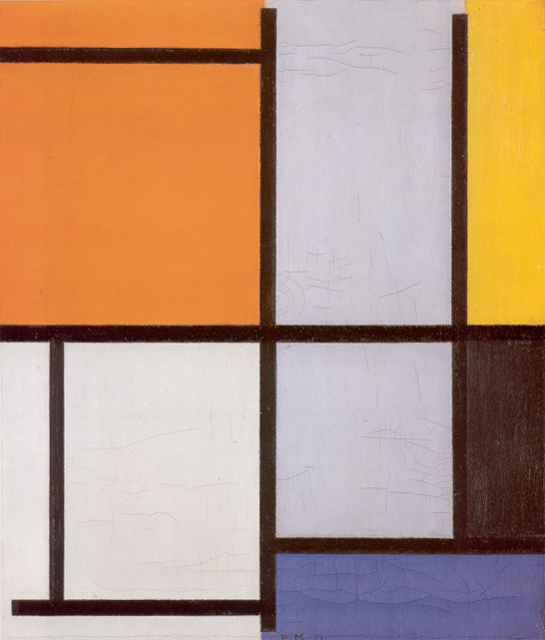
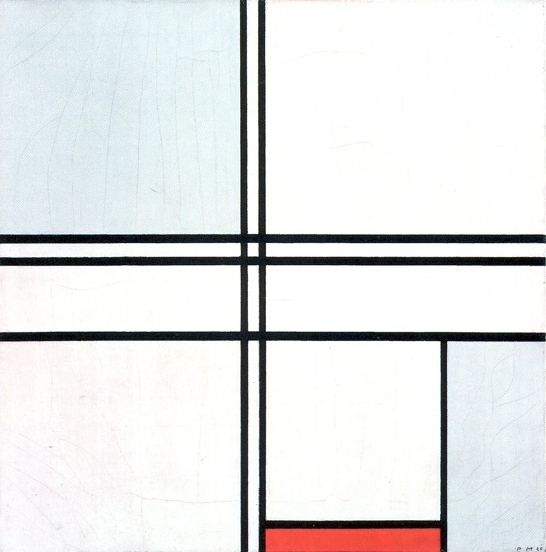
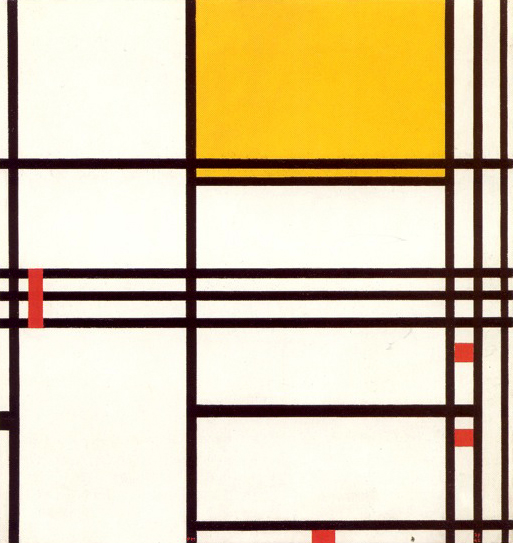
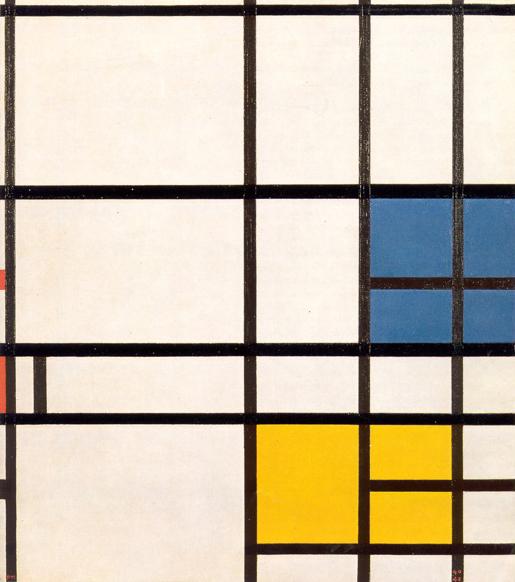
Do an image search on the web to find a classic Mondrian painting in .jpg or .png format, with a minimum size of 500 pixels for the shortest edge. If you can’t find one, select one from the paintings below. Click or tap on the image and download it to your working environment:
Your selection will become the reference planes for a front and side view of an object you will model in Maya.
Project workflow
Concept
- Set up a New Project, and in the folder set Maya creates, make a new scene file and save it in the scenes folder. All should have logical names, be stored in a logical folder, and be developed on a logical drive. Work locally — directly on the hard drive — and save finished work to an external drive or remote folder.
- In the scene, define a timeline for between 20 and 30 seconds at a frame rate of 30 frames per second (fps).
- Place your reference image painting in the sourceimages folder for the project, then import it into the scene. Import the image twice, once as a side and once as a front image plane. Resize and position logically. Both should be the same size, center on their respective axes, and be spaced far enough away so your geometry does not intersect them. Size them so the unit grid in Maya is useful for snapping and controlling position and element data.
- In your sketchbook, analyze how the reference plane images would intersect to create lines, planes, masses, and voids. “Lines” and “planes” in this context will all be rectangular volumes, but proportionally speaking, they suggest the idea of a line or plane.
- Give every element a name.
- Post the sketch or sketches to your process journal or blog.
Iteration
Here, you will begin actual modeling. Use the historical state method of saving. Every time you complete a task to your satisfaction, save the file, copy it, and then resume working on the copy. If you don’t like where your model is going, you don’t have to start over. Just go back to the last satisfactory historic state. If you want to document iteration, there’s no better way than having states of the model that directly reflect your process.
- Beginning to model, think hierarchy: what do you start with? Which elements depend on other elements?
- Use grid snaps, point snaps, and Channel Box data to control size and position. Remember the image is a reference, and not geometrically precise. Resolve what you see in the image with controllable data, rational object size, and placement. Objects should not overlap or leave gaps. Final sizing should be done by changing data in the input node, not scaling.
- Apply materials to objects as Lambert-based colors approximating Mondrian’s palette. Maya’s color picker has an eyedropper tool.
- After modeling, note that you have created the desired end state for the animation: the objects are together. Return to the sketchbook, and imagine how the elements might scale, rotate, move, warp, or otherwise deform as they converge.
- Refine your animation using set keys and the Graph Editor until you are satisfied. Think of the laws of physics you must create in your universe. For example, may masses intersect each other while moving, or not? Can they scale, warp, and appear out of nowhere? Are they rubbery? Hard-surfaced? Can they bounce?
- Make screen captures or imperfect playblasts to illustrate your iterations in your process journal or blog. Describe how at least six of the 12 principles of animation inform your decision-making about animation.
Synthesis
- Create an abstract, ambiguous background environment — a large subdivided sphere is a good choice, or even just accept the default background. Avoid creating a ground plane if your objects move up from the bottom into the scene.
- Create at least two lights, at least one of which is directional. Consider animating the light if you feel ambitious.
- Create a Camera and Aim, so that the camera can be animated without losing control of your focal point.
- Create a 1920 X 1080 playblast with a clean interface (no heads-up display elements). Use render settings and the playblast dialog box to control the quality and resolution, as you did with your ball drop exercise.
- Proudly publish your finished Mondrianimation at the video hosting site of your choice, and embed it in your process journal or blog. Visit Embeds if you need assistance.
