Exquisite Corpse: Round robin
The power (and pain) of collaboration
We learned about Photoshop in the exercises. Now we will learn about using the cloud to collectively create an Exquisite Corpse round-robin collaboration.
Take a look at the example directory linked at the top of this title. This shows you how we need to set up to collaborate effectively.
The need for convention
Perhaps the most important lesson collaboration teaches us is the need for convention: an agreed-upon set of rules or behaviors that makes a group effort work. We see several of these in the sample directory. Among the various elements of our convention, we include:

- A common file-naming strategy | For your team to find anything, they need to know how to look for it, and a common file-naming convention is key. In our project, we will assign you a random number — that’s the placeholder UU in the file names you see.
- A common format | We’ll also have agreed-to resolution, size, and color correction conventions, and these are also encoded in the file name in a common format.
- A common sharing strategy | To avoid confusion, we’ll use an agreed-to sharing platform and method. Our share will be through OneDrive, and our sharing method will be the “anyone with the link can see” (or AWTLCS) variety. Why? There’s nothing private here, so there’s no need to fuss with the back-and-forth of invitations and acceptances. AWTLCS is the simplest way.
- A common time | Coordinating the collaboration is best done as a real-time, in-class process.
It’s not just your stuff
At first, following these directions will feel really controlling, abstract, and rigid. You can sometimes get away with less-than-best-practice in file naming and folder structuring; we absolutely don’t recommend that habit, but hey, it’s your stuff. When you are SHARING files, however, it’s a different ball game. It’s NOT just your stuff anymore; it’s other people’s stuff also! You must be detail oriented and follow the conventions below to the letter for collaborative success.
A group must work with naming conventions and folder hierarchies that are commonly agreed-to, or the whole bloody collaborative house of cards comes crashing down. Hilarity ensues as a collaboration recovers from the mayhem when that one inevitable person drops the ball: DON’T BE THAT PERSON!
Cloud sharing
As you do more collaborative and sharing work, you will become more accustomed to working with developing common naming conventions and cloud sharing etiquette, but for many people this is still fairly new territory, even in a world of DropBoxes and Google Drives. “Cloud sharing” was not the nomenclature when the first shared drives were invented way back in 1969 — inventor J.C.R. Licklider called his idea the “intergalactic computer network” in a tongue-in-cheek manner. Even though it has such long roots, the web-based cloud drive functionality we know today did not become practical as standard practice until around 2006 or so. That’s when TIME magazine acknowledged the rise of Web 2.0 technology by choosing “You” as Person of the Year, the “you” being internet users who became more active content creators and sharers with the advance of technology and development of massive shared server capacity.
This is a project that depends on mastery of cloud-based file sharing. So, it’s time to get your geek on!
Concept: preparation
Random number
First, you will be given a number at random: 01, 02, etc. Write your number down somewhere important to remember it. Use your number in place of the UU variable you see in the instructions and video guides below. In other words, wherever you see the red UU below, that’s YOUR number. Wherever you see VV or WW, those are variables that represent numbers that are HIGHER than yours. Wherever you see SS or TT, those are LOWER numbers. So, for example, in the pattern 01-02-03-04-05, SS=01, TT=02, UU=03, VV=04, and WW=05.
Note: It gets tricky when you are 01 or 02, or when you are the next-to-last or last number in the group. If you get confused, consult with the instructor and they’ll help you sort it out.
Historical state editing
Next, we are going to make several historical states of the file, which allow you to recover data as it is structured at different stages of its development. This practice follows the principle of non-destructive editing by making sure that if you DO destroy data, you have each step backed up. Find the raw scan at 600 ppi named 20XX_lastname_scanogram.tiff that you did for the Scanogram Collage exercise portion of the project and do the following:
Five state changes
- Establish the history:
- Duplicate 20XX_lastname_scanogram.tiff.
- Rename this copy UU_excorpse_600.tiff, where UU is your randomly assigned number and 600 is the resolution.
- Place this file in a new folder you create, named UU_excorpse_history.
- Change the resolution from raw scan to print-ready:
- Duplicate UU_excorpse_600.tiff.
- Resize the copy to 300 ppi in Photoshop.
- Name the file UU_excorpse_300.tiff, where 300 signifies the change to 300 ppi.
- Save it to the folder UU_excorpse_history.
- Color correct the file:
- Duplicate UU_excorpse_300.tiff.
- Find a black point and a white point in the image using Levels. The black point should read RGB 0-0-0, but the white point should linger below 255-255-255 (you want to keep some data in the whitest white).
- Save this as UU_excorpse_300_cc.tiff, where cc signifies the color correction, and save it with the other files.
- Change the format:
- Duplicate UU_excorpse_300_cc.tiff.
- Crop this image into an 8-inch wide by 9-inch tall format, using Canvas Size from the menu in Photoshop. Experiment with different anchor settings to find the crop you like.
- Save this as UU_excorpse_300_cc_8x9.tiff, where 8×9 signifies the new format, and save it with the other files.
- Change the filetype:
- Take UU_excorpse_300_cc_8x9.tiff and perform a Save As from the menu, selecting JPG as the filetype and naming it UU_excorpse_300_cc_8x9.jpg, and again saving it with the other files.
You should have FIVE historical state change files in the UU_excorpse_history folder.
Prepare the share folder
Next, we prepare to start sharing. Use UU_excorpse_300_8x9.tiff for the project. Duplicate the file and simplify the name of that copy to UU.tiff. Create a sub-folder named UU_excorpse_share inside the 04_corpse project root folder, and when you are finished with the manipulations below, move UU.tiff to this folder.
Do the following to UU.tiff:
Share layers and masks
- Open the file in Photoshop, flatten any layers if present, then unlock the Background layer by double-clicking on it, and renaming it A.
- Create three additional layers and name them X, B,C.
- Re-order the layers to read C, B, A, and X with X at the bottom.
- Fill X with black.
- Lock layers C, B, and X.
- Create a Layer Mask with a black-and-white gradient to reveal only a small area of the image in A.
- Keep all layers visible and save the image in the shared folder UU_excorpse_share as a record.
Iteration: collaboration rounds
First round
We are now ready to play the first round of the round-robin game:
- Go to the Exquisite Corpse share folder and look for the file with the number one level higher than yours. If your number is 03, look for file number 04, for example. Exception: if you are assigned the last random number, you look for number 01.
- Download the file and rename it, appending your number on the end. Examples: if your number is 03 and you’ve downloaded 04, rename the download to 04_03.tiff. Open it in Photoshop and select layer B.
- React to the image you see in layer A, creating a new composition. Use any image you wish — your own work, newly scanned material, digital photos, or stuff gathered from the web (remember fair use and citation).
- As you copy new work into the file, this creates additional layers. Keep these together with the primary B layer, moving them if necessary. When finished, merge any additional layers back to B. If this material merges with another layer you created instead, just drag that layer to the place formerly occupied by B and rename it B.
- If you accidentally overwrite any pre-formatted layer other than B (that is, if you “break” A, C, or X by adding material to them, deleting them, or merging them), dial back your history in the history palette or START OVER. Do not send a file forward that is broken.
- Keep layers B, C, and X on, turn layer A off (VERY IMPORTANT), and save the file.
- Upload this file to your share folder UU_excorpse_share.
- Upload your finished VV_UU.tiff file to the Exquisite Corpse share folder your instructor has created in your learning management system.
Second round
Next round is similar to the first, but pay attention as the share gets more complex:
- Go to the Exquisite Corpse share folder. You are now looking for a file named with the TWO numbers, the first of these being TWO higher than your number. If your number is 03, you are looking for the file named 05_04.tiff. If you are the last number, you’ll look for a file named 02_01.tiff. If you are the next to last number, you’ll look for the file 01_VV.tiff where VV is the last number in the group. If this confuses you consult with the instructor by email and they’ll clear it up. Be careful: this is where the most mistakes can happen!
- Download the correct file and immediately rename it appending your number on the end. Open it in Photoshop and select layer C to work in.
- React to the partial image you see in layer B, creating a new composition. Do NOT turn layer A on! Do this just as you did before.
- When finished, merge all your pasted layers back to C. If this material merges to another layer you pasted in, just drag that layer to the place formerly occupied by C and rename it C.
- If at any time you accidentally overwrite any pre-formatted layer other than C (that is, if you “break” A, B, or X by adding material to them, deleting them, or merging them), immediately dial back you history or START OVER. Don’t send a file forward that is broken.
- Turn all layers off except X and save the file.
- Upload this file to your share folder UU_excorpse_share.
- Upload your finished WW_VV_UU.tiff file to the Exquisite Corpse share folder your instructor has created in your learning management system.
Synthesis: remix!
Now the fun begins:
- In the Exquisite Corpse share folder, look for a file with THREE numbers, the first of which is YOUR NUMBER. If your number is 03, you are looking for the file named 03_02_01.tiff. If this confuses you consult with the instructor by email and they’ll solve the mystery.
- Download and it’s time to REMIX! Turn all layers on.
- Paying attention to the transition between layers, use masking, opacity, blending modes, filters, and other compositing techniques to generate well-crafted transitions. Two forbidden actions: no destructive editing techniques, and no full nullifying of a layer through opacity, masking, or blending techniques.
- When satisfied with the layer interactions, save the file, keeping the file name intact: Your number first (UU) followed by the two numbers earlier than yours (TT and SS): UU_TT_SS.tiff will be the pattern.
- Upload this file to your share folder UU_excorpse_share.
- While UU_TT_SS.tiff is still on your working drive, duplicate the file, keep the numbers in the name, and add a prefix 20XX_lastname_excorpse_. Example: Your number is 03 and you have manipulated a file named 03_02_01.tiff, so rename the duplicate to 20XX_lastname_excorpse_03_02_01.tiff.
- Save a copy as a JPG file. From the above example, name it 20XX_lastname_excorpse_03_02_01.jpg.
- Upload both the TIFF and JPG versions of the file to your 04_corpse project root folder to back them up.
Wrap it up
- Find UU_excorpse_300_8x9.jpg in your UU_excorpse_history folder… this was your original prepared-to-share scanogram.
- Duplicate the file to your 04_corpse project root folder and rename it 20XX_lastname_excorpse_UU.jpg to match the naming convention for the remix.
- Find 20XX_lastname_excorpse_UU_TT_SS.jpg, already in your 04_corpse folder.
- Post both final JPG files, 20XX_lastname_excorpse_UU.jpg and 20XX_lastname_excorpse_UU_TT_SS.jpg to the blog in one reflective post.
- Finally, upload them to the Exquisite Corpse shared folder.
Hall of Fame
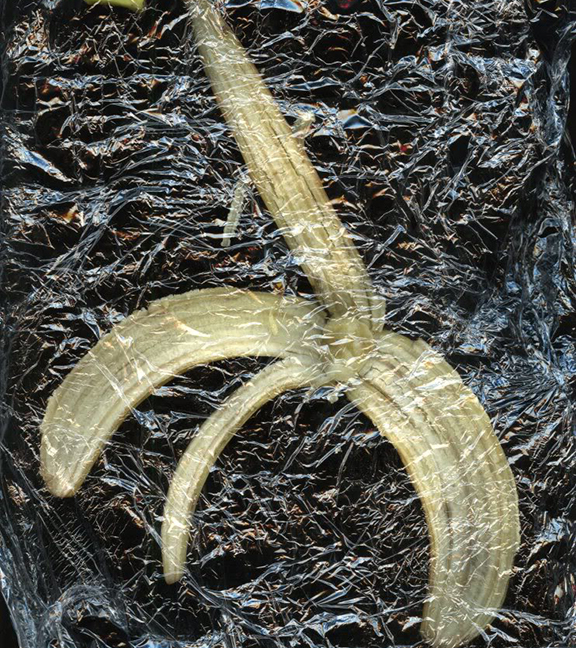
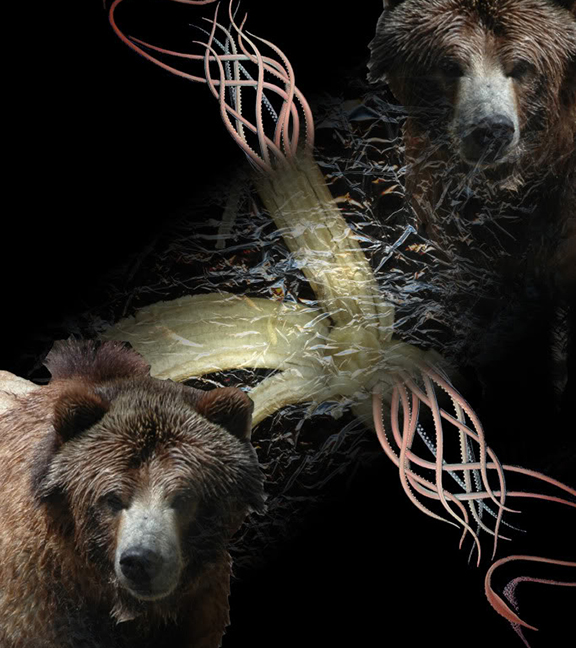
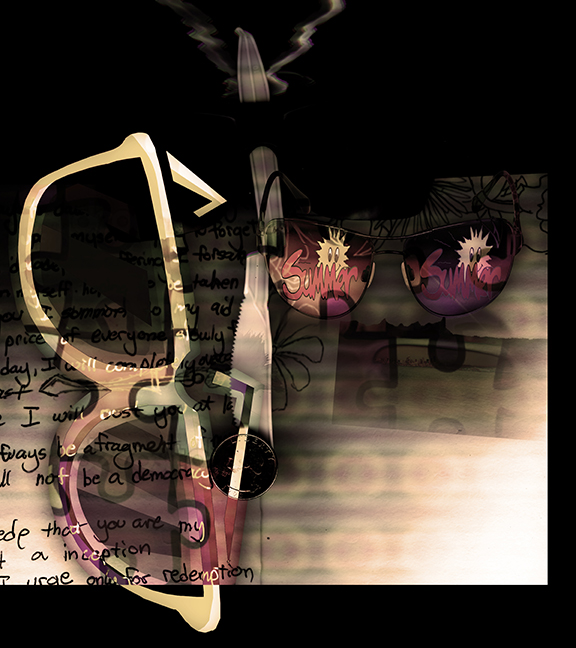
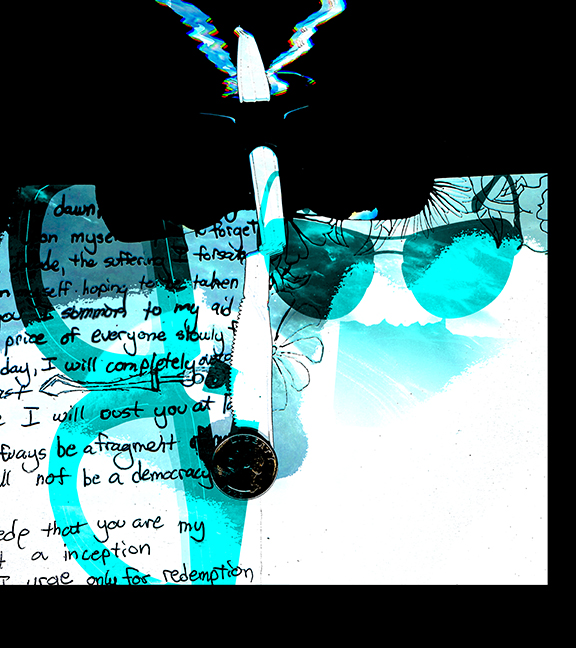
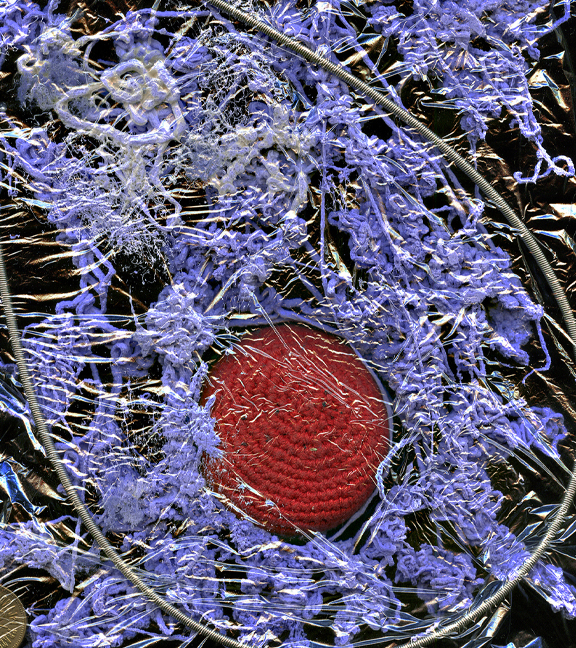
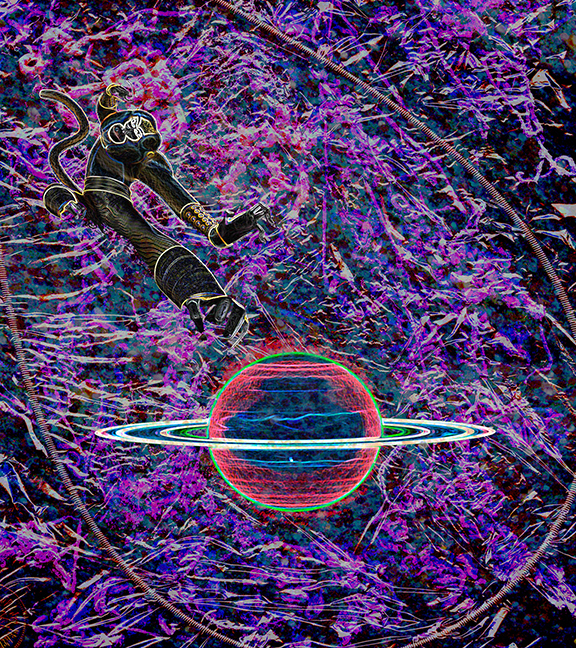
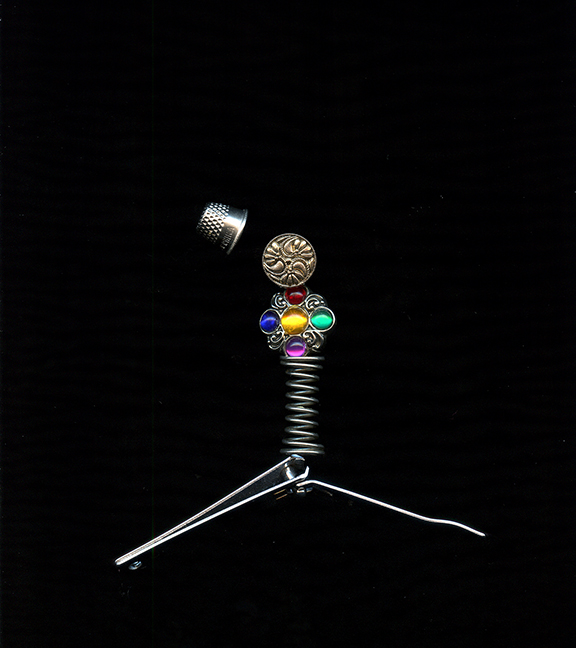
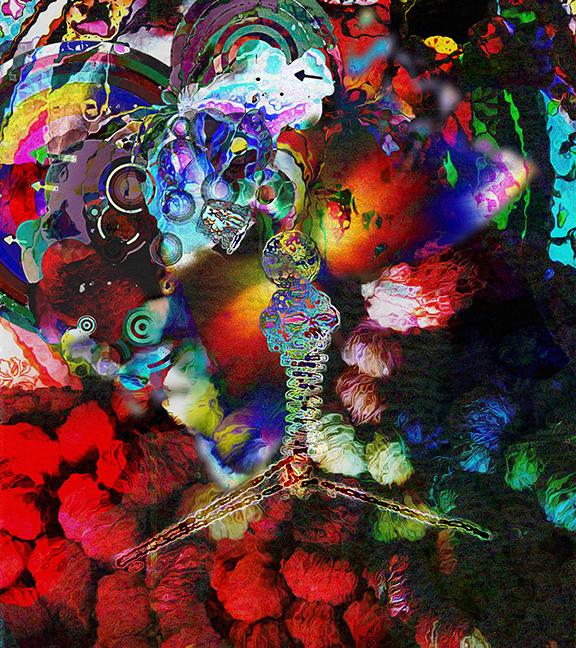
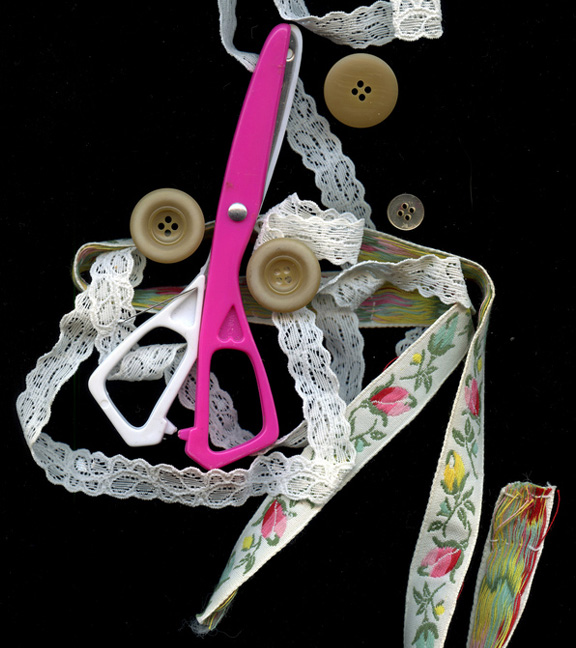
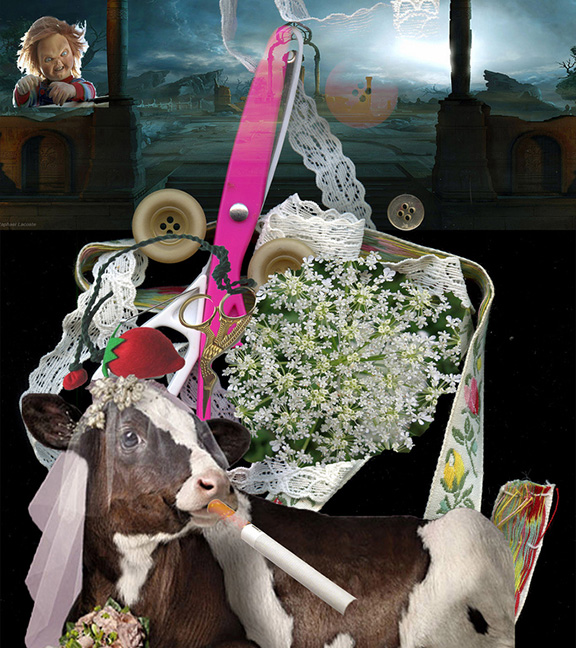
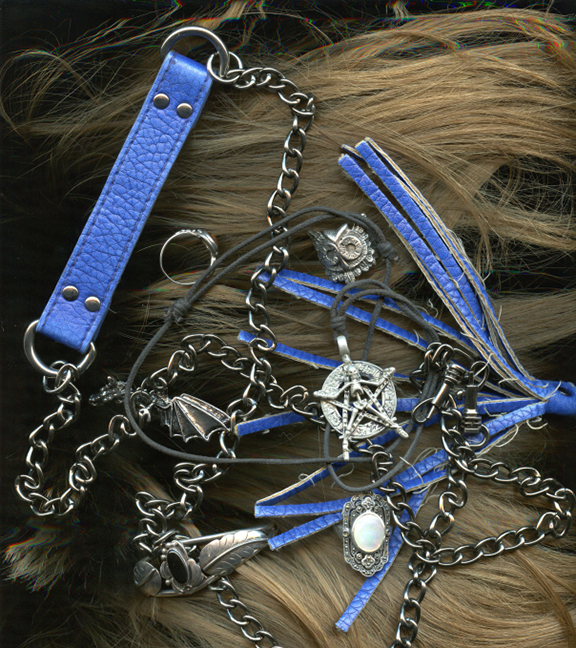
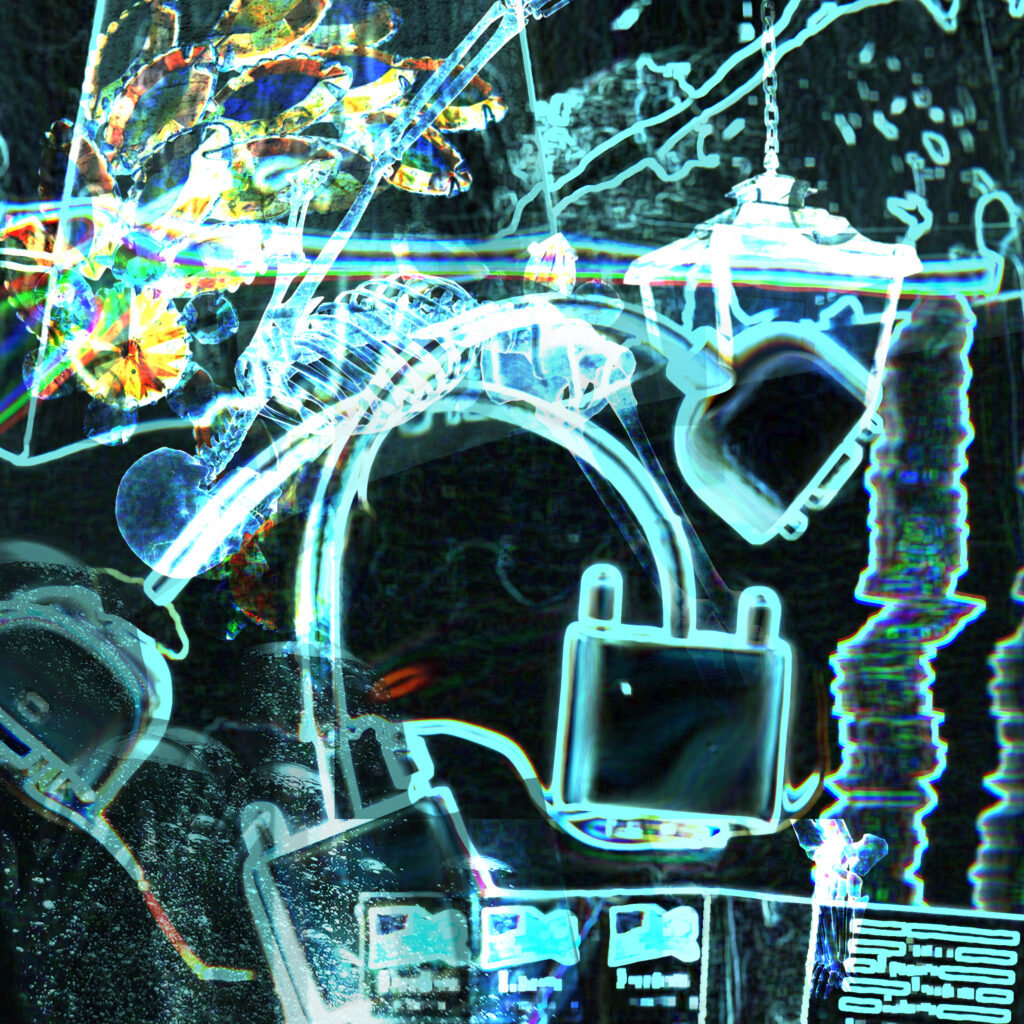
Samples of a few corpses and their zombie remixes:
