Euclid
With a compass and straightedge you can rule the world
In vector art drawing, powerful algorithms hide behind a graphical user interface. These algorithms are based on coordinate-generated geometries. In these exercises we will “override” this computational logic by exploring another way of describing geometry: making Illustrator behave like a virtual compass and straightedge.
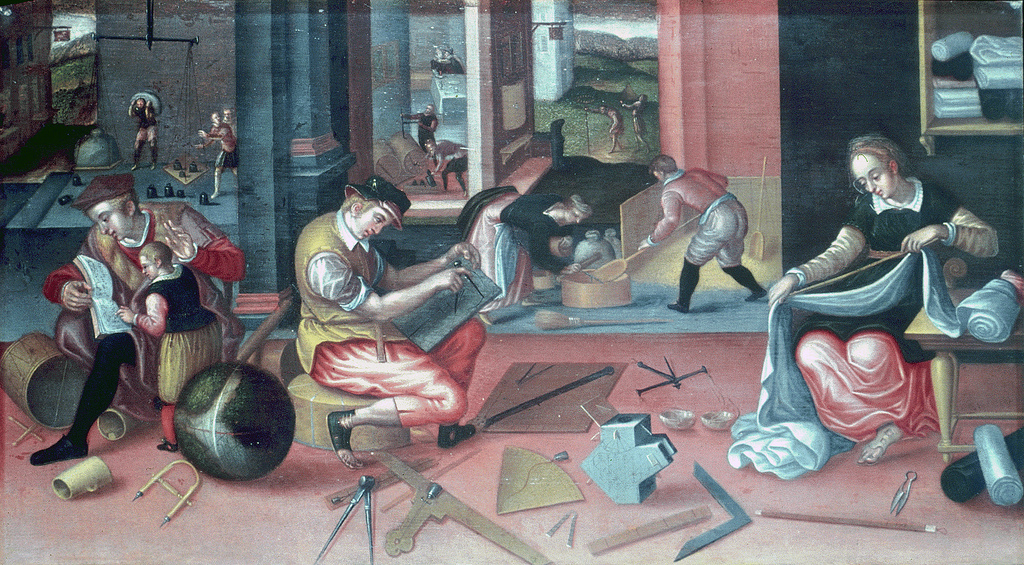
Compass and straightedge: the first computer?
A strong relationship between art and computation is found in such constructed geometry. Evidence of this knowledge goes back to the Neolithic Age, but it was first codified into a system by Euclid.
Constructed geometry was critical to the Greeks: with it, they performed mathematical calculations their clumsy Roman-like numerical system couldn’t handle; try long division in a numeral system that doesn’t have a zero and you’ll see!
Before means of measure and arithmetic, the only way to precisely define proof of geometric truth was through Euclidean geometric constructions. Even with the availability of marked rulers and protractors, it is ONLY geometric construction that, through an image, manifests the conceptual state of perfect precision geometry requires.
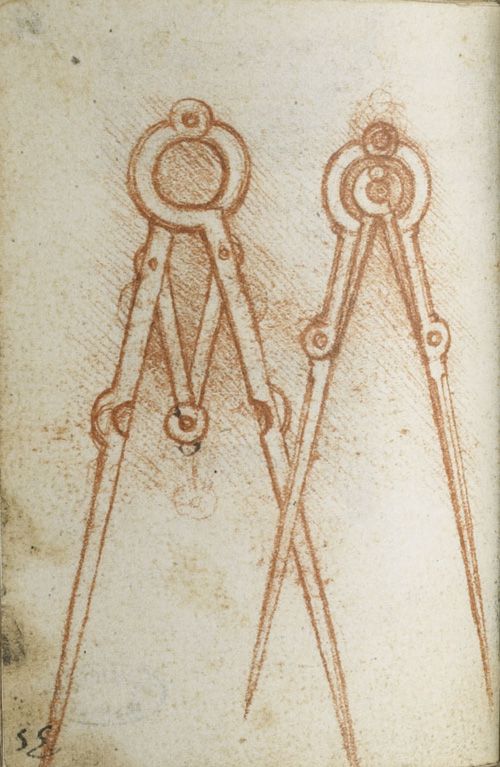
So for our project, knowledge of compass and straightedge construction is necessary: read about it at the link. If your exposure to this was limited to high school, you might remember how to bisect a line, but you’ll need more. Tutorials below will introduce the necessary knowledge, or act as a refresher if your compass and straightedge are a bit rusty. Of course, the compass and straightedge we’ll be using are virtual: we’re substituting straight lines and circles in Illustrator.
Making Illustrator behave like a compass and straightedge: the rules
These rules for creating the constructions will persuade Illustrator to act like a compass and straightedge and override instructions where tutorials assume the use of physical tools:
- Illustrator will draw ENTIRE circles, not just the arc as shown in some tutorials.
- Use ONLY a circle (Option+Shift constrained Ellipse Tool) and straight line (unconstrained Pen Tool).
- When using Pen Tool, only click to create points. Never click and drag.
- Use the Option-Drag shortcut to clone a circle when a tutorial asks you to move a compass to translate an arc. Never do this for a line.
- Scale a line or circle by dragging a Shift or Option+Shift constrained point. Scaling a line is like extending it with the straightedge. Scaling a circle is like changing the compass radius.
- Never measure. The first step in document setup below will guarantee you will not measure.
- Never use Align or Transform palette functions.
- Exception: Illustrator cannot draw a discrete point. To indicate a point, create a 0.05” diameter circle with a black fill and no stroke, using its center as the actual point.
Other helpful hints
These are not rules per se, but are helpful suggestions for working with Illustrator as a compass-straightedge surrogate:
- Toggle between Preview and Outline views using Command+Y to draw with precision.
- Practice using Shift-drag to pan, Command+Shift-click or drag to zoom in, Option+Shift-click or drag to zoom out, and Command+ to recenter on the artboard if you get lost. Key command assists are much quicker than the menu or toolbar.
- Create layers to help control your drawing. Thee ability to lock, hide or change object order is essential on a complex construction.
- If you find it useful to label points, do so on a layer you can turn on and off. Final drawings should not express point labels (i.e. they should be turned off or the layer deleted).
- As you did with the thirteenWays project, you may find it useful to work the construction off to one side, moving and scaling the grouped result into a square when complete.
- Draw the construction with a compositional eye. How does the construction (a figure) relate to the designated square (the ground)? Does it crowd the edge? Too tiny? As you develop the figure, select and move, rotate or Shift-scale the entire construction to find a good figure-ground relationship inside its frame. Constructions are scale-less and have no correct orientation.
- You’ll be tempted to try to draw perfect horizontal or vertical lines at first: they don’t matter, don’t bother. Geometric proofs work at any angle, any orientation.
Creating simple constructions
As a warm-up, we’ll create two simple but highly useful constructions in the first column on the blank template file you can download above. There are a variety of tutorial styles, any of which you may use depending on your own learning style.
Perpendicular bisector of a given line
The most basic and useful of all constructions, created in the upper left square of the downloadable sample file:
- Interactive from Math Open Reference»
- Printable instructions from Math Open Reference»
- Video from Kahn Academy»
Tangent to a given circle
Applies the perpendicular bisector to a specific problem, and is found in the lower left square of the sample file:

Creating simple polygon constructions
In the next column of the template, we’ll create simple polygons: a square at center top, and a hexagon at center bottom.
Square
There are numerous solutions to the square construction problem. We will work with the simplest, which generates a diagonal square. You can see the usefulness of the perpendicular bisector in the animation.
SQUARE INSCRIBED IN A CIRCLE

Hexagon
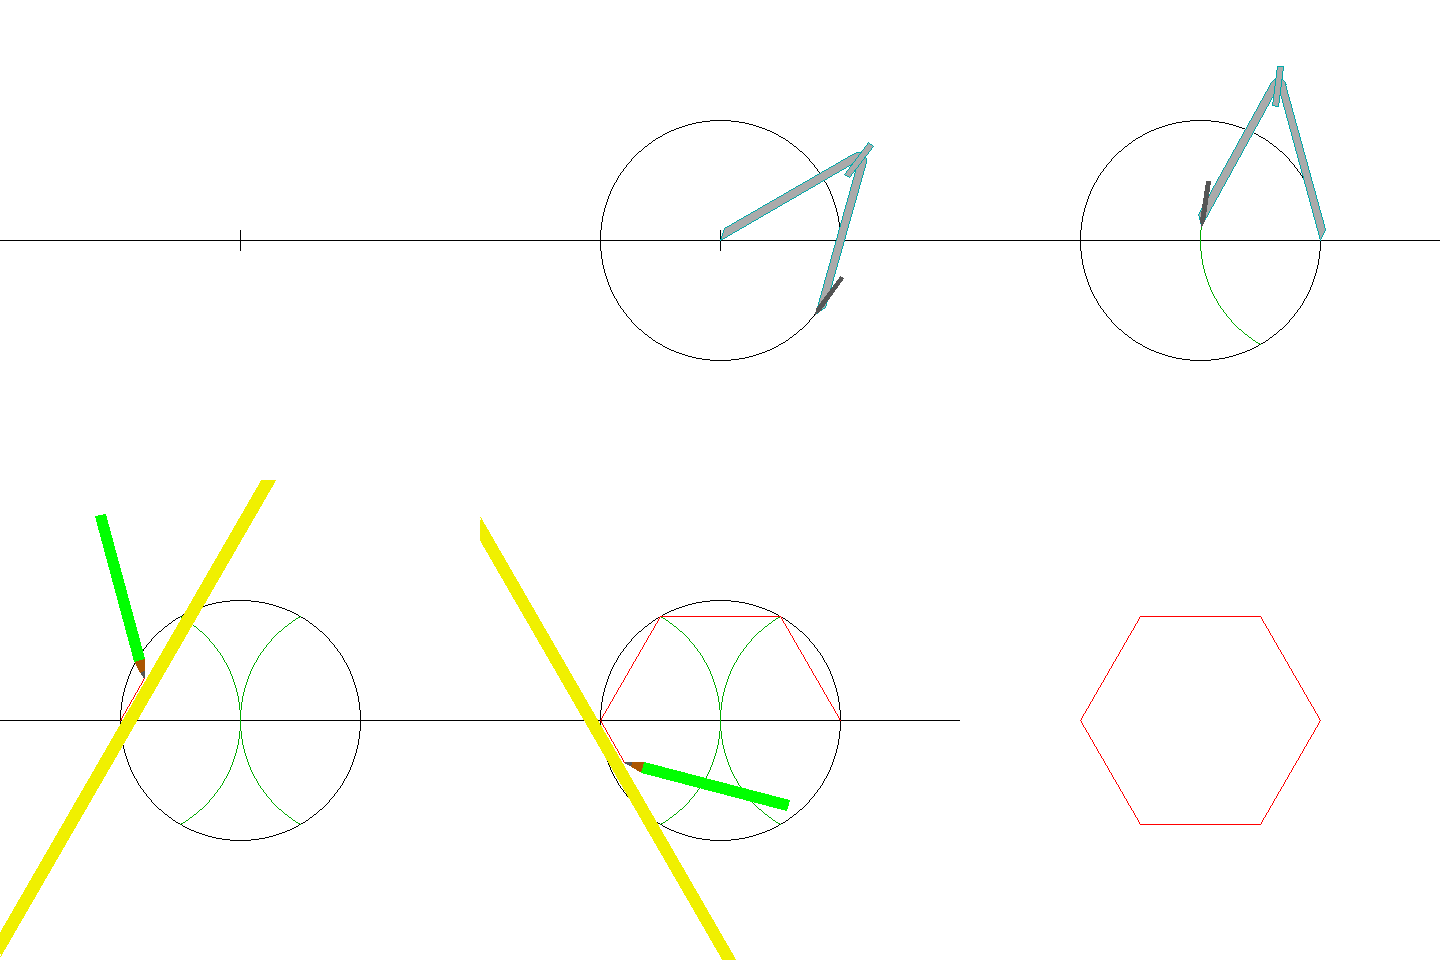
A delightfully simple construction creates the hexagon, as the animation illustrates.
HEXAGON INSCRIBED IN A CIRCLE
These are not the only regular polygons that can be constructed! A full page of polygon constructions, including a 255-gon, has been collected by Wikipedia user Bender2k14! But, a square or hexagon is all we need for the next step.
Reverse-engineered expanded constructions of polygons
The last two columns in the template are reserved for what we will call “expanded constructions” of a square and hexagon.
This “construction” is a bit of a cheat. We will start by using Illustrator’s constrained Rectangle Tool and Polygon Tool to generate the basic shapes, then reverse-engineer the expanded construction into a complex geometric figure. So, while we are abandoning the strict rules of compass-and-straightedge, we will keep the sensibility.
Why do this? While the pattern of circles and axes are not required to construct the polygons per se, they create a complex, interlocking web of arcs and intersections that can be quite useful as a structure to generate figures such as rosettes, stained glass windows, Islamic tile tessellations, Celtic knots… and, of course, mandalas!
Expanding the square
- Create a 1″ square using Rectangle Tool dialog box to enter the dimension.
- Using Pen Tool, draw two diagonal lines across vertices.
- Using Option-Shift constrained Ellipse Tool, create a circle whose center is at one vertex of the square, and whose radius anchor point touches a second vertex.
- Option-drag the circle to copy around until all four vertices have a circle centered on them.
- Scale the diagonals so that they intersect the outer perimeter of these circles.
- Create a horizontal and vertical axis with Pen Tool by creating endpoints at the outermost intersections between the circles.
- Finally, create an circle around the square. This one is a bit tough, as Illustrator’s “snap” functions operate orthogonally (that is, just in the x or y axis). So we trick it by duplicating the square on top of itself (Command+C, then Command+F), then rotating the duplicate square Shift-constrained to 45 degrees. Now, setting the center of the circle at the center of the square, we Option-Shift and drag until the circle’s anchor point intersects the diagonalized vertex of the copied square. When done, delete the copied square.

Expanding the hexagon
- Using Polygon Tool, create a polygon with 6 sides, each side 1″ long. This creates a 2″ diameter hexagon.
- Draw a 2″ diameter circle with Option-Shift constrained Ellipse Tool and snap center of circle to center of hexagon.
- Option-drag the circle to copy around the periphery of the hexagon, placing the center of a circle at each vertex.
- Using Pen Tool, draw 3 diameter lines between pairs of vertices such that they intersect at the center.
- Scale the diameter lines until they intersect with the outer periphery of the circles.

Save and share
Your finished exercise will look something like this:
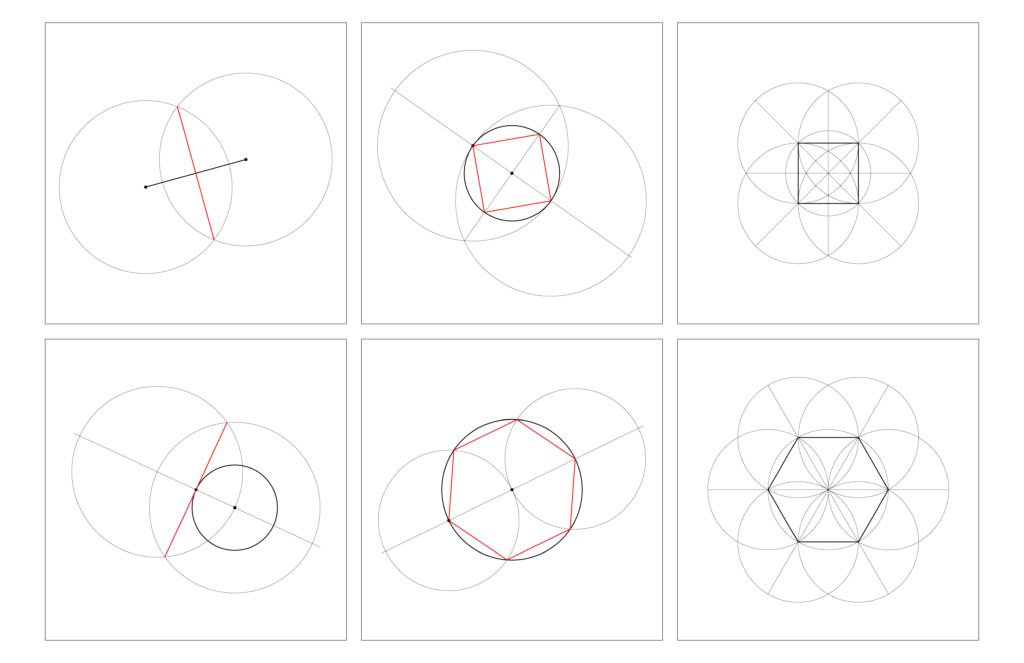
Save the file as a native .ai file, and export a .jpg. The .ai file should be archived, and use the .jpg to illustrate your work as an embed in your process journal or blog.
