altNevelson
Think negative
This project will explore how to create a file that can be used for creating a mold using a CNC router. Mold-making requires the artist to think in Gestalt terms of negative volume and subtractive making intrinsic to the CNC process. It also synthesizes many of the model-building skills developed over the semester.
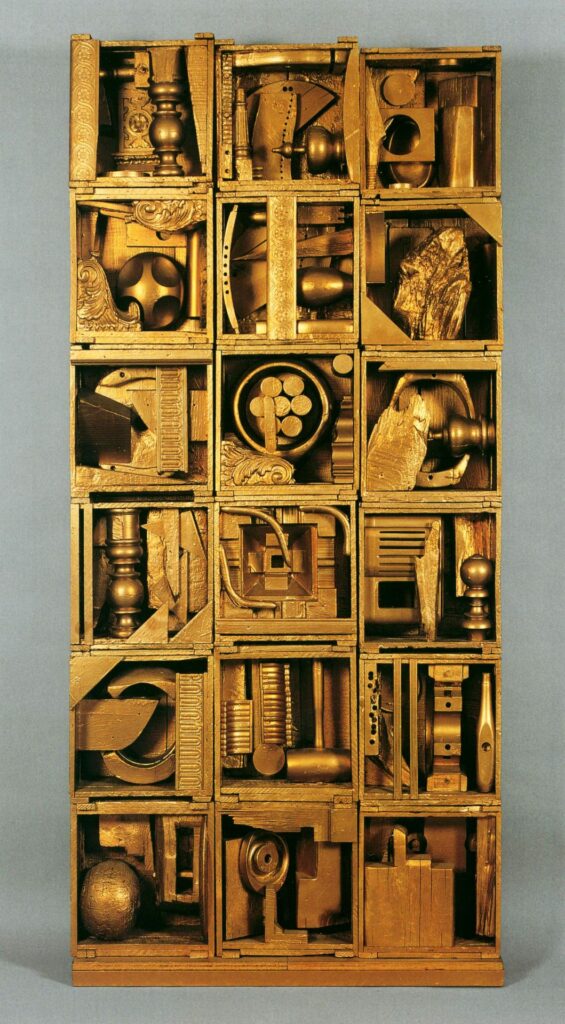
Inspiration from artist Louise Nevelson
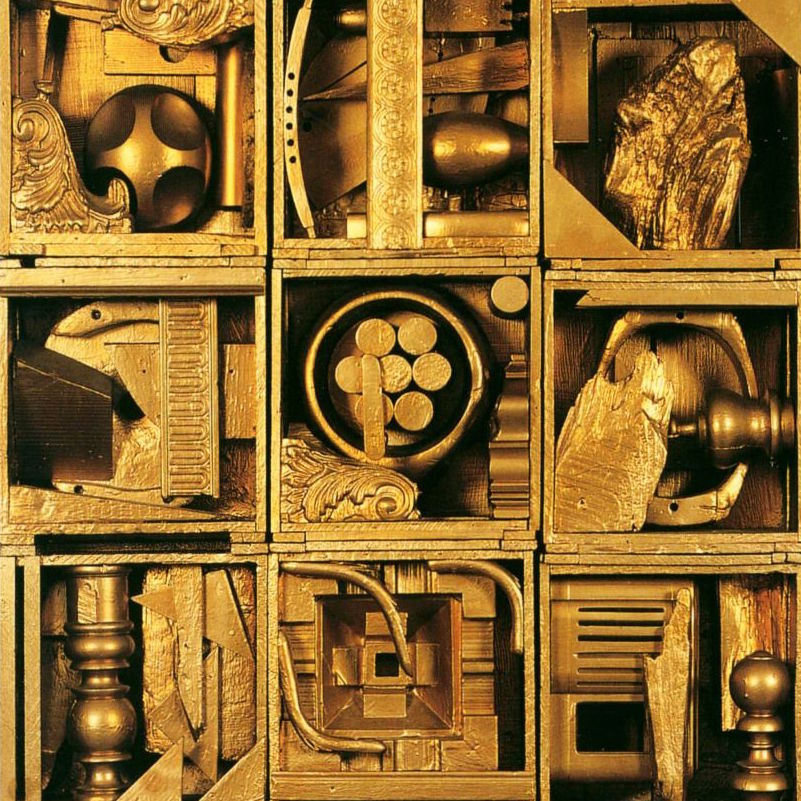
Take a look at the work by Abstract Expressionist sculptor Louise Nevelson.
Nevelson enjoyed layering found objects together inside a frame, transforming them into new forms in the process. In your project, instead of found objects, you will create simple modeled forms and layer them together in the manner you see in one of Louise’s boxes. The repetition and patterns create an impression of implied motion, which your project should explore.
There will be some formal differences between your work and hers:
- Nevelson works additively layering objects together. You will work subtractively to create a mold for a sculpture.
- There are lots of undercuts in the layering of Nevelson’s work. Not in yours!
- Her compositions are edge-to-edge. You need to account for tooling with a border.
But: your strategies will be identical: you both create a non-objective expression by using collage to put things together. What does that mean?

Non-objectivity
Well, in previous modeling projects, we learned how to create work using various means of expression:
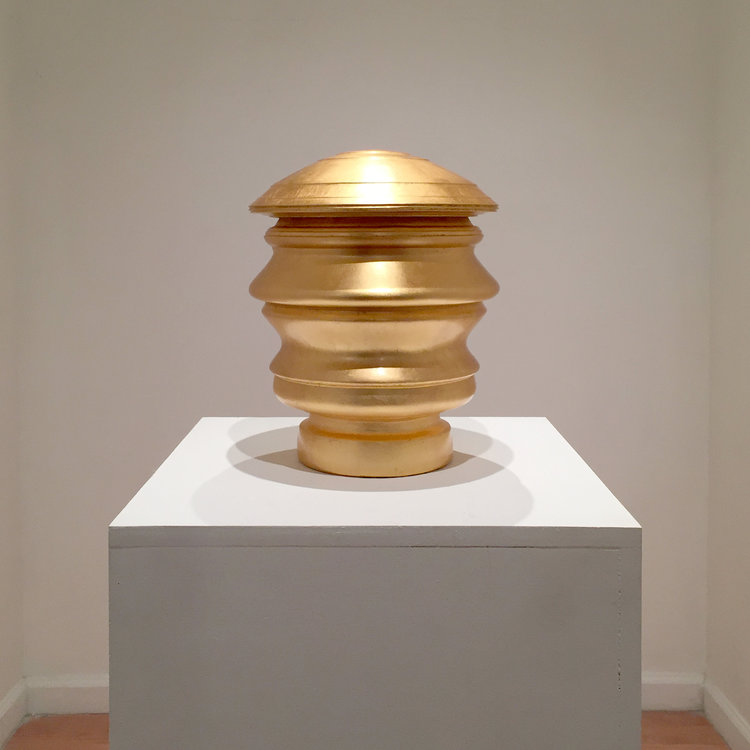
- Abstraction is the process of selective emphasis on what the artist perceives to be a particular essence of an object. In Topological Transformations, we abstracted a recognizable object, changing scale and material to emphasize pure form.
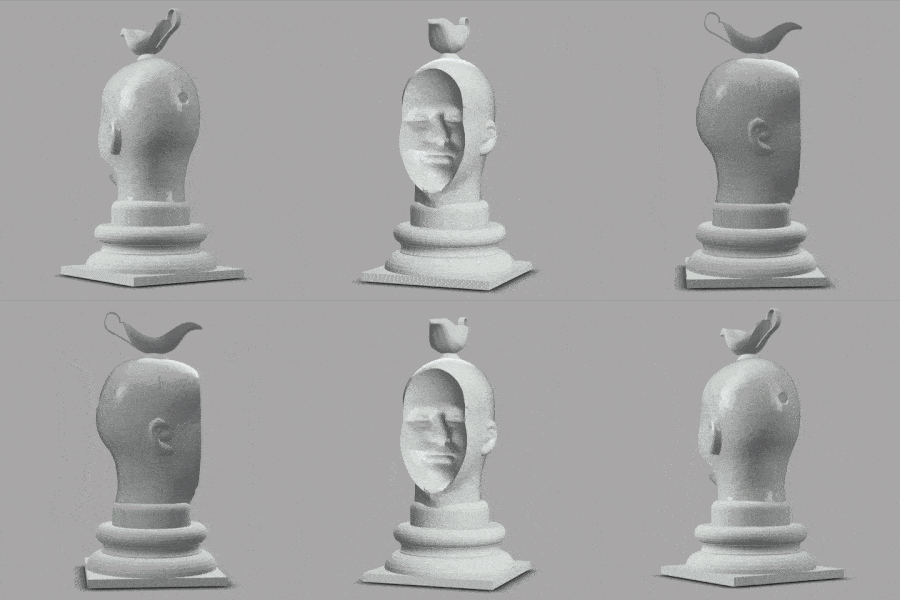
- Realism is the degree to which fidelity with the observed object is captured by the artist. In the Looking Glass project, we used a type of realism known as Surrealism to create unsettling, humorous, or unexpected juxtapositions among forms that we see in other contexts.
There is a third means of expression we have not explored:
- Non-objective art does not express recognizable objects at all. It creates a new reality, deliberately avoiding symbolism, metaphor, or recognition to communicate the artist’s vision in a state of pure Expressionism. This is how we characterize Nevelson’s work, and it will inspire this final modeling project.
Abstraction
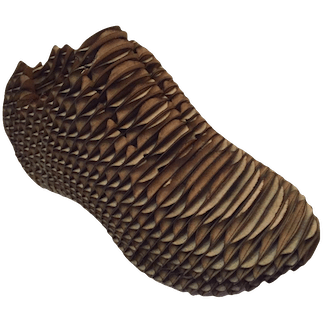
using a topological transformation
Non-objectivity
using a collage strategy
Collage strategy
Using a collage strategy to model will involve these steps:
- Develop a sketch of 3-5 simple objects that can be created using advanced modeling techniques of Extrude, Revolve, Sweep, and/or Loft generated from a Sketch.
- Create the objects in Fusion 360 using the appropriate techniques, including modeling tactics learned for earlier projects. Avoid issues created by undercuts and texture, and check for a proper draft angle in the vertical orientation.
- Collage these objects together into an overlapping composition that creates a visual implied motion. As you collage, avoid undercuts and details that cannot be captured by the ¼ round-nose cutting bit.
- Combine; Join these objects to create one unified body, and create a ⅛ inch radius Fillet at every corner that is NOT engaged with the base of the object. Inspect the model carefully to see that every corner receives the fillet, and look for unwanted loss of detail in this process. If such occurs, return to the collage and revise the composition, then re-apply the fillet.
- Combine: Cut the object from a simple rectangular box that represents the stock being cut on the CNC router.
Sweat the details
As you create a concept and iterate a model, you want to be mindful of the limitations of our tool. We can indeed place any mill in the router, with any end shape and diameter. However, for a first-time router experience, and to accommodate everyone in a studio, we need to limit tool time to around 30 minutes per person. So we keep one general-purpose mill in the router for this job: a ⅛” diameter end mill. This is a bit that is flat on the tip, and ¼” wide altogether.
This limits the kind of detail in your model that works well when it is carved out of the block of material, which we call the stock. Generally, you want to avoid:
- Detail ¼” or smaller | This can be hard to predict if you scale an element down, but if you have any element that is exactly 0.25″ or smaller, the G-code generator will ignore it. The rule of thumb: to ensure it cuts, make any detail in your model 0.26″ or larger.
- Extreme acute angles | Acute angles are less than 90°. Extreme acutes are angles that are smaller than 45°. A ¼” end mill will miss a lot of the volume of a shape as it approaches the corner. The problem gets more extreme as the angle gets smaller:
Oblique (>90°)
Acute (<90°)
Extreme acute
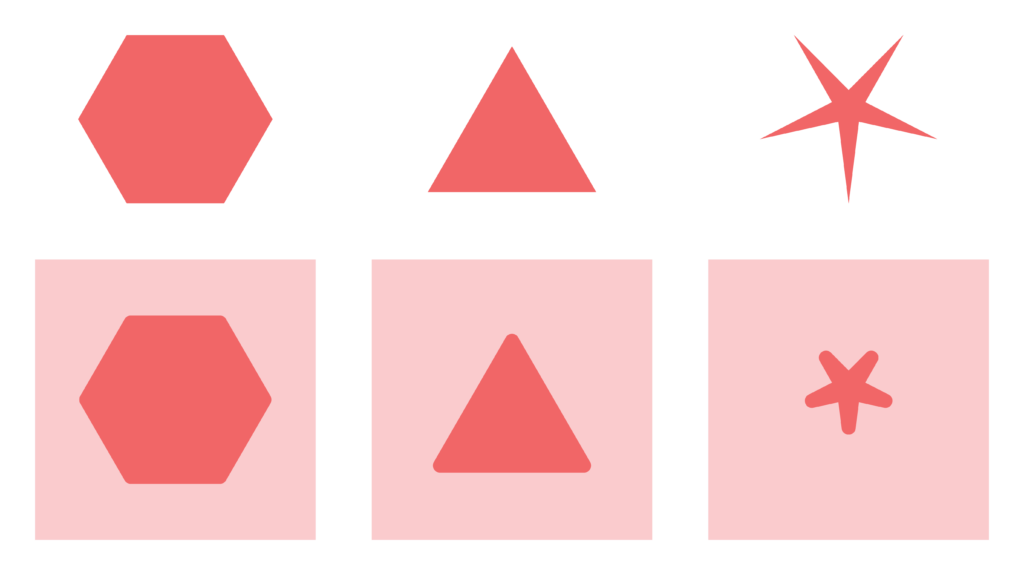
Minor loss of corner
Visible loss of corner
Extreme loss of corners
A case study for process
We’ve broken these concerns down in a case study below. Your work can be decidedly different in appearance and can use tools as your sketch calls for. But in all cases, your model should adhere to a few delimiting criteria:
- The model should fit within well an 8-inch x 8-inch area, leaving at least ½” border all around to maintain the wall integrity of the mold.
- The depth of cut should not exceed 1-inch deep into a 2-inch high stock.
- The calculated tool time should not exceed 30 minutes when you run the G-code.
Concept: sketching and preliminary modeling
Using the conceptual and technical criteria outlined in your references, exercises, and information here, we generated a sketch that included four objects: a hemisphere, a turned object inspired by Nevelson, a half-circle implying a line of motion, and a dynamic zig-zag shape. We did not imply any compositional relationships among the shapes.
But something is lacking in the sketch. We don’t know how tall these shapes are. We don’t know if the hemisphere is a hemisphere or a cylinder. And we intend the large half-circle to be triangular in its vertical cross-section. There’s simply not enough information in this drawing!
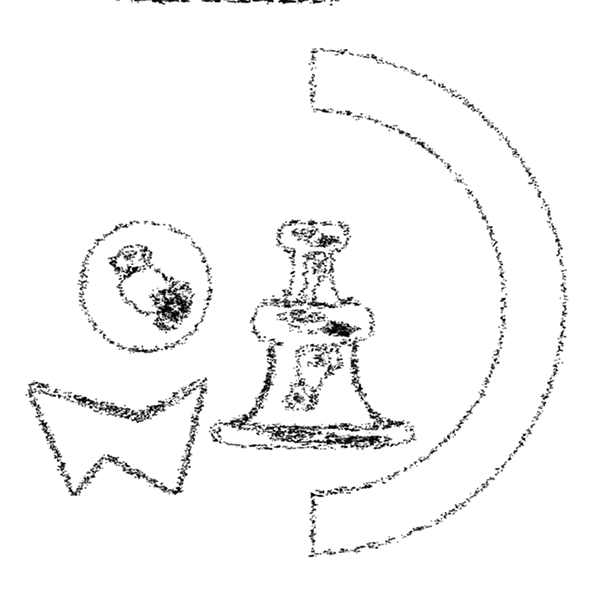
One solution would be an orthographic projection 3-view drawing for each object, of course. But for objects like this, that can be something of a time-consuming affair. How can we encode 3D information quickly in a 2D drawing?
Isometric sketching: show 3D in 2D
You might be used to seeing isometric projections without realizing it. Video games have used isometric visualization since the 1980s and 1990s to render 3D space, and some way-finding graphics in complex buildings like museums or airports will use it instead of a flat map.
Isometric projection is a way to develop a spatial idea using an isometric grid to represent width, depth, and height on a flat, 2D paper surface.
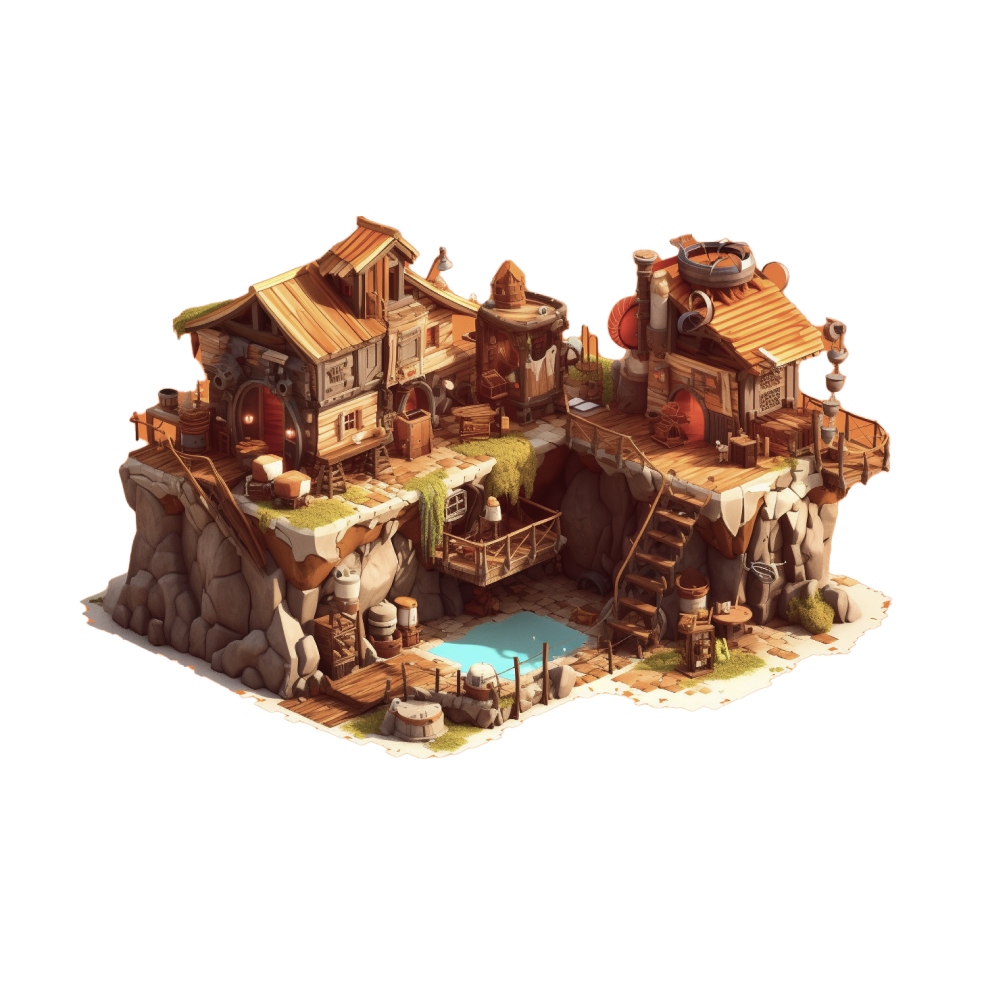
If you are unfamiliar with isometric sketching, a special graph paper can help to guide your drawing.
You may print the paper, or convert it to a .jpg and upload it as a background in a Jamboard or sketching app like you can see here.
Using such a grid may be tricky to visualize at first. Here is a quick demo illustrating how to use a grid in isometric:
This is great if everything you make aligns with a coordinate grid, but what if you have objects that use a revolve or rotate a circular sketch? Here’s how to create circular or angular forms in isometric:
From sketch to model
We used these techniques to express the ideas we have for shapes in a quick 3D study. From there, we assessed tools that would give us the results we wanted: Fusion 360 Sketches, of course, Revolve actions, and an Extrude with a small draft angle. Working with the isometric grid paper helped us translate proportion and size to the coordinate grid in Fusion 360.
Observe the model generated here:
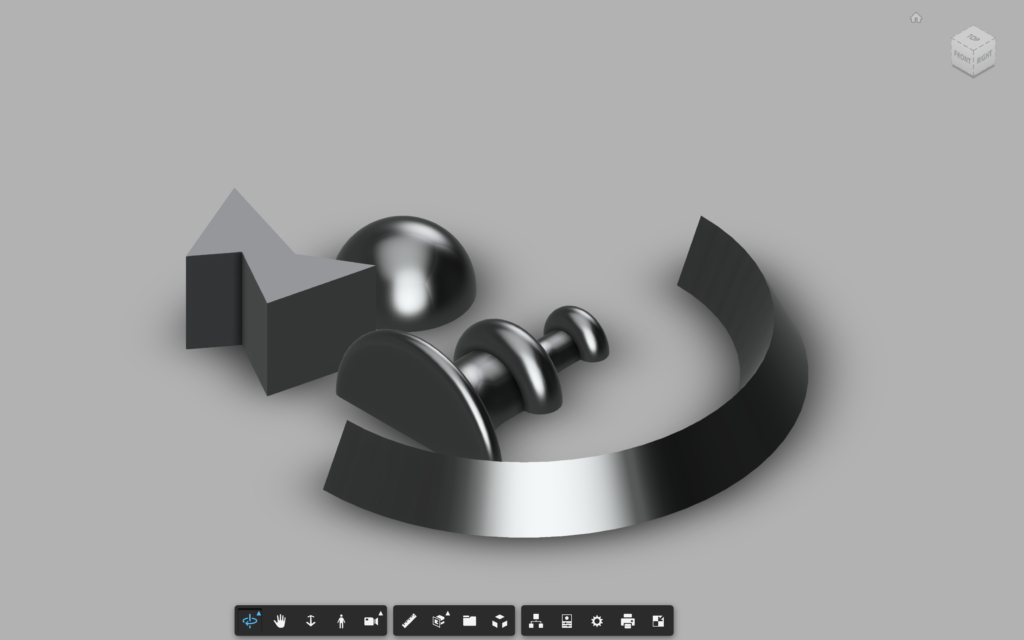
And embedded for your inspection:
This raw time-lapse video shows how these objects were made using the Sketch mode in Fusion 360, but you can sketch your objects any way you wish, so long as you keep the bottoms of the objects flat and congruent with the XY plane:
Iteration: modeling the “model” or “cast”
In mold-making, we call the object from which the mold is made a model (yes, that terminology can be confusing!). After the mold is made and we use it to make something, the object that emerges from the mold is called a cast. In any event, these terms describe a positive shape, whereas the mold is a negative shape. In our iteration phase, we experiment to come up with this positive shape first.
Composing objects into a layered collage
Louise Nevelson created layered, overlapping states between her objects, which will inspire your collage. However, as you compose, you again need to avoid the mold-maker’s dilemma of the undercut.
This sample model shows how the objects from the step above have been scaled, moved, and layered. In the screen capture, notice how objects have been highlighted to show how much they intersect. Don’t be shy with layering! The more overlap you create, the stronger your cast object can be:
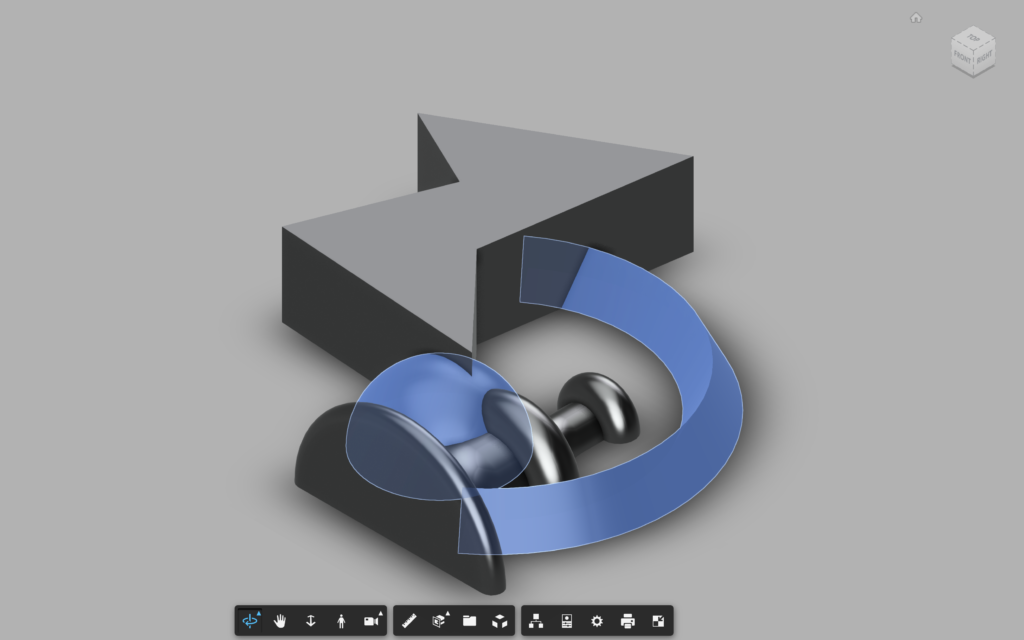
In the embedded model, you can select and highlight individual objects to see the generous overlap:
Another time-lapse video shows the process of decision-making:
Combine: Join and Fillet edges
Remember that a mold does not love sharp edges between objects! So, after we Boolean (recall Fusion 360 likes to name this Combine: Join), we must create a fillet at every sharp edge. Don’t, however, fillet edges at the base of the model. This model shows the result:
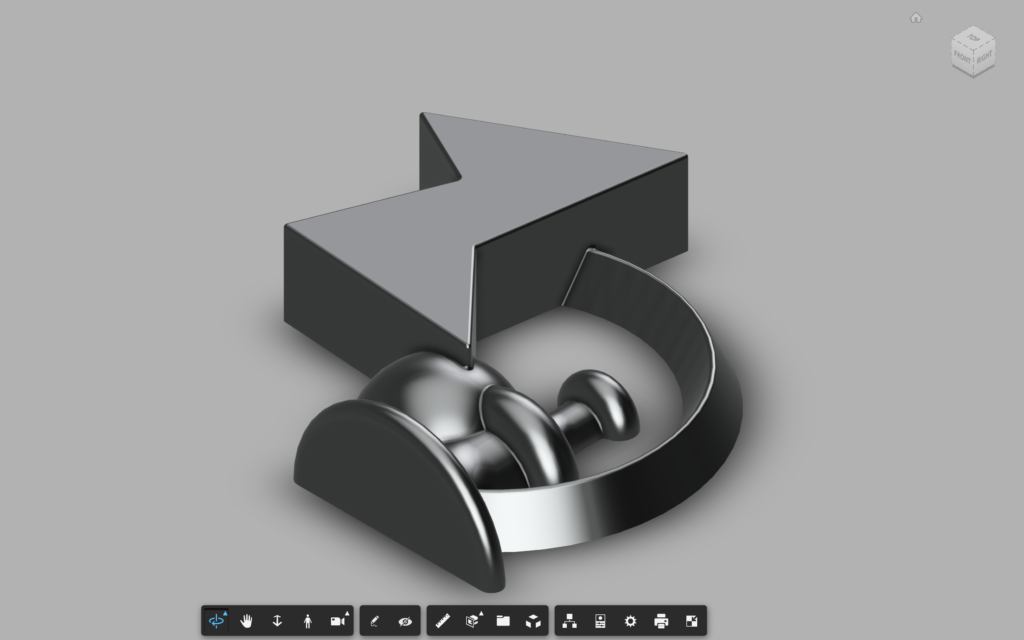
PRO TIP: if you use a ⅛” fillet, it’s a good prediction tool to see where you might lose detail at an acute angle!
The embedded model to inspect:
This time-lapse shows the flow:
Synthesis: making a fabrication-ready file
The box you’ll see below represents the stock: a block of high-density foam, out of which a CNC router can create your mold. In our project, the size of the foam block is nominally 8 inches deep and wide by 2 inches thick. It is slightly smaller in all dimensions, by about ⅛ inch. Remember, there can sometimes be up to 10% variation in actual dimension from the nominal size in manufactured raw material!
Combine: Cut to make the mold
This model shows how Combine: Cut can subtract the volume of the model from the volume of the block:
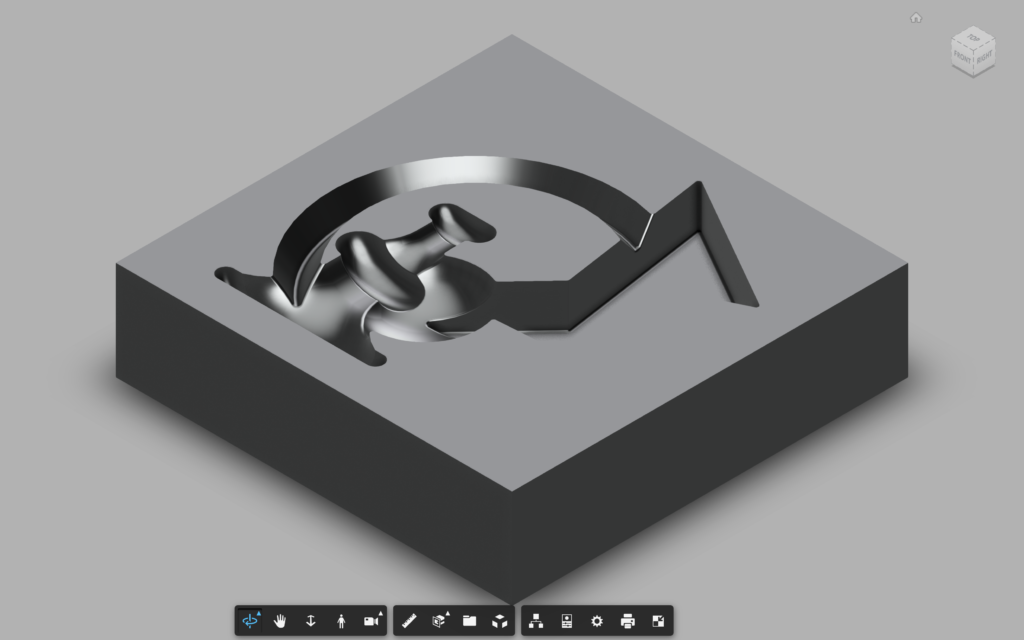
And the embedded model:
This final video demonstrates that process.
Pay particular attention to the non-uniform scaling that reduces the vertical depth of the positive cast to the required 1″ maximum:
Final fabrication and presentation
First, you’ll need a generic file type to bring to a machine. From Fusion 360, export to an STL file. This is a cloud operation, and can sometimes take a surprising amount of time!
Once you have the STL, head to the CNC router fabrication title to reserve time in MakerSpace if you are taking a studio I teach. Run your G-code in MeshCam and operate the machine using Carbide Motion, the software you learned during our safety demonstration. The average time for most jobs is an hour for the entire process, half of which is used in actual cutting.
The final project will be evaluated from your blog using the following:
- An embed of your Fusion model
- An exported STL file available via public link in your Digital Archive
- At least two high-quality photographs of the finished mold cut from high-density foam, taken from two different angles to illustrate the nature of the negative shape.
