Three kinds of map
Three kinds of map, two kinds of process
Mapping, in general, is the alteration of basic geometry to do more than geometry could do alone. If you wanted to model a brick wall, for example, it would be possible to create each brick and each slab of mortar between them. But it would be crazy — try to render it, and it’s just too much information. Mapping gets us out of the conundrum of over-modeling polygons at the same time it introduces the possibility of creating non-uniform materials like wood, earth, grass, marble, and the like.
This title explores three kinds of maps:
- Bump/normal maps
- Texture maps
- Displacement maps
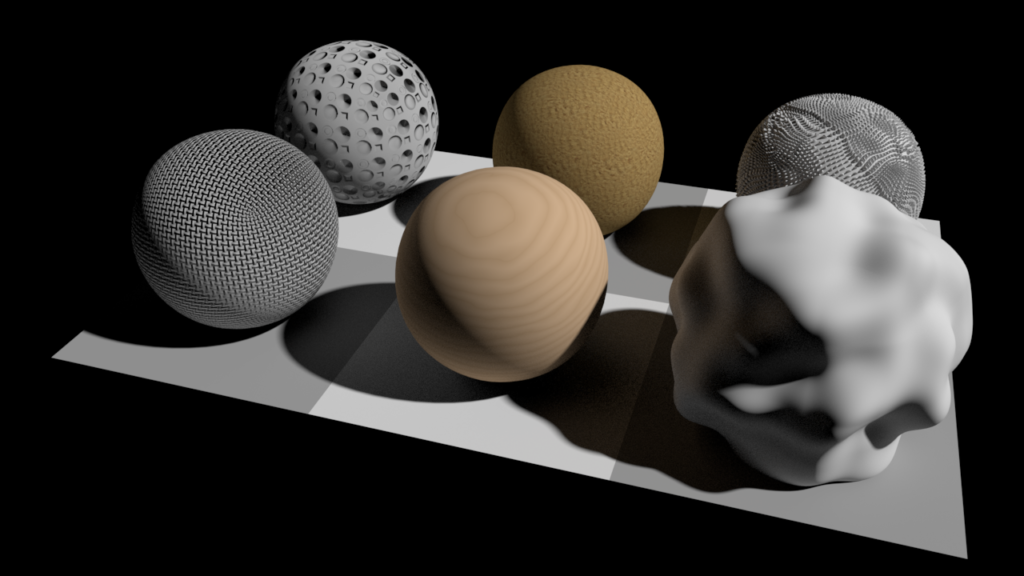
Each kind of map can be explored by applying an internal procedural texture, or by applying an externally referenced bitmap image. The image seen here is a matrix of these possibilities.
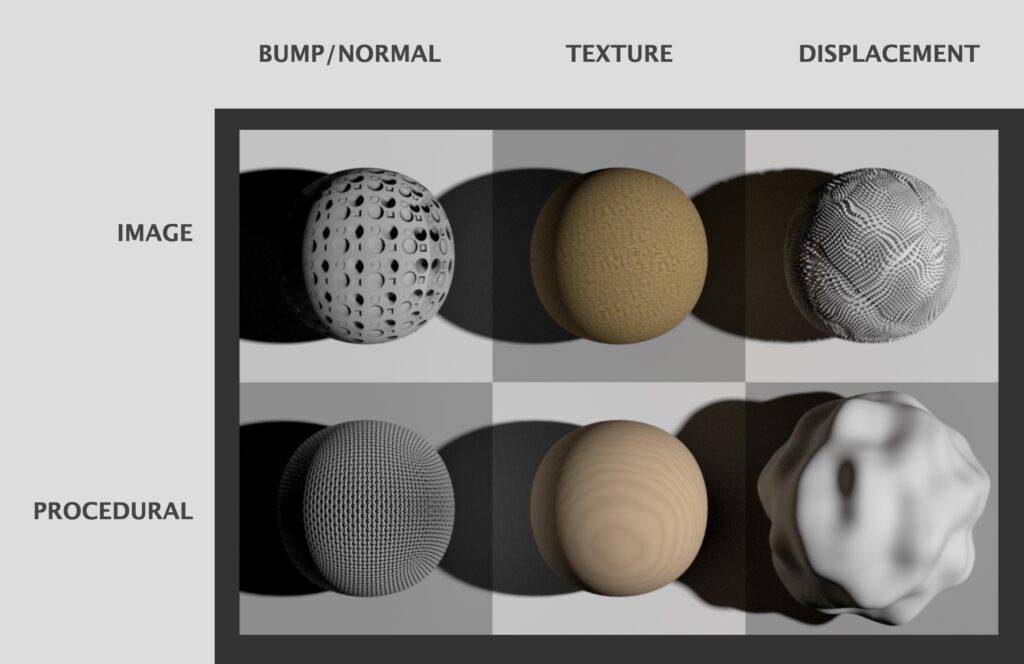
In this exercise, we describe the process we used to create the textures, and you follow the workflow to create the materials as in the matrix above. You may substitute textures or procedurals to create your own materials, or you may use the procedurals we describe or the texture images we supply in the downloadable sample file at the top of this title.
Set up the scene
Here is a perspective rendering of our scene:
Create the surface and lighting
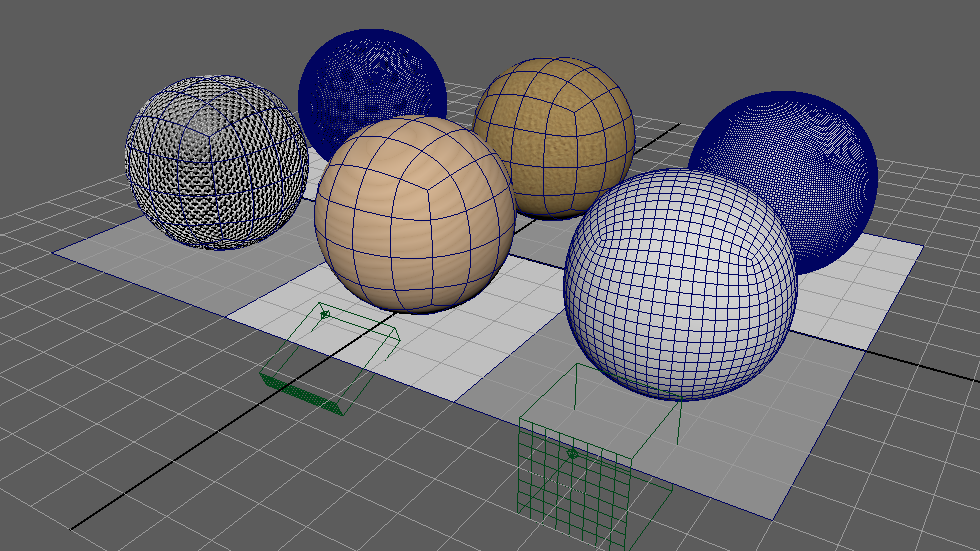
- Create a polygon plane with the following parameters: Width: 18, Height: 12, Subdivisions Width: 3, Subdivisions Height: 2.
- Make a checkerboard by selecting faces and applying two different gray-tone Lambert or Ai Standard materials.
- Create a Directional Light and under Directional Light Attributes change Intensity: 3. Under Arnold options, change Angle: 2, which will create a soft-edge shadow. Move and rotate it to aim down on the polygon plane at about a 45° angle.
Create a non-polar sphere
We’ll use spheres to display and emphasize the materials. The sphere is useful because it is a simple shape but a relatively complex geometry that can reveal shortcomings in mapping. There is one problem with the standard polygon primitive sphere, however, that is vexing for most maps: the “sawtooth” of triangular faces that converge on the poles. Few mapping projects can successfully negotiate the sawtooth.
One of my favorite tricks is to replace the standard sphere primitive with a non-polar sphere. Another name for this is a quadball. Don’t look for it in the Polygon Shelf—it’s a heavily manipulated polygon cube. Here’s how we do it:
- Create a polygon cube with 1 subdivision all around; you’ll see a single face for each plane making the cube. Make the height, width, and depth all: 5.
- Press 3 on the keyboard for a smooth mesh preview.
- Go to the menu and select Modify>Convert>Smooth Mesh Preview to Polygons. This conversion quadruples the subdivision for each face.
- Press 3 on the keyboard again for another smooth mesh preview.
- Move into place, centering on one of the checkerboard squares.
- Repeat this for all six spheres.
The result is an object visually indistinguishable from a polygon sphere primitive but without the pesky pinching at the poles that often ruins a good mapping session. As you move through the different mapping strategies, you’ll discover that, in some cases, the amount of geometry created by this trick is insufficient. We discovered, for example, that image-based normals and displacement mapping and image displacement, needed more geometry. To get the extra faces, simply repeat Modify > Convert > Smooth Mesh Preview to Polygons as many times as will solve the problem. For our normals sphere, we repeated it three times; for displacement, we repeated it twice.
General workflow
This is the global process common to each of the following examples:
Applying Ai Standard
- The first node of each “sphere” — pCubeX, where X is a number — is found in the Attribute Editor as the first tab for a selected object. Each one should be named after the kind of map it illustrates. For example, the procedural-based texture map sphere should be named procedural_texture_pCubeX or something similar. This helps you distinguish them in the Outliner and other places.
- We apply a unique Ai Standard material to each sphere. Each material node should be named for the kind of map it illustrates. The aiStandardX node can be renamed X_map, X-sample, or similar, where X is the descriptor. This helps keep it clear in the Hypershade and other places.
- Almost all the action is in the Attribute Editor tab, so unless otherwise noted, head there.
- Take a moment before applying textures to make sure the project is set to the project folder. For the sample file, named 3maps.mb, the project folder is 3maps. Go to File>Set Project… and see if this is set correctly. If not navigate to the folder in the Set Project dialog, double-click on the folder name, and select Set. If you are creating your own project from scratch, don’t forget to go to File > Project Window, and click Accept in the dialog. This automatically creates folders like scenes and sourceimages that are used by Maya to organize the project.
Procedural textures and Ai
- Ai Standard and the Arnold rendering engine will honor most, but not all, of the Maya procedural textures, the application of which is described below. The only ones that this author could not succeed with as of this writing were Fluid Texture 2D, Fluid Texture 3D, and most disappointingly, Wood. There is a workaround to generate a wood procedural, however, and it’s described below.
- During each material creation session, inspect the results in the viewport with the Textured icon selected (it looks like a checkered sphere), but also take advantage of the Arnold RenderView window, available through any menu set at Arnold > Arnold RenderView. It’s a real-time, IPR-style render preview that will save you hours. It is also very useful to keep the UV Editor window open to see the material, and the flattened polygons distributed over it, in UV space. In the Modeling menu set, go to UV>UV Editor to open this interface.
Create bump and normal maps
A bump map encodes a reading of depth as a tonal scale, where black indicates depth and white indicates height, with gray tones between. It gives the illusion of depth perpendicular to the surface but does not change the geometry. It’s good for low relief, where no change in profile or cast of shadow would be seen (pores of skin, orange peel, leather, fish scales).
A normal map is like a bump map on steroids. It is not grayscale but RGB, because this can encode not only vertical change but change in light angle. Normals are good for more aggressive low relief (golf ball dimples, visible corrugation on cardboard, a crumpled sheet of paper, feathers).
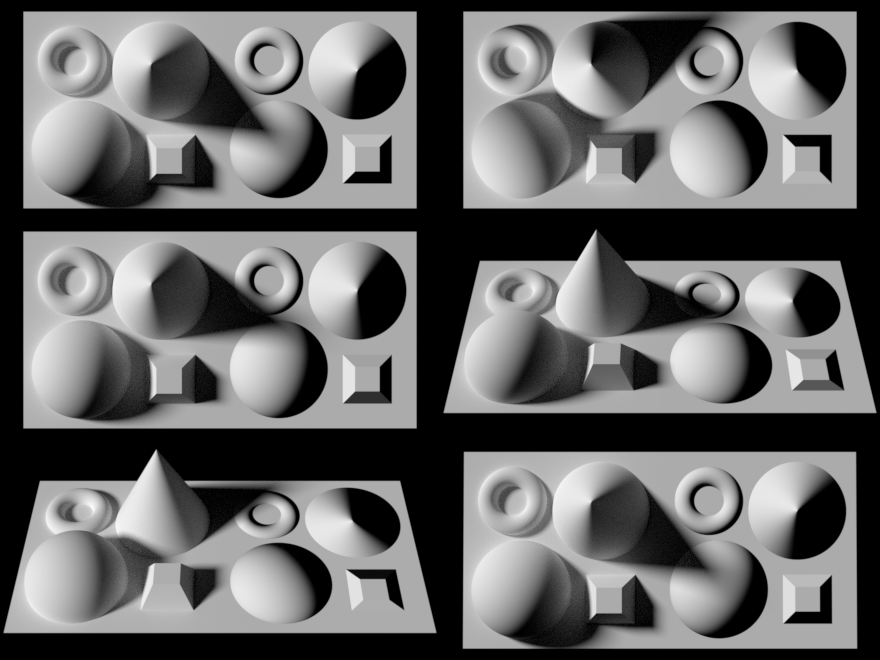
HOW DO NORMAL MAPS WORK?
Light is presented in a 3D model as a normal model. Huh? In geometry techno-speak, a normal is a line that is perpendicular to a given surface. So we calculate light as a normal vector bouncing off a geometric plane like a cue ball in a game of billiards. To get the illusion of a smooth surface with no face edges, we calculate surface normals at face edges as a cross product… an “average” that is smoothed out, within a certain angular limit (by default in Maya, 30°). In layman’s terms, it “cheats” the edge to get the illusion of smoothness.

3D geometry scene.
Normal map of the scene.
Map applied to a plane.
Bump using procedurals
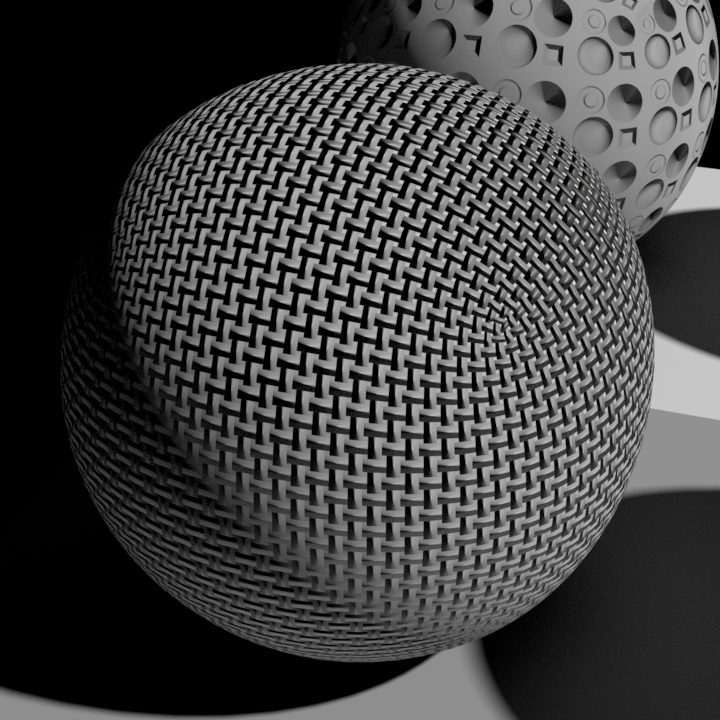
After creating and applying the first Ai Standard material:
- Under Bump Mapping options, click on the map icon (small checkerboard), and this opens the Create Render Node dialog.
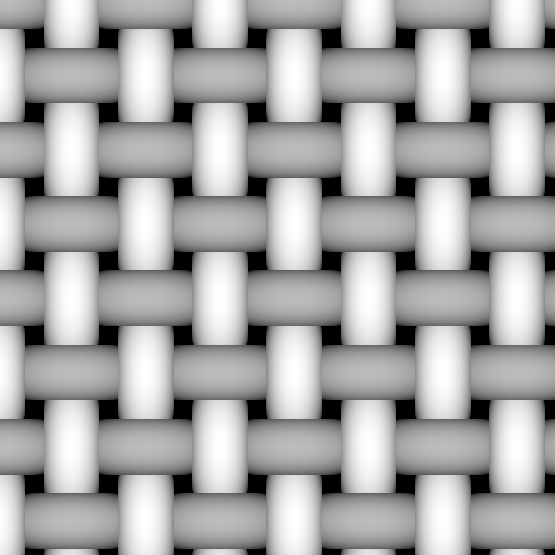
- From the list of Maya 2D or 3D Textures, we select Cloth, and it creates a node we call cloth1.
- In the cloth1 node tab, select the UV Coordinates option and click on the boxed arrow node icon.
- Under UV Coordinates change only the following, where unmarked value boxes refer to X and Y or U and V in order:
- Repeat UV: 60 60 will create a tight basket-weave-like texture.
- Offset: -0.05 -0.05 will center the black space on the intersecting vertex between faces and make a cleaner expression of the map on the surface.
Normal using images
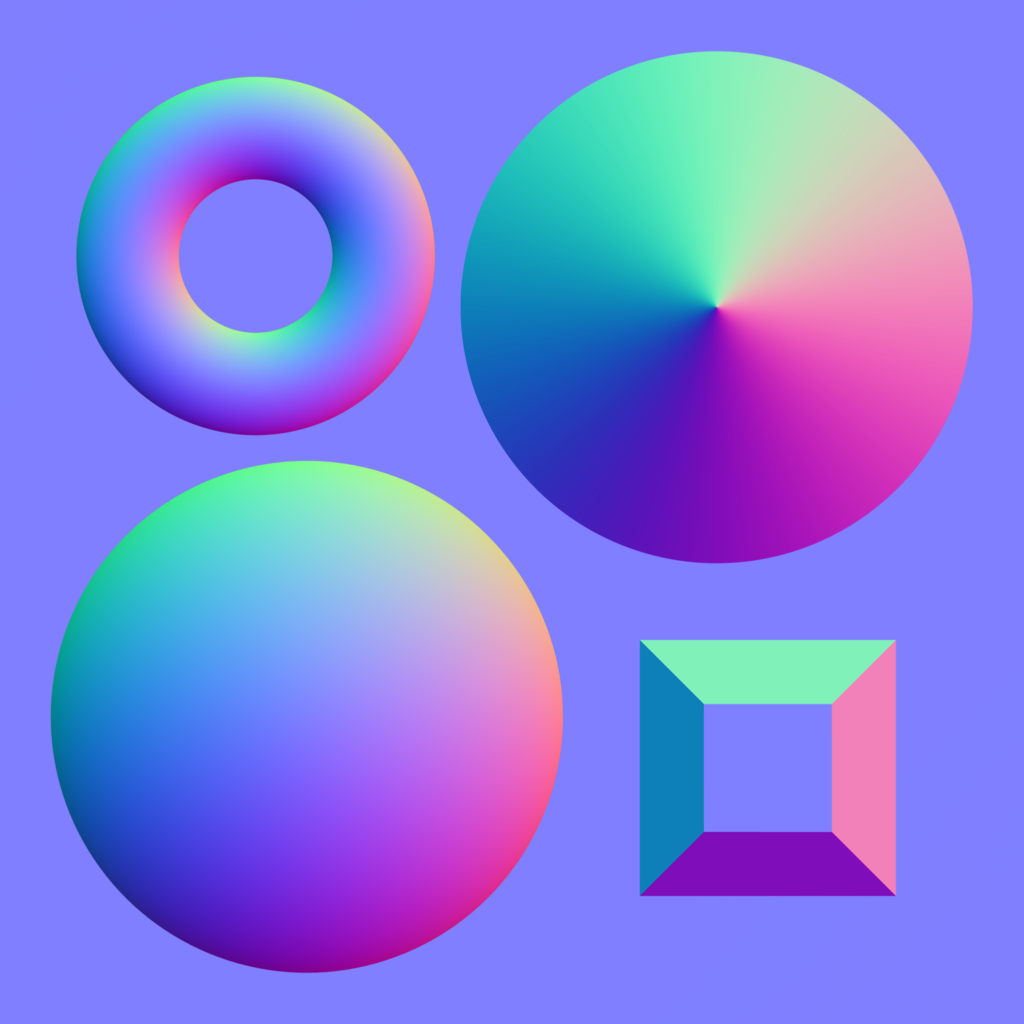
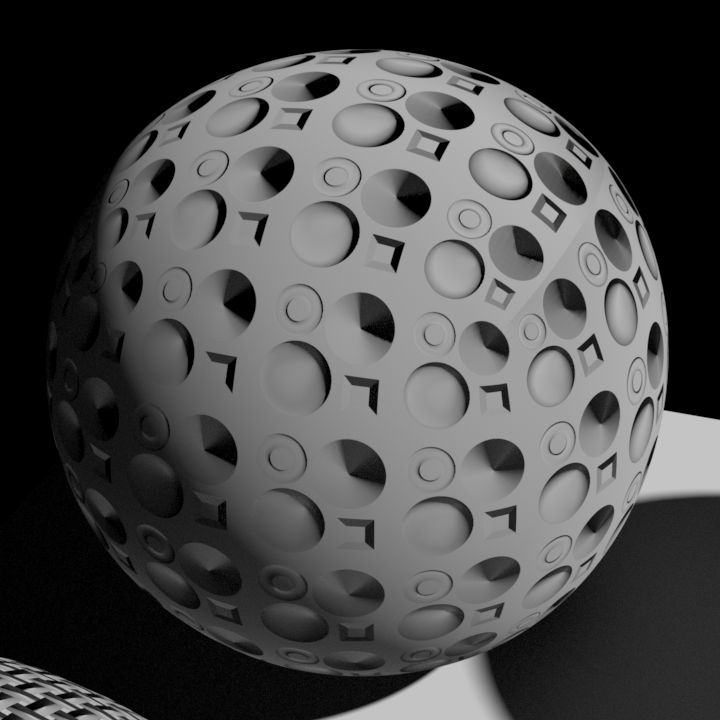
After creating and applying another new Ai Standard material:
- Under Bump Mapping options, click on the map icon for the Create Render Node dialog again. Here, under Maya 2D Texture options, select File. This will create two new nodes called bump2dX and fileX (where X is a number). In the bump2dX tab, under 2d Bump Attributes, select Tangent Space Normals from among the options in the Use As: dropout. In the fileX tab, you’ll select an externally referenced image file.
- Take a moment in the file directory to notice, in the sourceimages folder inside the Maya project folder, we have placed a normal map named Normal_map_example_.png (from Wikimedia). We’re placing this file in the next step.
- Back in Maya and the fileX tab, under File Attribute options, find the folder icon to the right of the Image Name field. Click on this and in the dialog box that opens, select your file. If you don’t see the file, you haven’t set your project (see General workflow above).
- With the normal map file applied, select the UV Coordinates option and click on the arrow node icon to open the place2dTextureX node (where X is a number), and under UV Coordinates, change only the following:
- Repeat UV: 16 16
- Notice at this point there may be some artifacts in the shadow areas of the render preview that appear to be like the edges of faces. As we noted above, the geometry needs to be denser for this map to work, so at this point, we repeat the Smooth Mesh Preview to Polygons until the artifacts are no longer a problem. For this map, it took three repetitions of this conversion to defeat the artifacts. It’s best to keep inspecting the results in RenderPreview so you don’t make more geometry than necessary.
Create texture maps
Procedural-based texture options use Attribute variables to create materials that occupy volumetric space. When we apply a procedural texture, we see a green cube in the viewport that we can move, scale, or rotate to change the orientation of the material in space. Think of this cube as controlling an infinitely large 3D texture matrix which, when it intersects the polygon solid it is applied to, presents itself as a material at the surface.
Image-based texture maps are a common device to bring in realistic brick, dirt, grass, and other materials that might be difficult to develop procedurally. Here, we’ll make a big ball of sand. We use a seamless texture map, one which has been manipulated so that it doesn’t create an obvious edge or border to the map when applied. An image editing program such as Photoshop is indispensable for developing just the right image to apply.
Texture using procedurals
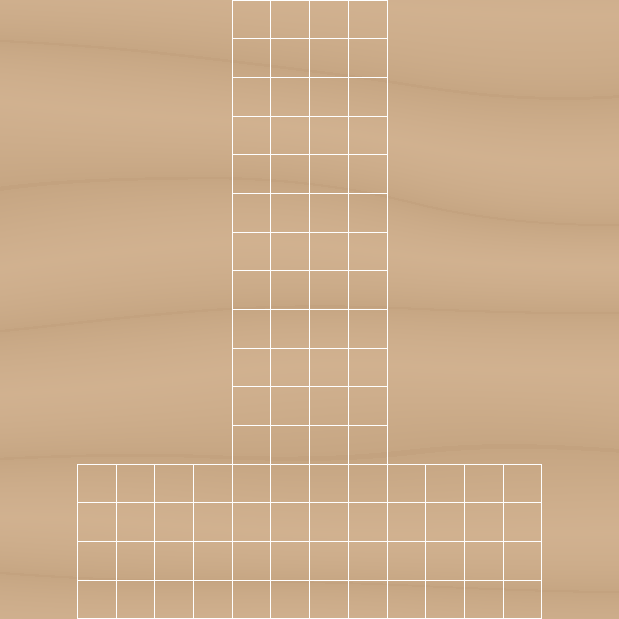
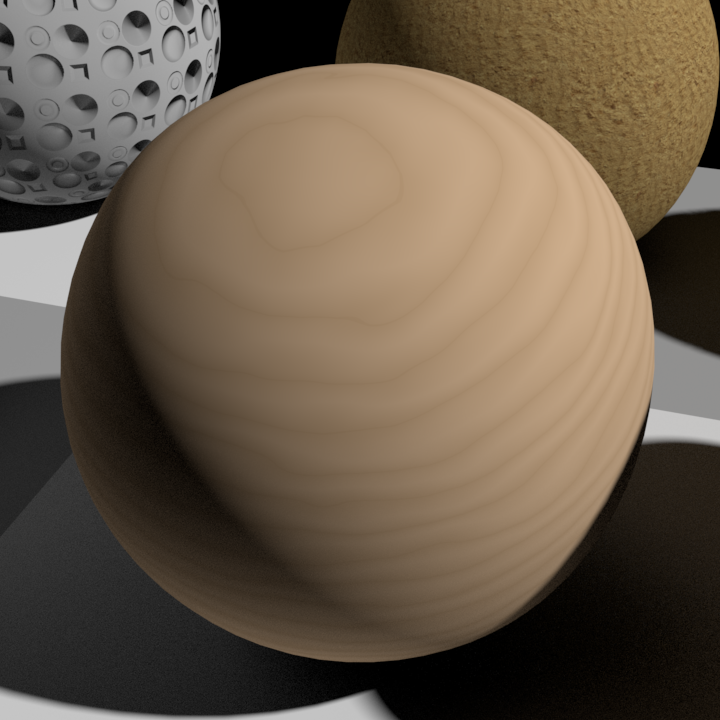
Recall that most but not all Maya textures are honored by Arnold — Wood, for example, is a particularly disappointing one to lose. Fear not: Marble, it turns out, can be convinced to function as an able substitute for the inaccessible Wood. The takeaway: don’t be fooled by names of textures into thinking they can ONLY express their namesakes.
After creating and applying another new Ai Standard material:
- Under Diffuse option Color, click on the map icon to open the Create Render Node dialog once again, and select Marble from the list of options.
- Under the Marble node which we name marble1, observe the Filler Color and Vein Color. These will act like tree rings in our material model.
- For Filler Color, we apply:
- H around 23.5
- S around 0.5
- V of 1
- For Vein Color, we apply:
- H around 23.5
- S around 0.6
- V around 0.8
- Other vein attributes:
- Vein Width around 0.02
- Diffusion: 1.0
- Contrast around 0.16
- To smooth out the veins and make them ring-like, under Noise Attributes:
- Amplitude: 1.0
- Ratio: 0.7
- Ripples: 1.5 1.0 1.0
- Depth: 1.5 1.0
- To change the scale of the rings, select the place3dTextureX node tab to the left of the marble1 node tab, and change only the following:
- Scale: 1.0 0.2 1.0
- Rotate Axis: 22.0 0.0 0.0
Observe how the green box that signifies the material in the viewport changes as you enter that last set of values.
Texture using images
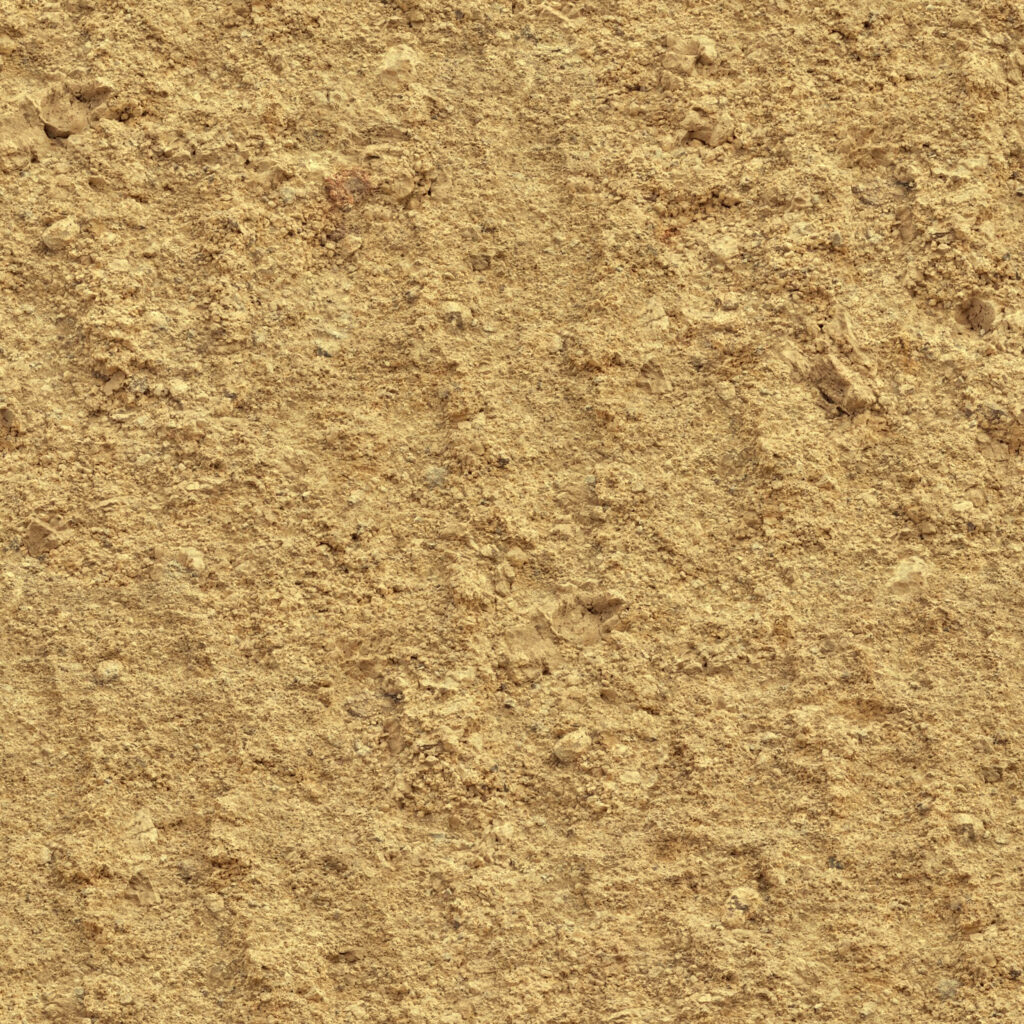
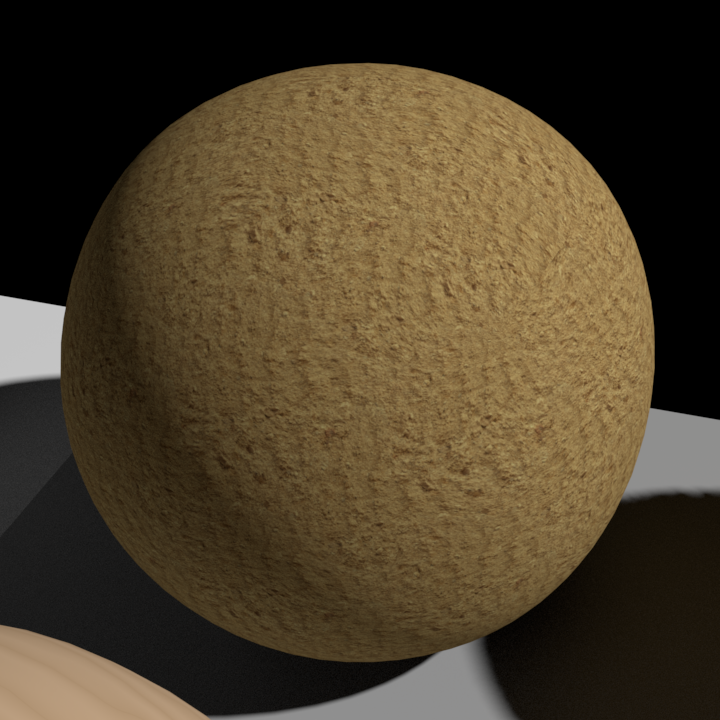
After creating and applying a fourth new Ai Standard material:
- Under Diffuse Color options, click on the map icon once again to open the Create Render Node dialog
- Here, under Maya 2D Texture options, select File.
- Take a moment in the file directory to notice, that under the sourceimages folder inside the Maya project folder, we have placed a normal map named Sand wall texture seamless yellow.jpg. We’re placing this file in the next step.
- Back in Maya, when the new file node opens, under File Attribute options, look for the folder icon to the right of the Image Name field. Click on this and in the dialog box that opens, select your file. If you don’t see the file, you haven’t set your project (see General workflow above).
- With the image map file now applied, select the UV Coordinates option and click on the arrow node icon to open the place2dTextureX node (where X is a number), and under UV Coordinates, change only the following:
- Repeat UV: 10 10, which gives the sand the right scale.
- Noise UV: 0.01 0.01, which randomizes image placement somewhat to hide obvious instances of tiling such as found at seams between faces.
Create displacement maps
In our third and final pair, we discover that displacement maps change the geometry to which they are applied, like normal maps taken to the next dimension. If your texture is high relief (a rough snowball, a crumpled and balled-up piece of paper, an extreme terrain landscape), displacements not only create textures for you but also convincing volumetric manipulation and their concomitant shadows to boot.
Unlike bump or image maps, there is no obvious option in the Maya interface to apply a displacement map. Maya treats the creation of these nodes differently, which we’ll deal with in the workflow description below.
Displacement using procedurals
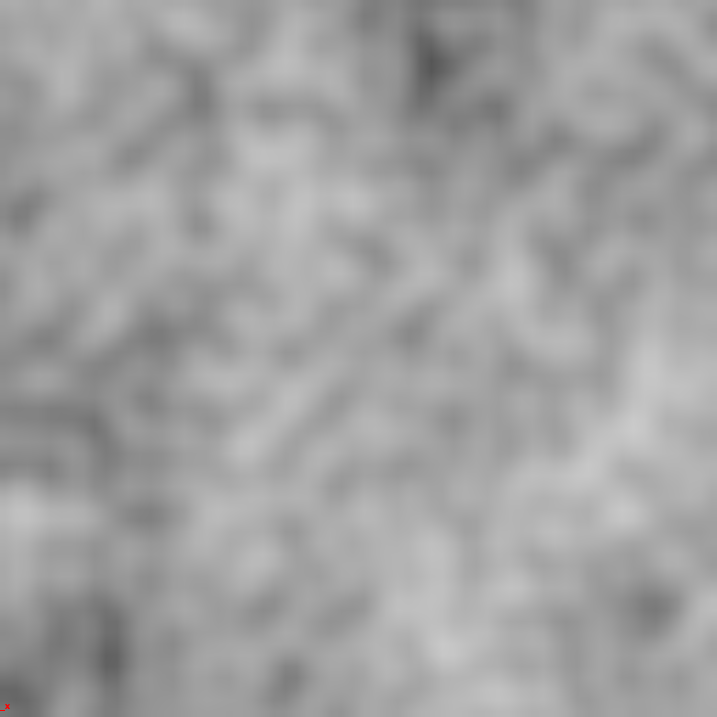
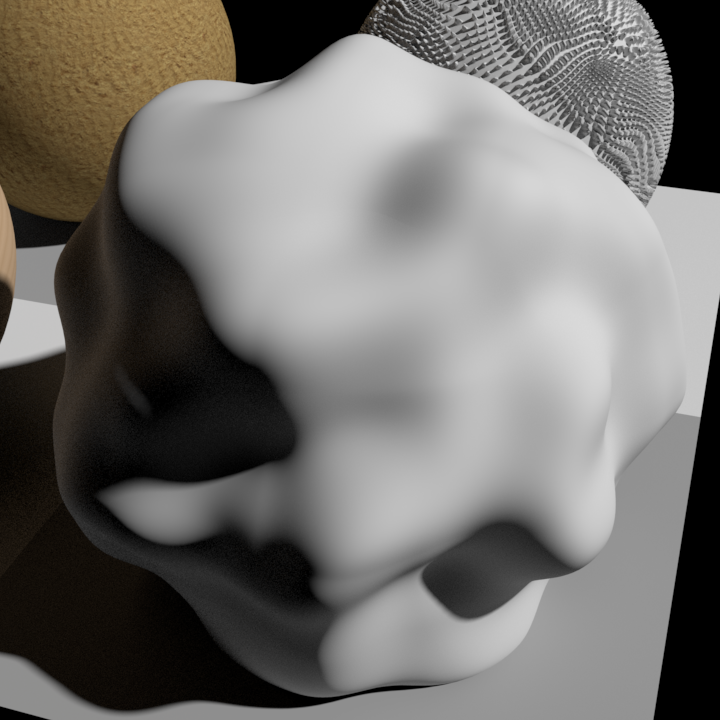
After creating and applying a fifth new Ai Standard material, notice a pair of mysteriously unlabeled arrow icons to the right of the material name field—these navigate up and down the string of nodes that design the material:
- Click on the lower arrow icon and it opens the aiStandard5SG shading node.
- Under this find the Shading Group Attributes, which you open to find the Displacement mat. field.
- To the right of this, click on the map icon and this opens the by-now-familiar Create Render Node dialog.
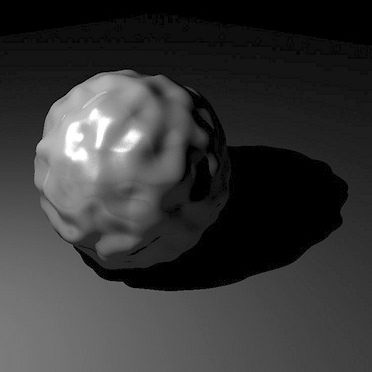
- Here, we’re looking for a random texture generator to make a lumpy spheroid. Maya’s randomizers include Fractal, Noise, Brownian, and Cloud. In our sample, we chose Brownian.
- Under the brownian1 node tab created here, change the value in all the fields — Lacunarity, Increment, Octaves, and Weight 3d—to 1.0.
A somewhat annoying peculiarity of displacement mapping: you won’t see the results in the viewport! We only produce results when we render. It’s useful to keep Arnold RenderView open for a real-time presentation of your displacement creation.
Displacement using images
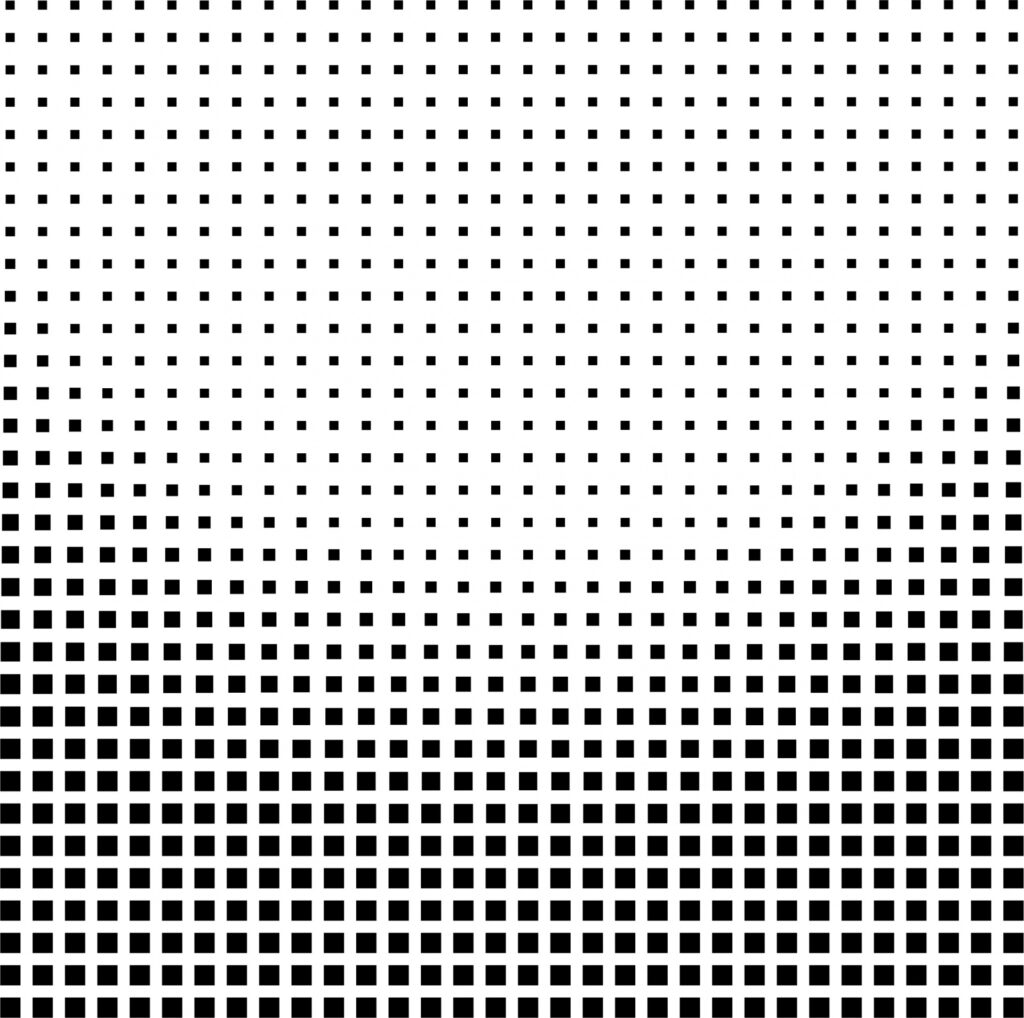
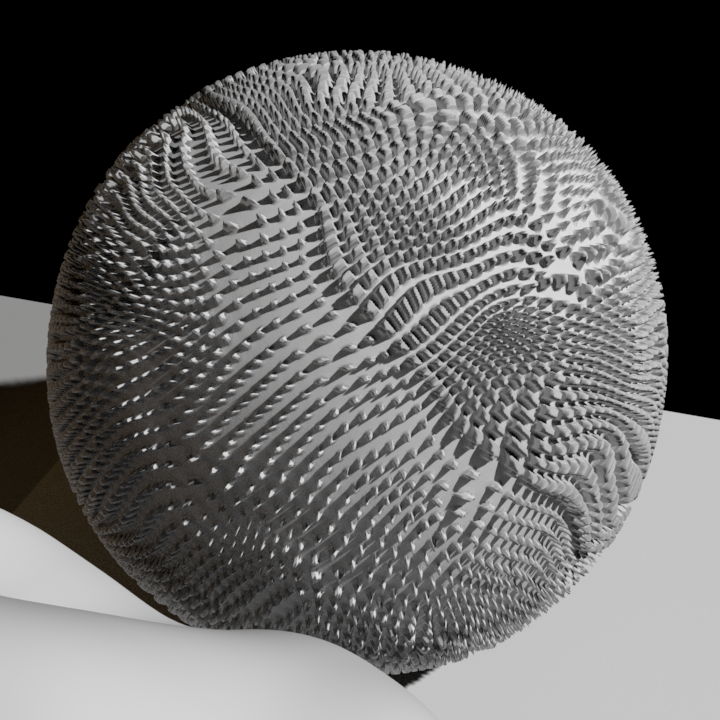
After creating and applying the final new Ai Standard material:
- Click on the lower arrow icon right of the material name field to open the aiStandard5SG shading node again.
- Under this, again find the Shading Group Attributes, which you open to find the Displacement mat. field.
- To the right of this, click on the map icon and this opens the by-now-familiar Create Render Node dialog.
- Here, under Maya 2D Texture options, select File.
- Take a moment in the file directory to notice, under the sourceimages folder inside the Maya project folder, we have placed a texture map named pattern-half-tone-2.jpg, which we place in the next step.
- Back in Maya, when the new file node opens, under File Attribute options, look for the folder icon to the right of the Image Name field. Click on this and in the dialog box that opens, select your file. If you don’t see the file, you haven’t set your project (see General workflow above).
- With the image map file now applied, select the UV Coordinates option and click on the arrow node icon to open the place2dTextureX node (where X is a number), and under UV Coordinates, change only the following:
- Repeat UV: 4 4
- Rotate UV: 45.0
- Noise UV: 0.02 0.02, which randomizes image placement.
Combining maps
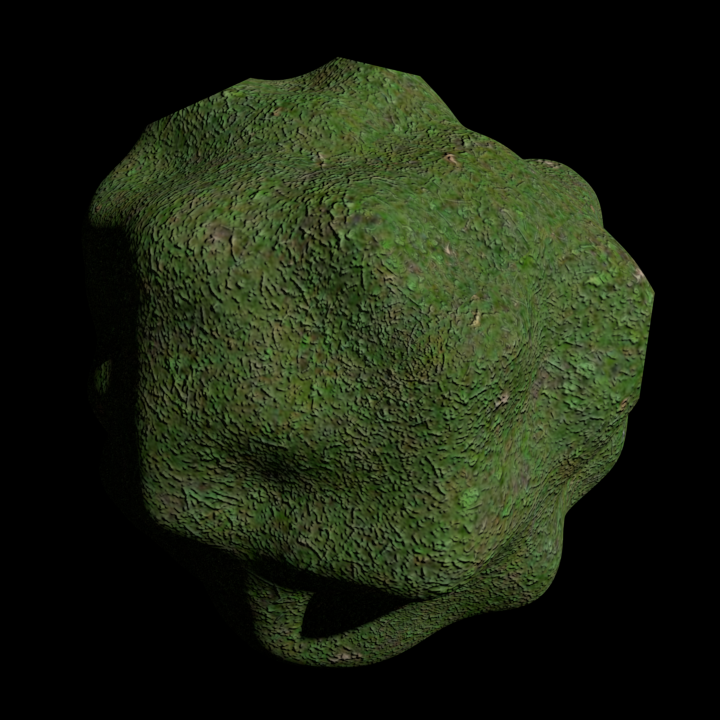
These various maps and processes can combine to create quite complex material effects. For example, when modeling grass, an image texture will create color shifts, while a bump map containing a grayscale version of the image texture will give the material a sense of low-relief depth. Add a displacement map, and you can create rolling grassy hills from a flat polygon plane with sufficient subdivisions.
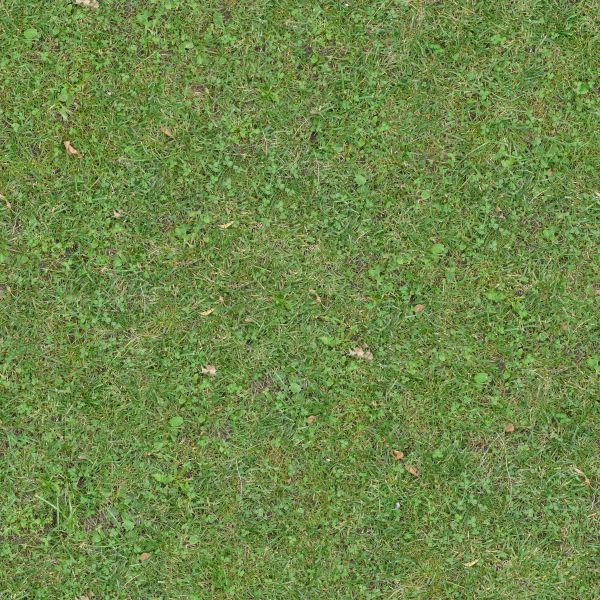
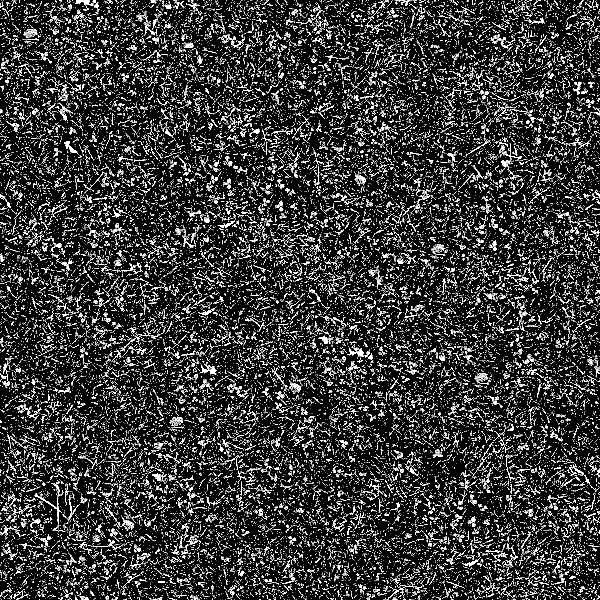
TEXTURE: GrassLarge.jpg
Repeat UV: 2.0 2.0
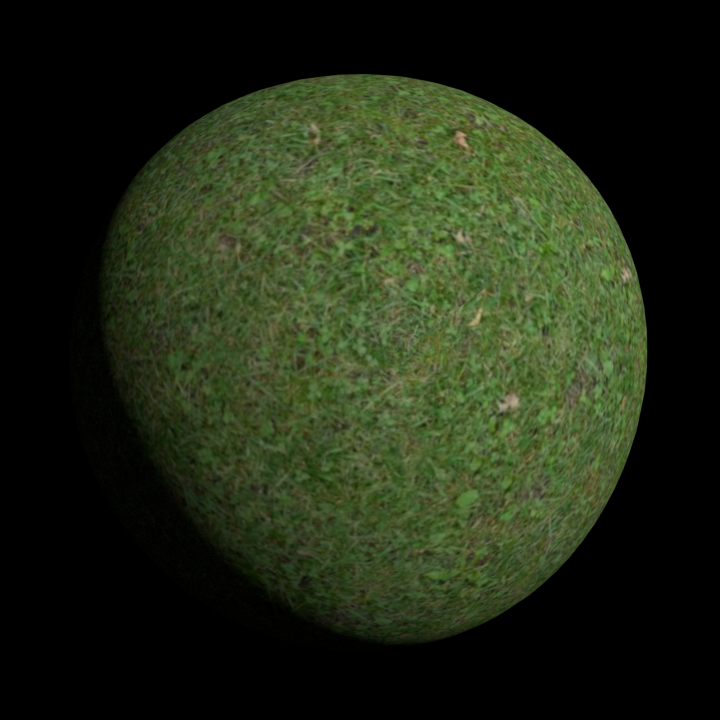
TEXTURE: GrassLarge.jpg
BUMP: GrassLargebump.jpg
Repeat UV: 2.0 2.0
Bump Depth: 0.1

TEXTURE: GrassLarge.jpg
BUMP: GrassLargebump.jpg
DISPLACEMENT: Brownian
Lacunarity: 0.5
Increment: 0.5
Octaves: 2.0
