Logo etch
Introduction to laser engraving
In this exercise, you will create something you can use for your actual laser project. Use the smallest scale version of your personal logo design to generate a file that can be laser engraved.
You can’t simply take the logo file and slap it down onto the laser bed. You need to set it up logically for the process.
We’ll use the personal logo sample I created for the last project as a case study to develop your own. Download the sample and you’ll notice that the final output looks a little different than you expect!
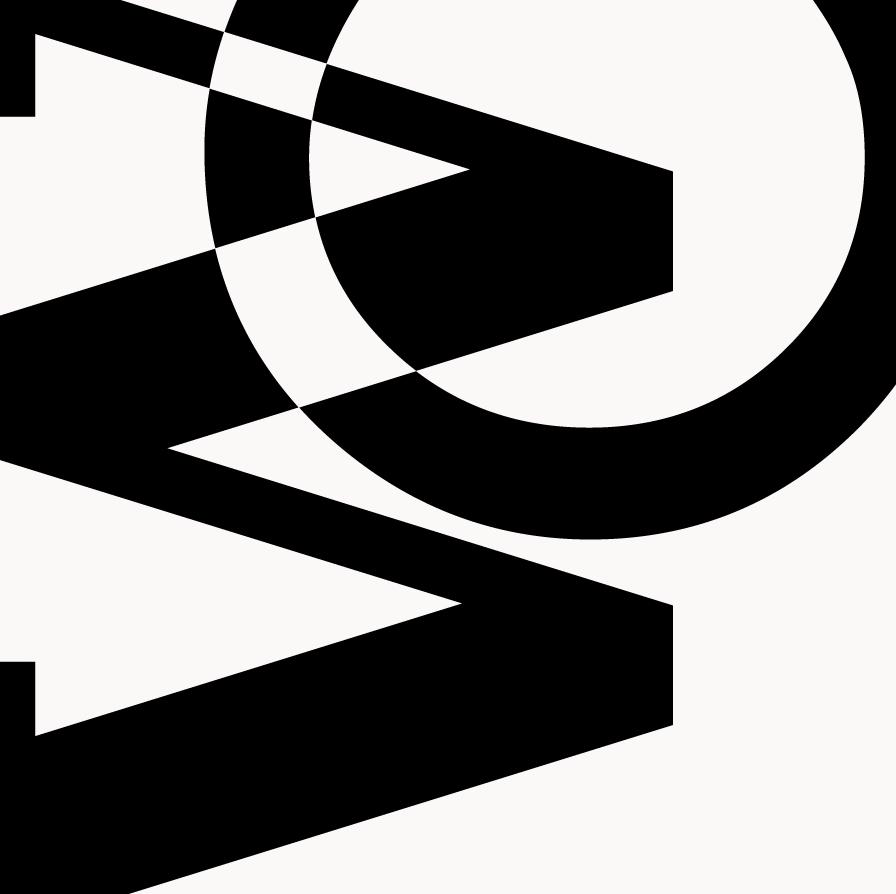
An engraving for rubber stamp material
One of the super interesting things you can do with your scalable logo is to make a small stamp for an ink pad. We like this project because it involves thinking like a printmaker: a bit backward and inside out! You’ll see what I mean below.
Step 1 — Figure-ground reversal
The laser engraver will eat anything that is black in a file, and keep anything that’s white. So for your stamped image to show up correctly, you need to perform a reversal of figure with ground: black in your file needs to be white, and vice versa. Here’s the basic workflow I used for the sample file you downloaded. Your file will be very similar:
- Create a new .ai file with an artboard around 3 inches square, and set the workspace for Essentials Classic.
- Open the fabrication-ready .ai file for Project 1 and select one of the smallest scaled logos in the layout.
- If you don’t have that file yet, use the Type drawing exercise file, and re-do this workflow for your logo when ready.
- Copy and paste this logo into the new .ai file and center it in the artboard.
- Inspect the size of your vector art: it should already be about 1 to 1.5 square inches in area. If needed, you can tweak the scale to achieve the right size. Remember, if you need to scale, use a uniform aspect ratio by holding the shift key.
- For a rubber stamp, you need to avoid creating a file edge that’s congruent with the image, so you need a margin of material around the whole logo. Using the Document Setup button found in the Control Bar near the top of the window, open the Edit Artboards option and resize the artboard so it is about ⅛ inch larger than your logo all the way around. In my file, I resized the artboard around the 1 inch square logo to be 1.25 inches square.
- Draw a rectangle with a black fill and no stroke that exactly matches the size of your artboard.
- Using Pathfinder palette, use Exclude to subtract the logo from the larger rectangle.
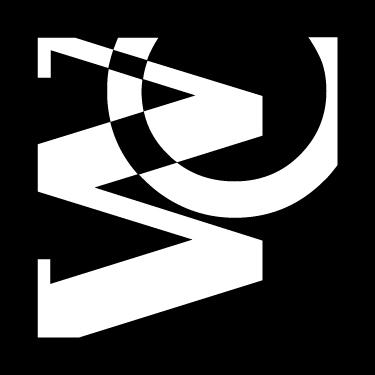
This resulting Exclude should have a black fill and no stroke, and should be a figure-ground inversion of the original logo. If not, go back and troubleshoot.
Step 2 — Resolve corners and fill white
In the results above, notice the places where the W and C intersect. The points that are created in this situation are known as point-to-point congruencies, and they often cause trouble in etching. Here is a quick solution:
- Select your vector art.
- Apply a white stroke with a 0.5 point stroke thickness.
- Finally, create a white fill rectangle the same size as the art board and Arrange>Send to Back.
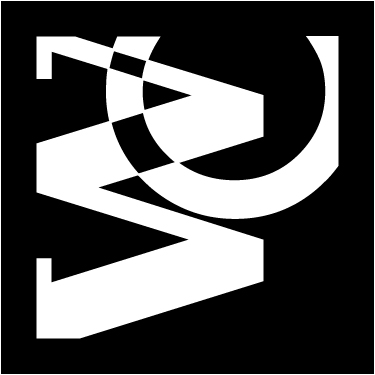
That’s it. The laser will “see” the white stroke and fill and avoid etching it. Compare this image with the Step 1 image. If the distinction is too subtle to see here, open the sample .ai file and zoom in to inspect.
Step 3 — Left is right
We’re not done yet: if you print an ink stamp using the file as we see it above, you get the result seen here. It’s backwards!
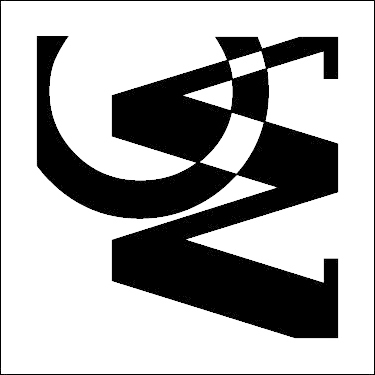
To correct this, we make the file backward instead:
- Use the Scale tool and apply a Non-Uniform scale with the Horizontal value set at -100%.
The result is seen here.
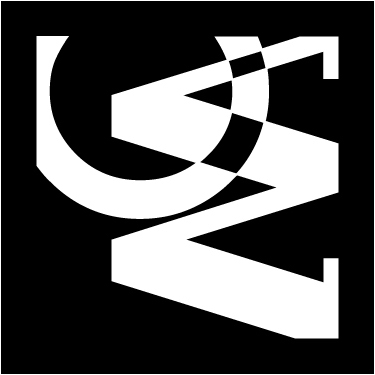
This will print in the right orientation! When the file is ready, do the following:
- Save the file as an .svg
- Export this as a .png with a resolution of 300 pixels per inch.
To illustrate your work for this exercise, embed the .png in your process journal or blog. When we get to the actual project and you etch the file, the laser will accept either the .svg or the .png.
