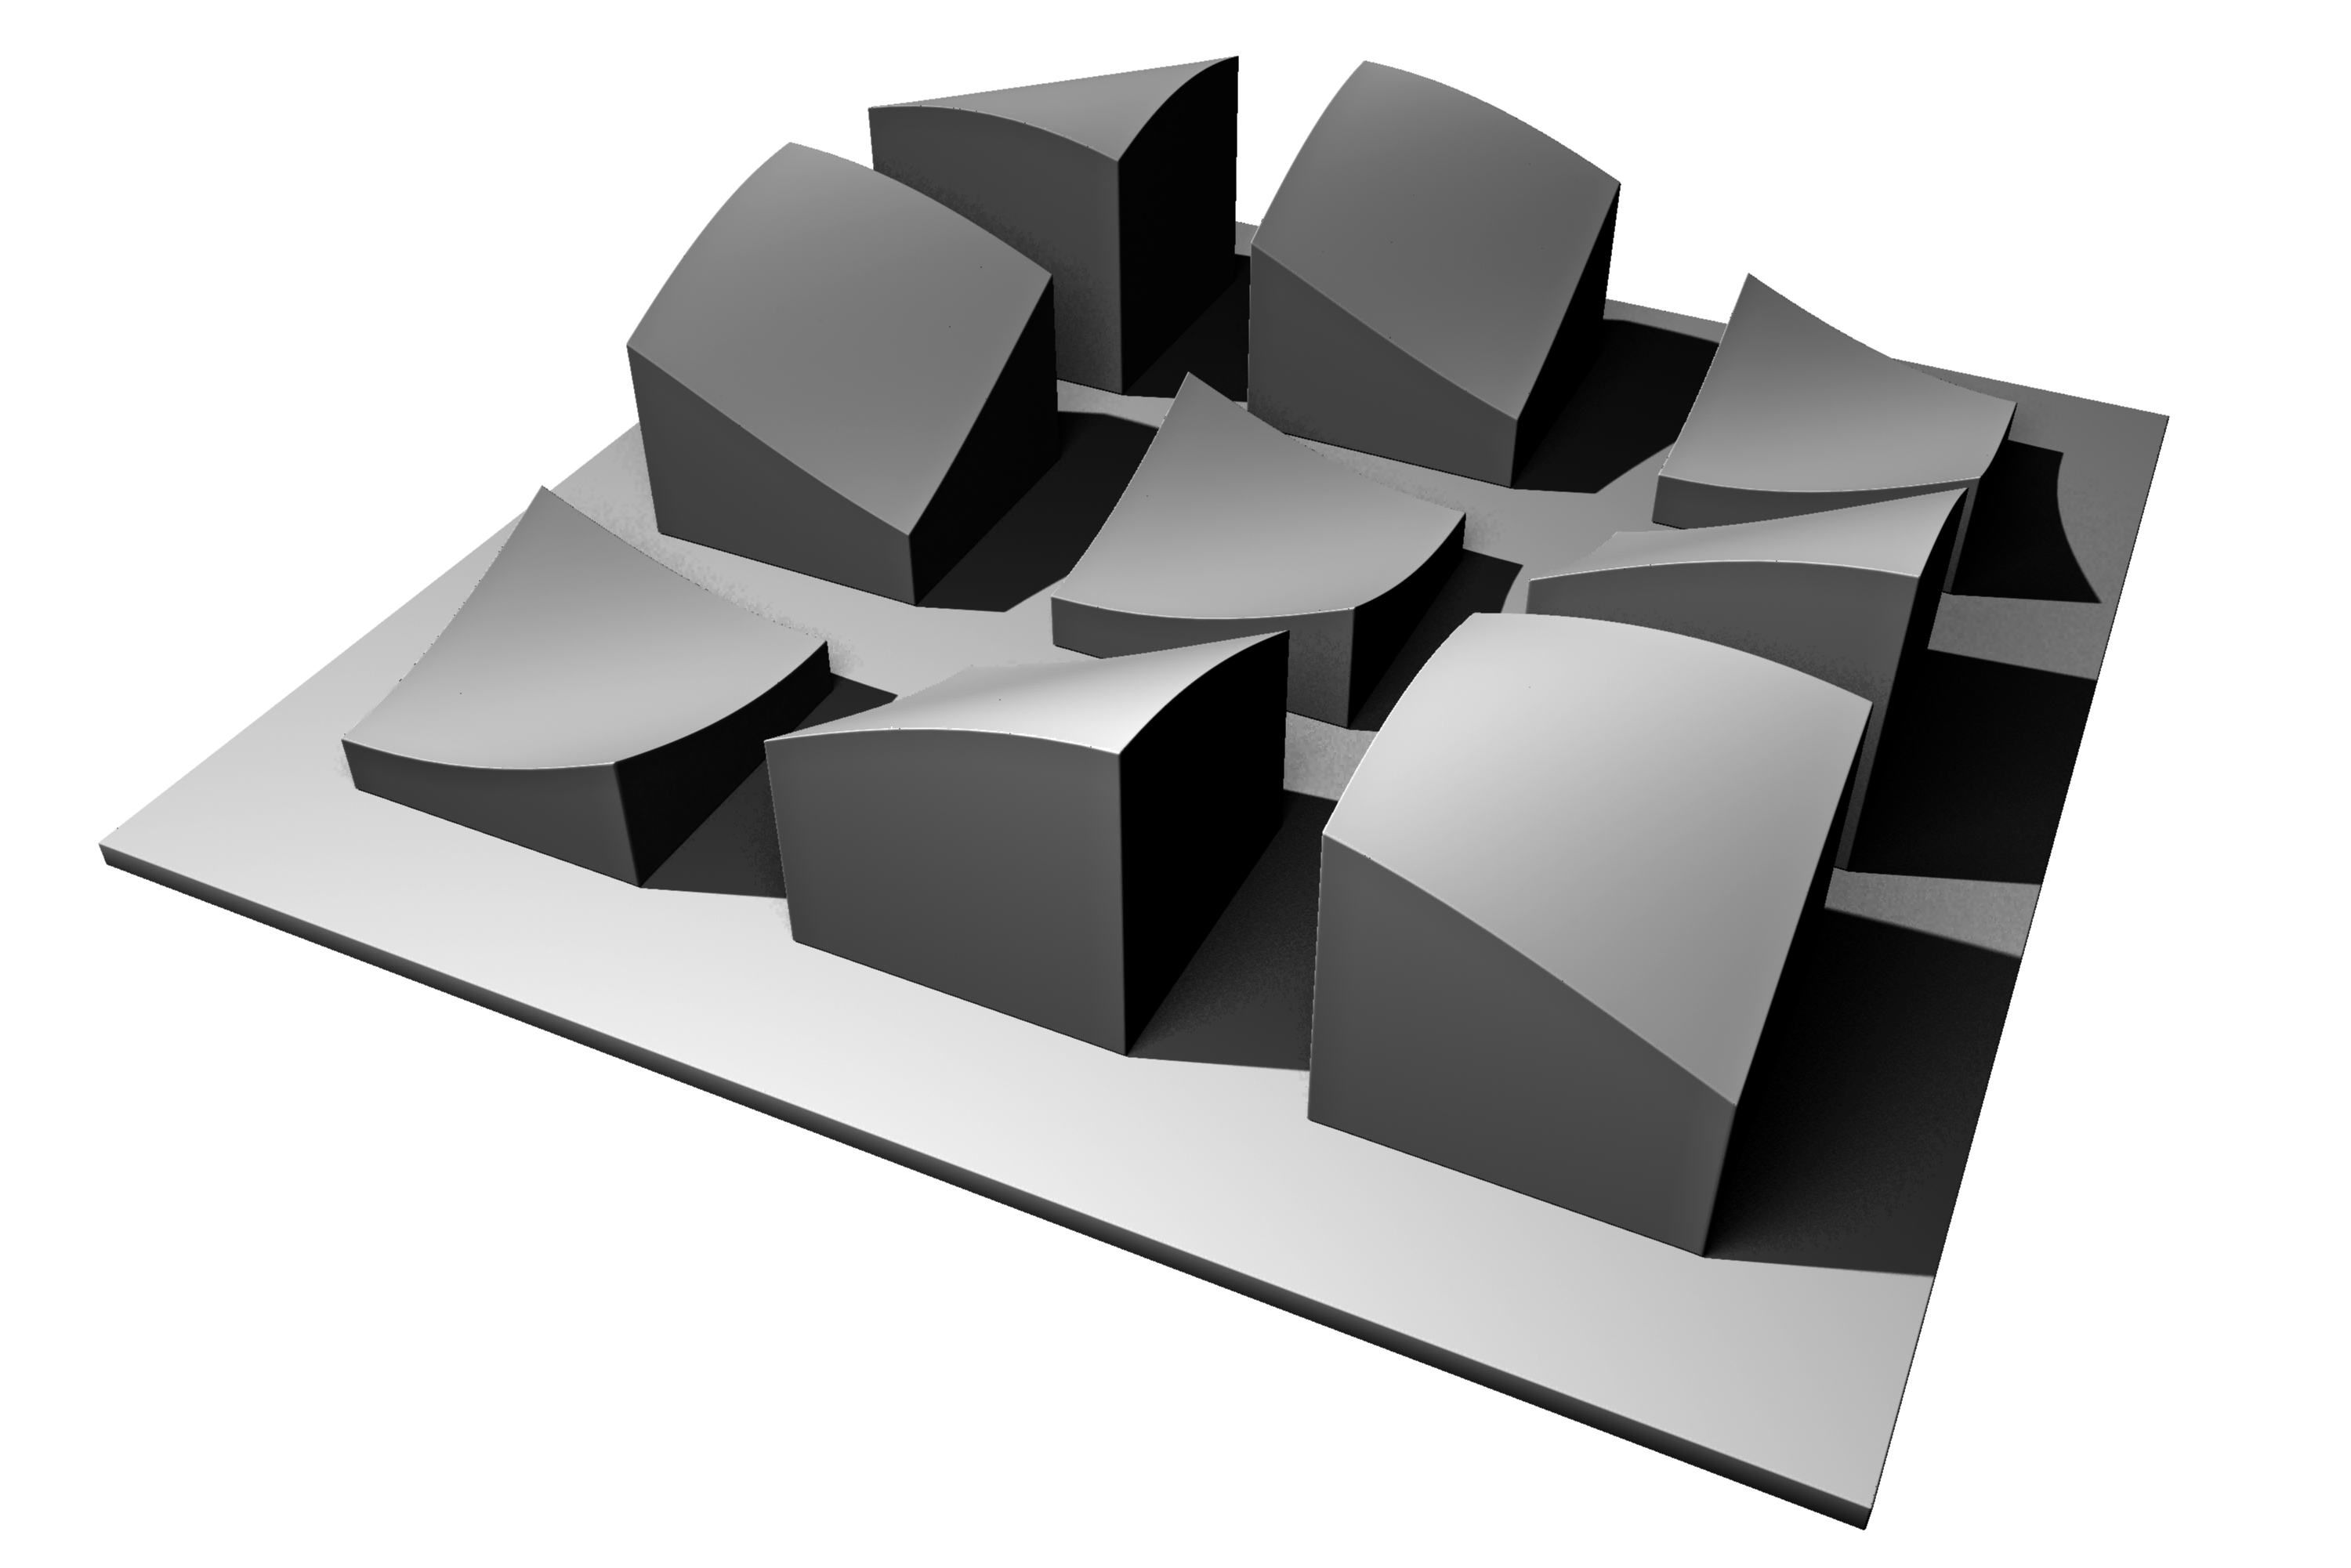
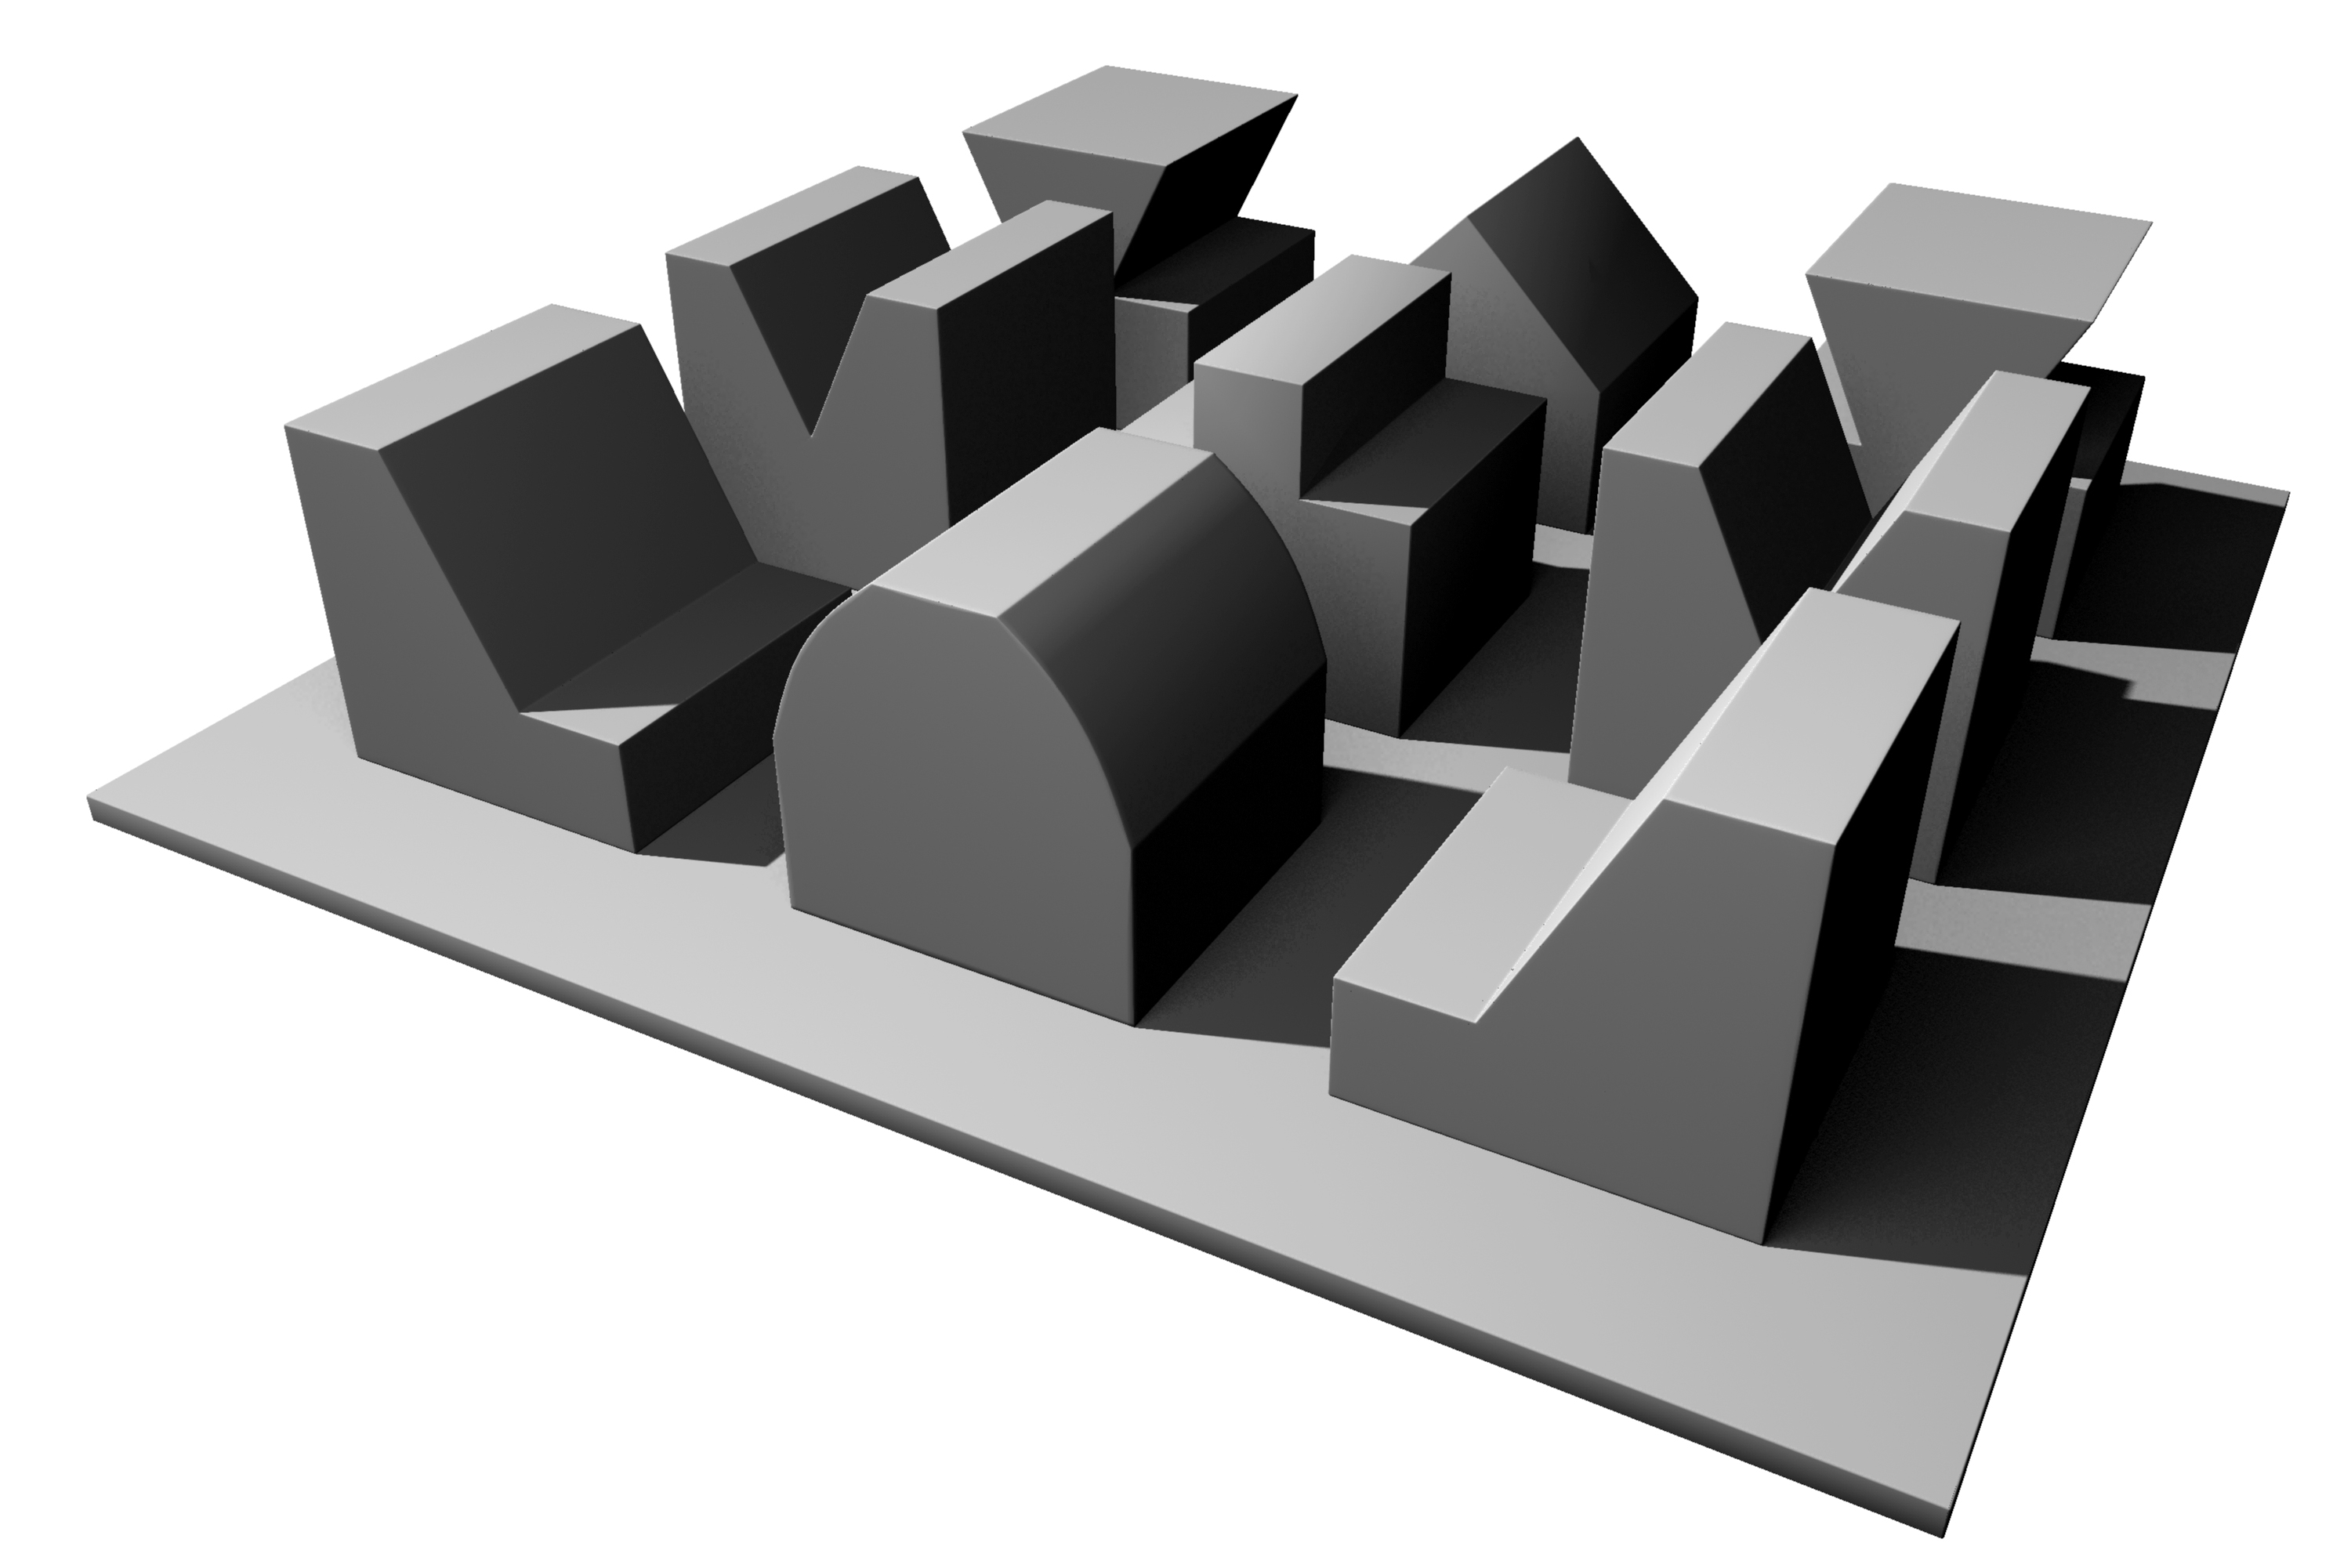
Fabbing: Nine square grid
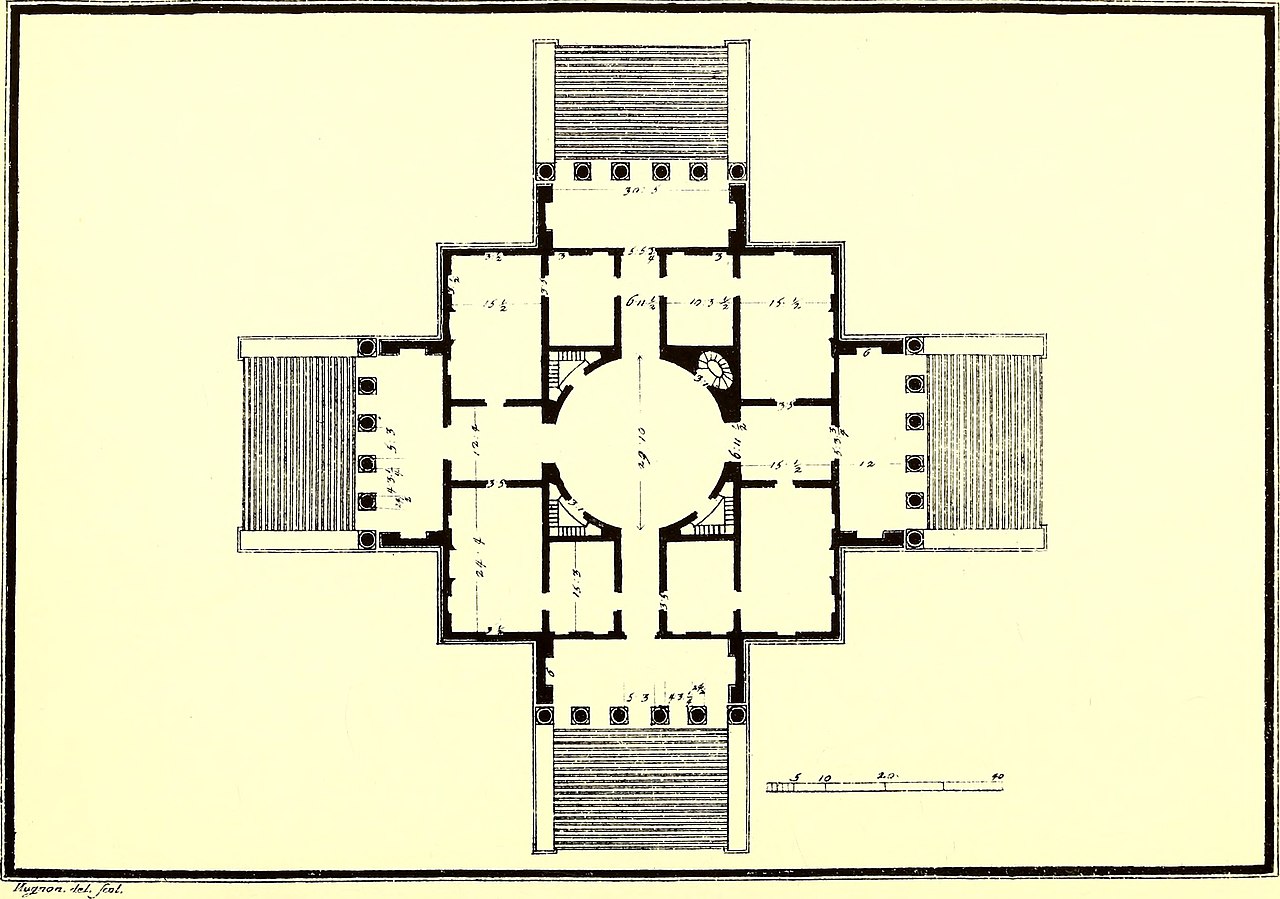
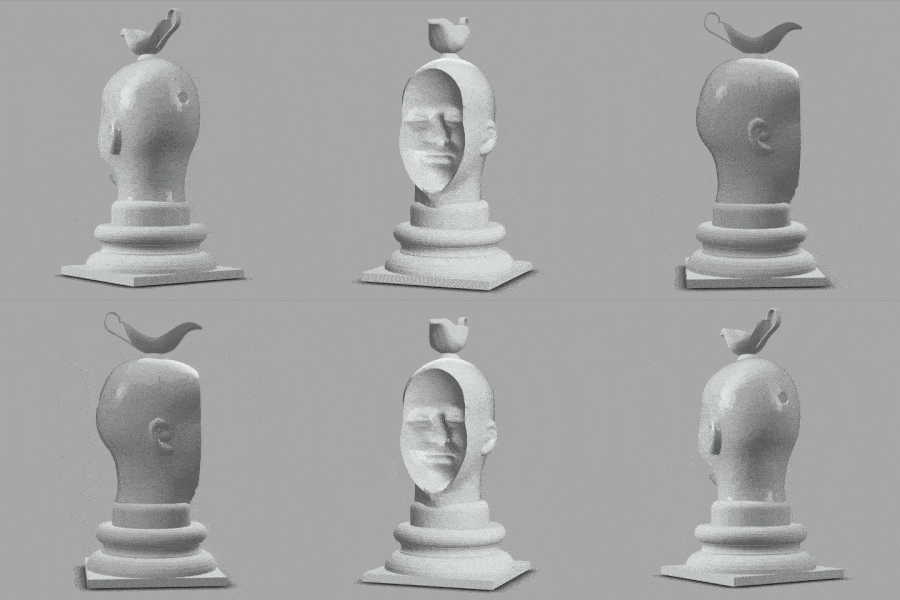
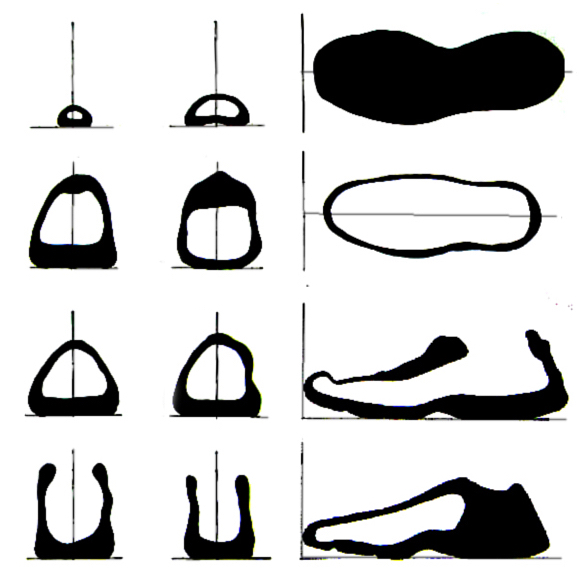
A classical precedent of the Nine Square Grid exercise performed in many design studios.
Can you find the grid in the floor plan?
Nine square grid
Put your Model and Sculpt expertise to the test in a classic Grid Exercise, borrowed and adapted from basic 3D visual design. Learn how to turn overly rigid “perfect” geometries into “real-world” geometries. The practice this exercise provides will eliminate most of the frustrations you might encounter when modeling your artwork.
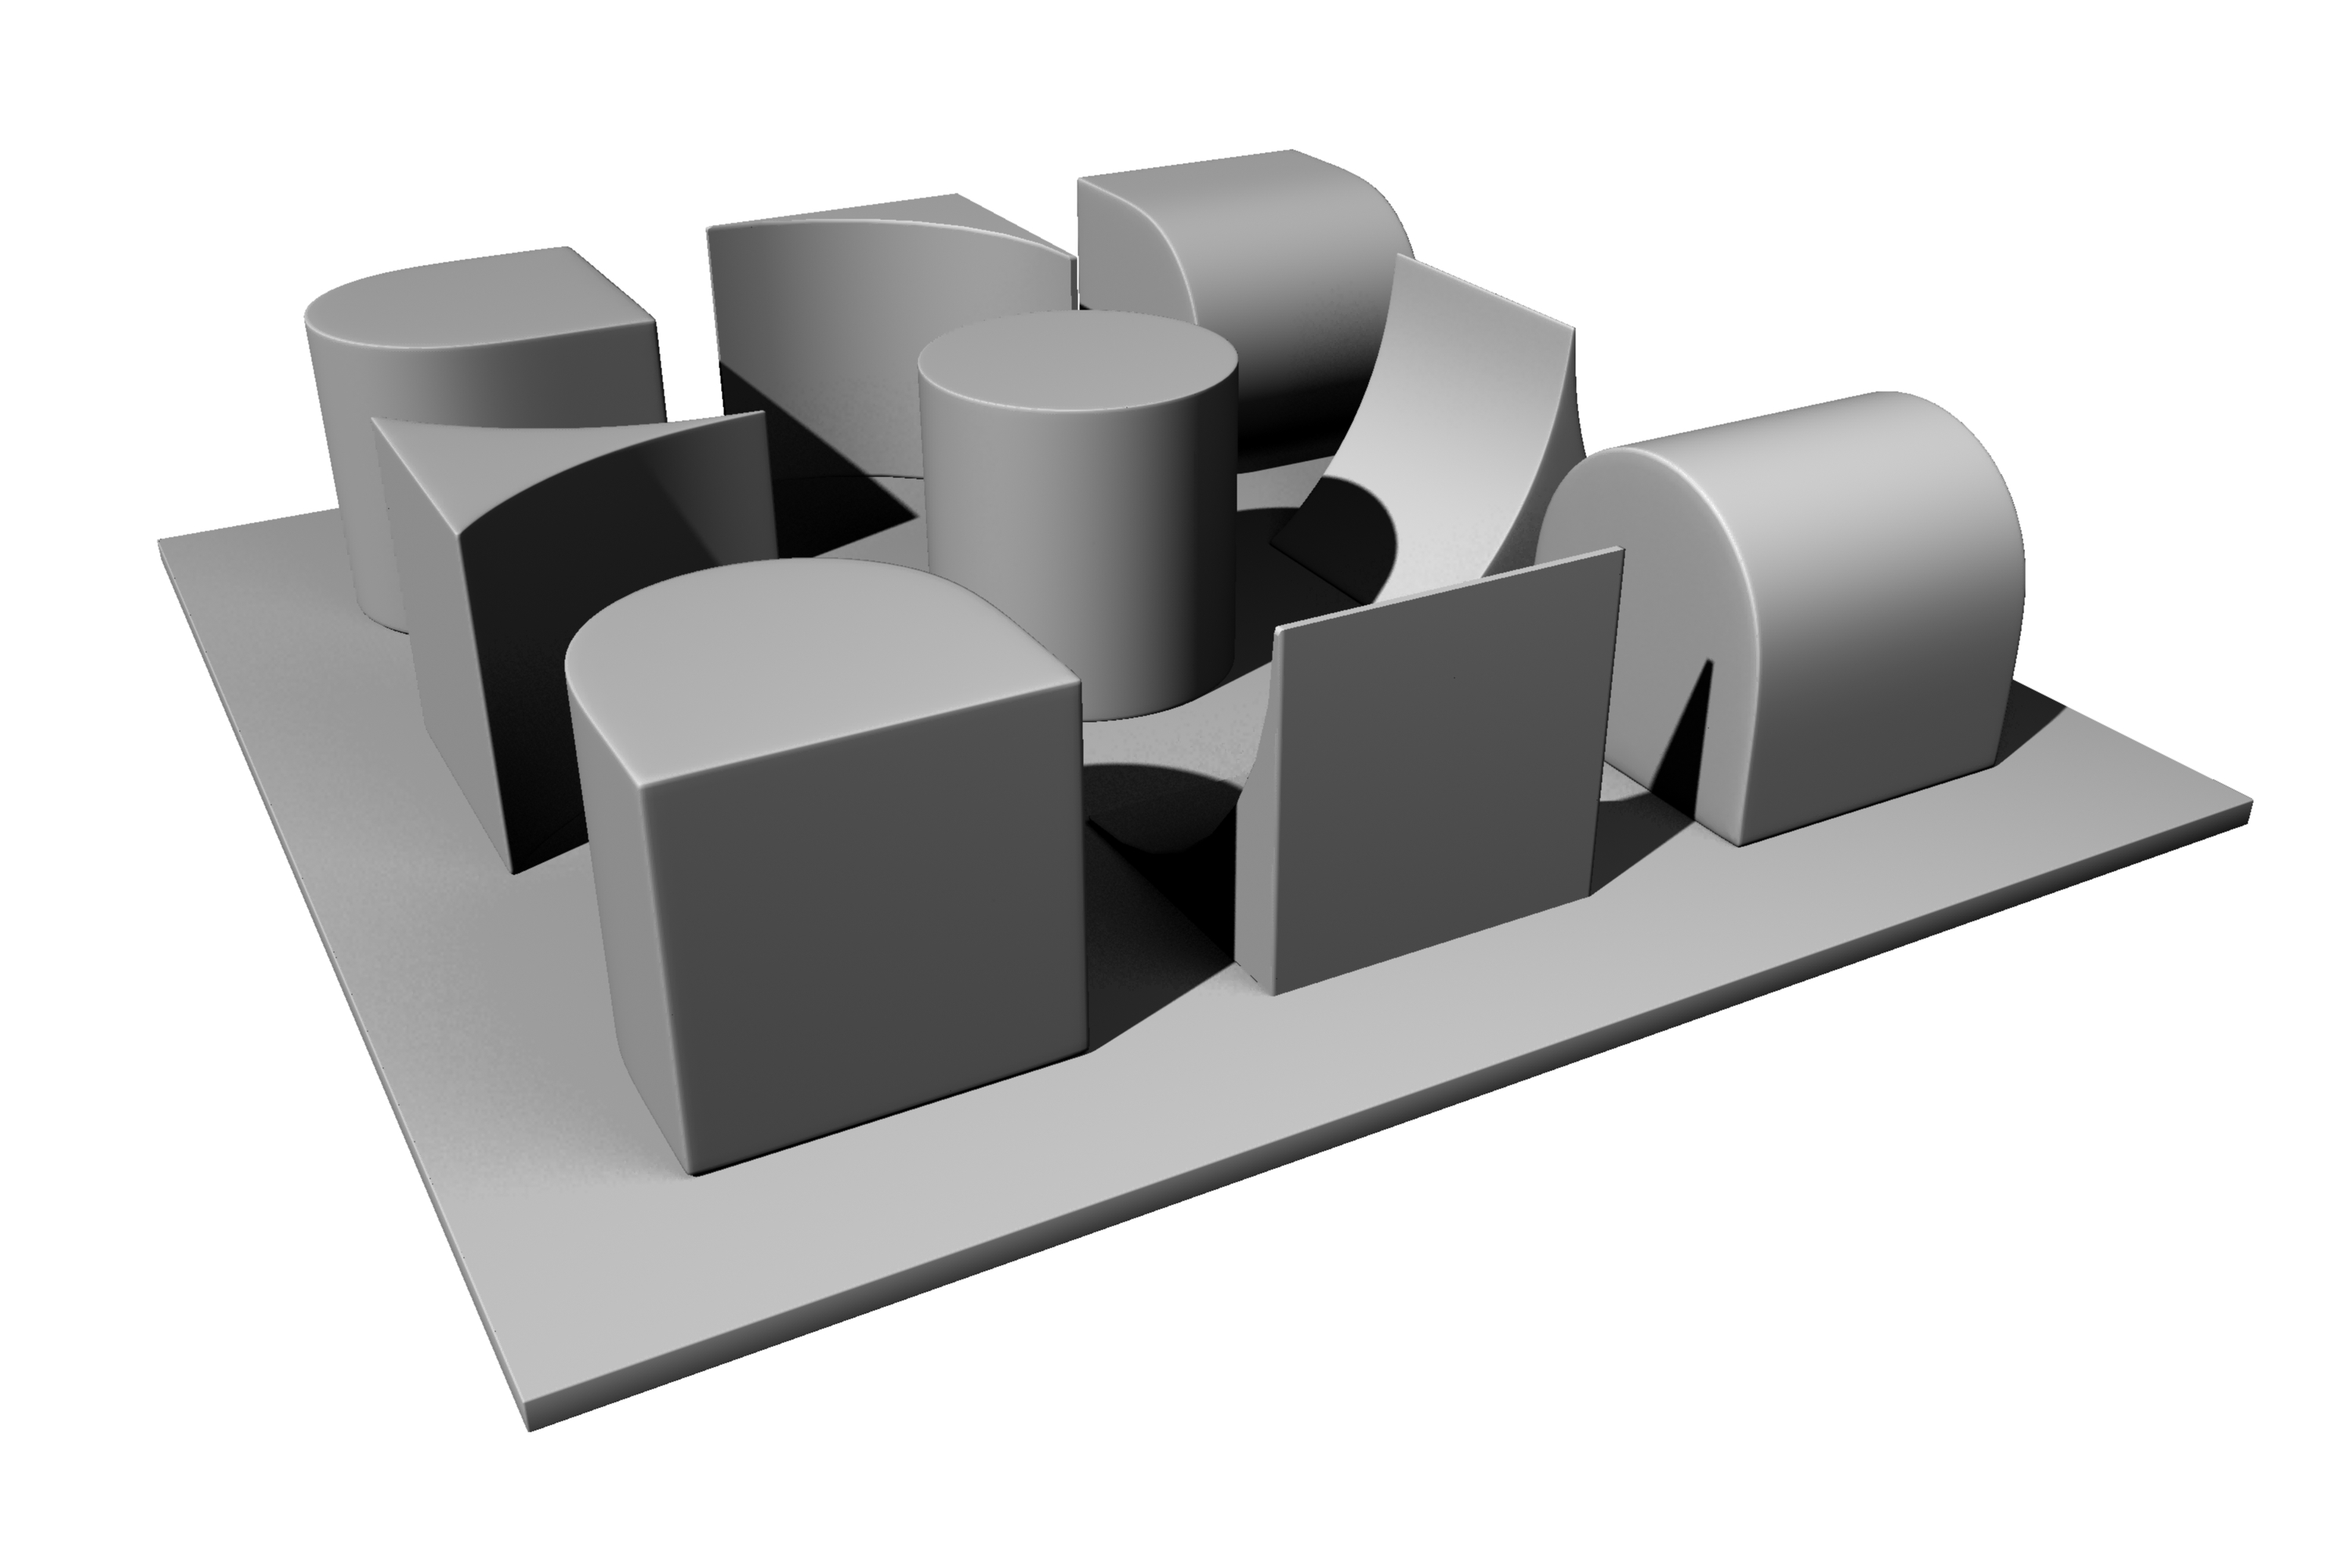
In a tactile 3D design course, the classic Nine Square Grid is done by exploring different materials, such as plaster or bristol board, and explores processes such as additive or subtractive modeling. The forms are typically abstracted materially by applying white paint—a suitable move for our exercise, with its emphasis on form and volume. In a 3D design course taught by Ray Horner at Kean University, students create the variety of forms seen below.
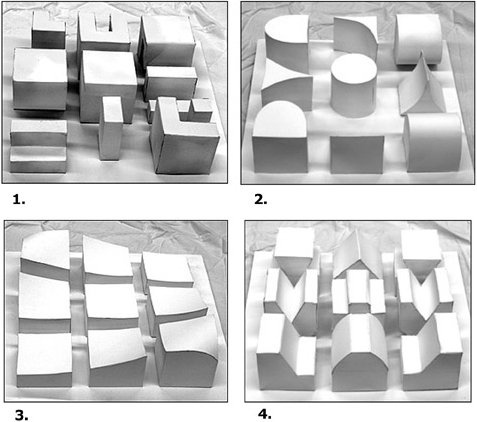
Ray Horner, examples of students’ Nine Square Grid:
- Rectangular
- Rectangular & cylindrical
- Curved
- Angular
How do the students use visual principles to achieve conceptual clarity and the complementary qualities of unity/diversity?
Getting Started
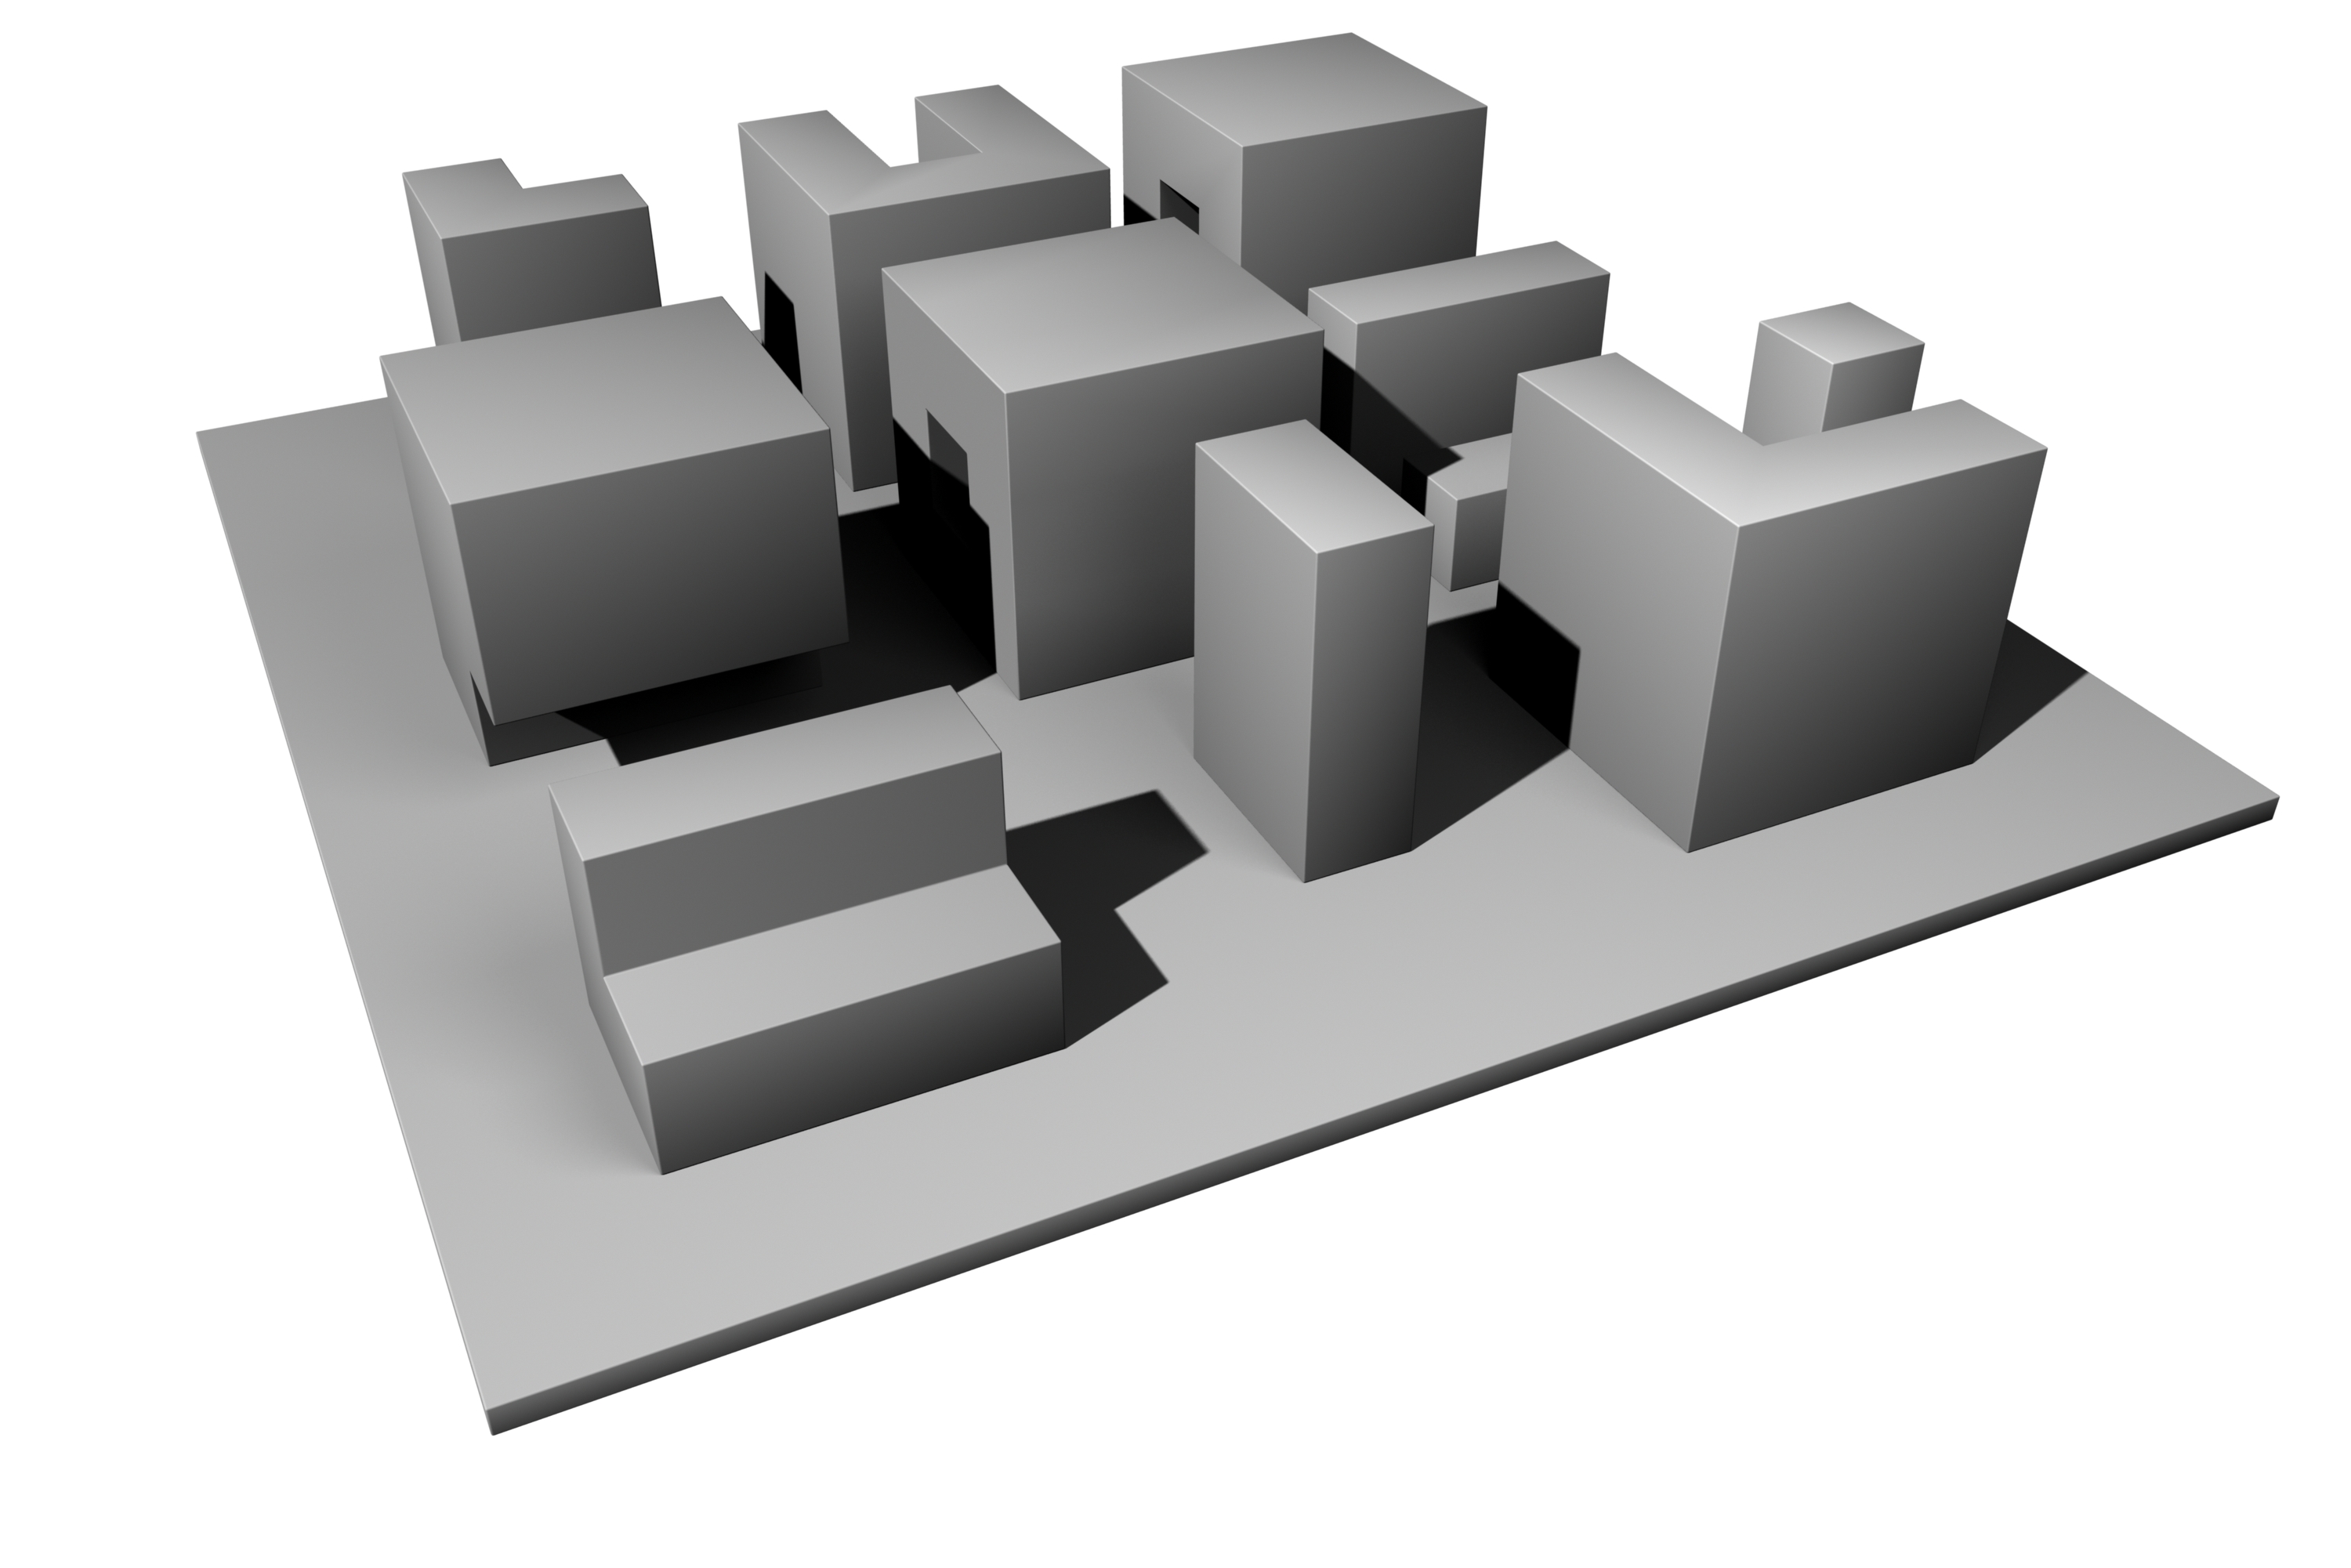
Use the physical project above as the inspirational basis for creating a digital version of the Nine Square Grid. But we do it with a twist: we don’t fill every space in the grid! Five out of the nine spaces will be filled with some kind of mass. The remainder will become a negative space or void. Mass and void are the 3D equivalents of Gestalt figure and ground.
Below you can see an orthographic top view of a variety of mass-void relationships in a nine-square grid, where the white square represents the presence of a mass. The dark and light gray squares represent void spaces on the grid, a bit like the pattern of a tiny chess-board:
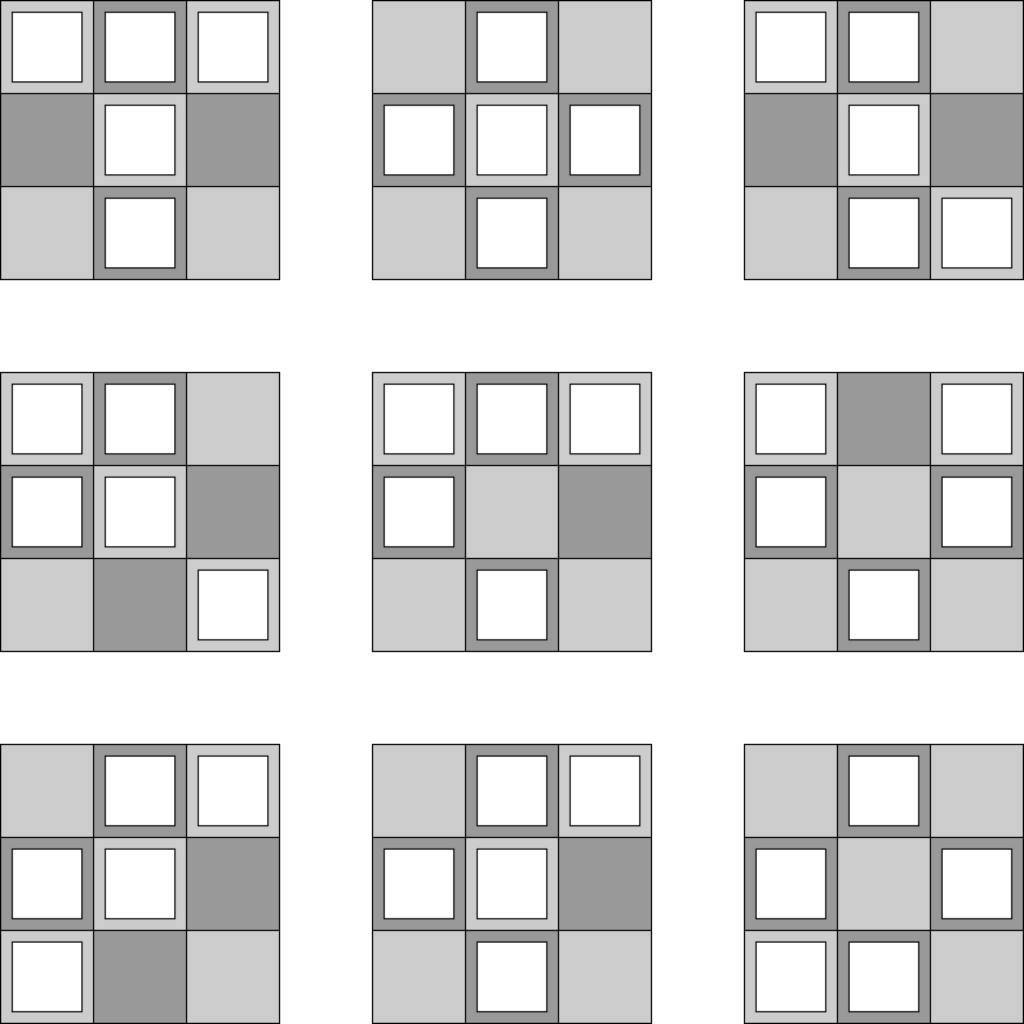
Our first job will be to model the “chessboard” spaces, which we’ll call the datum.
Modeling the datum
- Create a new Fusion 360 project (like a folder), named nineSquareGrid.
- Create a file named yourname_nineSquareGrid. Set units for inches.
- Make a chess-board-like base:
- Using Grid Snaps and/or parametric input, generate 9 shallow rectangular solids, 0.5 units high (in the Y direction) and 8 units in the X and Z directions.
- Using Grid Snaps and Move/Copy, organize the solids into a 3 X 3 grid pattern.
- Make the top face of each solid congruent with the XY plane.
- Alternate the materials among the solids to emulate a chessboard.
Modeling the cubes
We’ll add cubes on the board, using the pattern of your choice. Select one from above or invent one of your own, but limit yourself to 5 cubes:
- In the file, create 5 cubes (unique instances: don’t copy them).
- Each cube should be 6 X 6 X 6 units.
- The base of each cube should be congruent with the XY plane.
- Center each element on a square in the “chessboard.” Use the illustration above for inspiration.
- Apply a white, matte-finished material to each cube.
- When complete, save the file and render at 1920 wide X 1080 high pixels in .jpg format.
“Distorting” the cubes
Now, drawing inspiration from the Horner projects above, imagine a visual vocabulary that will distort the cubes, carving or molding them into new forms whose origins are still recognizable as having started as cubes.
- In a sketchbook or equivalent ideation tool, create a sketch of what you’d like to do with your cubes. Keep the forms highly abstract and simple. Conceptually transform/deform each cube into a new, unique form. At the same time that each form is unique, the relationships between the forms should create a sense of unity, wholeness, and conceptual clarity.
- Remember visual principles: repeating an element can create a pattern, mirroring it can create symmetry, etc. Most importantly, consciously develop mass and void relationships.
Micro-beveling: the hidden challenge
After you’ve eroded, carved, or molded your final shapes, you might notice they appear too, well, perfect.
In reality, we don’t experience geometry the way an algorithm creates it. Look at the corners of just about anything that exists in the world, and they are rounded, even ever so slightly. In modeling, we call this knock-down a micro-bevel.
One of the most difficult conceptual leaps 3D modelers have to make is understanding that they are not making a thing: they are manipulating a database. From an algorithmic standpoint, surfaces are databases, whose visual expression is your model. Object subdivisions are roughly analogous to cells in a spreadsheet database. How you set up your database affects the outcome of future operations in a workflow. In other words, if your end goal is to create a complex shape that has 4 operational steps applied to it, you need to start with a database that will allow those operations without suddenly turning completely wonky on you at step 3.
So the case studies below will help you get past the frustrations this workflow logic creates for newbies. You’ll begin to see that getting a great micro-bevel typically takes about 3-5 steps with careful planning, with the right number of subdivisions and the correct initial setup being of chief concern.
Case Studies
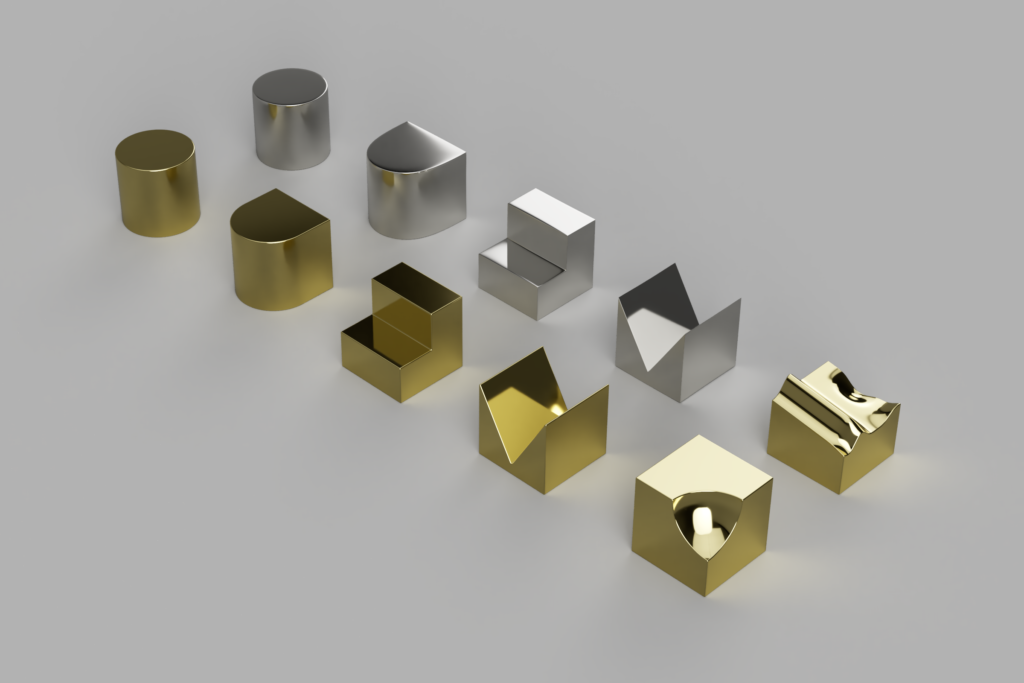
Below, consider a model of some distorted cubes that contain about a half-dozen common modeling situations:
- A simple cylinder
- A union of a cylinder with a rectangular solid
- A rectangular L-shaped solid
- An acute angle cutout
- An irregularly curved surface
- A spherical cutout
For each of these, we create in Model or Sculpt as appropriate, with a few containing solutions in both. Model solutions are in gold material, while Sculpt solutions are in silver. The case study can be inspected in a publicly-linked model, seen in the link here and in the embedded model below. Below that, a high-resolution rendering will allow you to observe the outcome in its intended production quality.
Scenarios
Let’s apply these case studies to some actual scenarios. Here, you can find reference files that are digital replications of Ray Horner’s student objects above. Take a look at each file as a reference to help you understand similar circumstances in your model.
Your turn
Return to the project. COPY the original file, rename the file yourname_nineSquareGrid02, and open it to make, or in some instances re-make, the objects, this time with an eye toward creating realistic micro-bevels. If you were successful with the micro-bevel exercise above, you’ll have no problem developing the 5 manipulated solids.
- Depending on how you choose to model, your original reference objects may end up simply being “placeholders” and that’s OK. In other words, you will likely decide it’s better to start the form with some other object than the original reference object — in which case you’ll delete and replace the original.
- If working in Model mode, you’ll find the Fillet and Combine (aka boolean) functions under Modify will solve 90% of your issues.
- If you are using Sculpt, find Extrude, and Revolve under Create. Otherwise, you’ll see that Subdivide, Fill Hole, Crease, Uncrease, and Bevel Edge are most used under Modify. Don’t forget Finish Form to return to Model mode.
- Remember the Design History timeline at the bottom of the UI. If you make a misstep, you can always go back a few steps in the history and change a parameter or two.
- Oh, and don’t forget to micro-bevel your “chessboard” too!
When you have finished your edge refinement, render it in .jpg format, upload it to your image host and post it to your process journal or blog. In that post, describe your idea for the exercise and your modeling methodology in Fusion. Compare the test images (with sharp, “unreal” edges) to the final micro-beveled versions.
An example of a simple iteration of the exercise is in this model, with two side samples: one, using a simple rotation on a face to create a negative shape, the other using a Combine to subtract a sphere from a corner.
